
BMW M3 (Tour de Corse '89) | Beemax 1:24
Author | Krzysztof Szpakowski
Update 1 | 26.06.2021
I would like to present what I will be doing for the next few months.
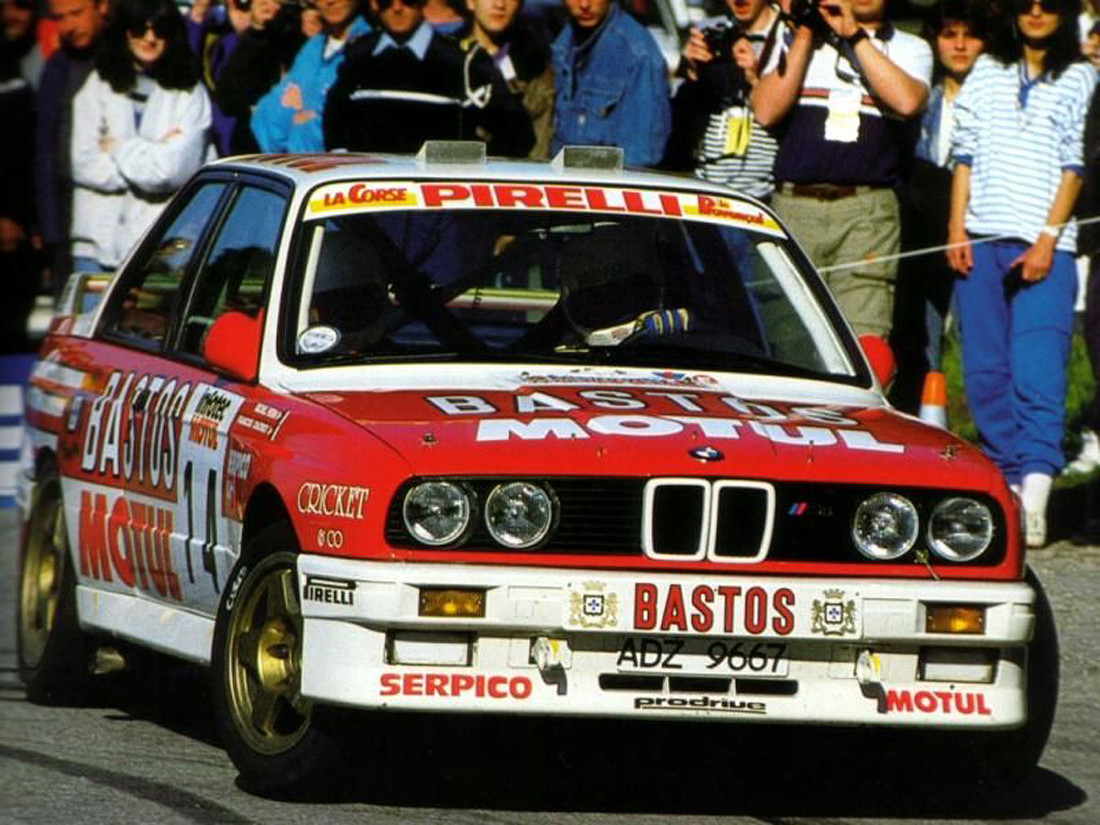
BMW M3 (E30) in the rally version of the François Chatriot / Michel Perin crew, who finished second in the 1989 Corsican Rally.
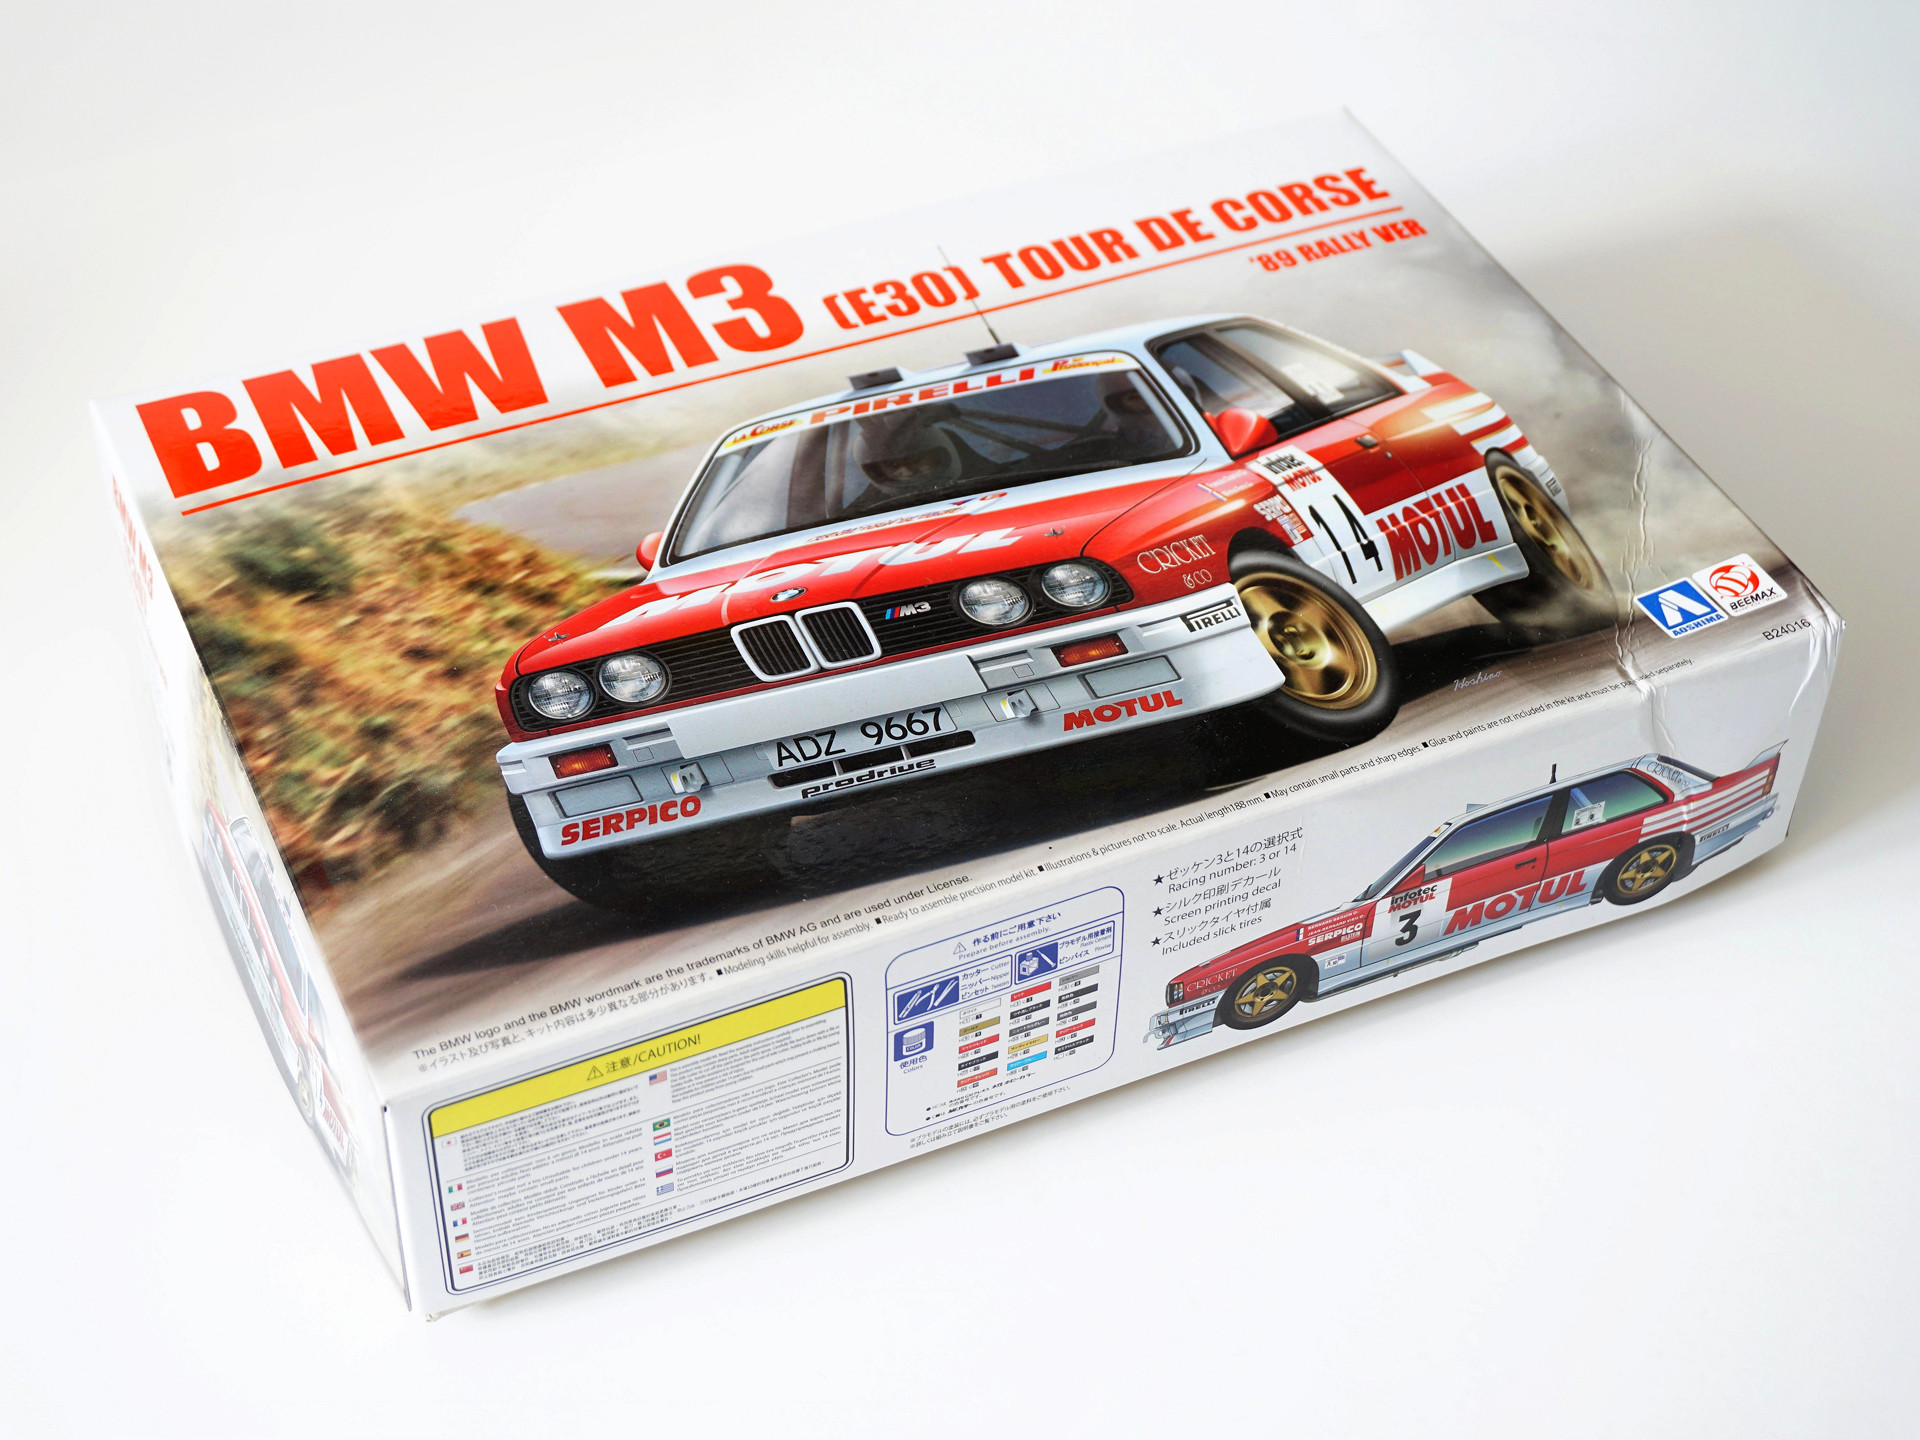
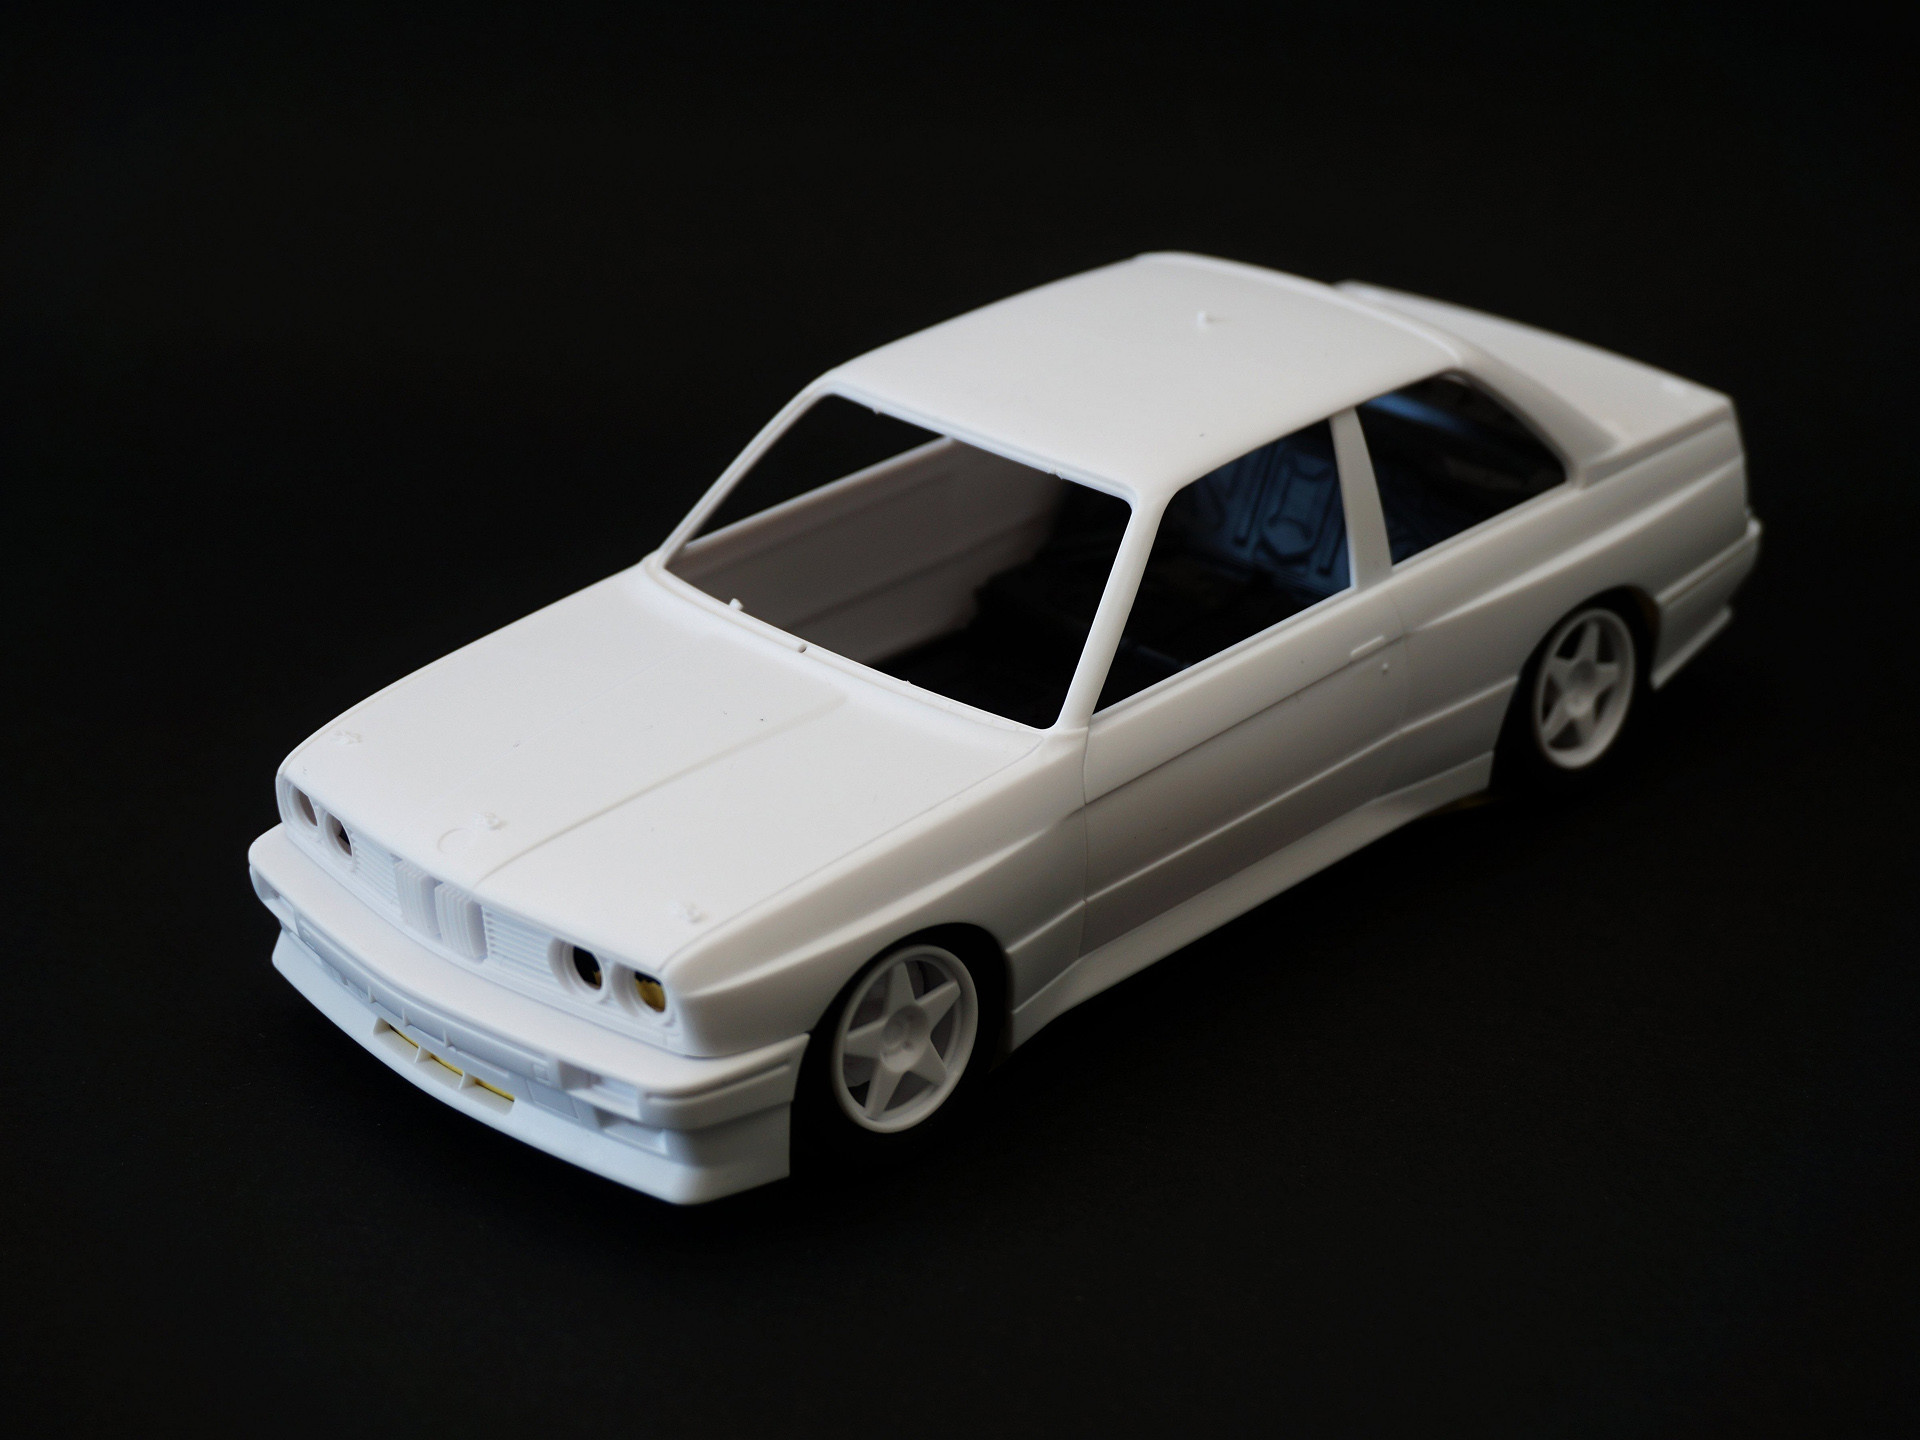
A Beemax / Aoshima kit will be used to build the model.
The whole red color on the model is a decal.

The kit is, of course censored, but Beemax has avoided this dilemma in a rather clever way. I bought a set of photo-etched plates and additional decals for the model.

Although the quality of the decals look great, I decided to paint the red fields on the car. As a result, I had to buy another set of decals to be able to carry out this project in this way. Renaissance decals have the advantage that you do not need to put so many layers of decals on top of each other, which will favor the painting and polishing of the model.

A few photos of the BMW M3 and sprues with parts, that I think are of very good quality.


The rims of the model will be enriched with bolts and valves produced by scalecars.online

Tires will get markers from Decalcas.

The rear part of the seats will be covered with Scale Motorsport kevlar decals.

Unfortunately, the manufacturer of the kit did not add to the set of manual fire extinguishers and an internal fire extinguisher. The handbrake lever is only available as an add-on and is made of photo-etched plates. Unsure of the final effect of this part, I prepared the handbrake levers from the Subaru Impreza just in case. Will I use it, time will tell.

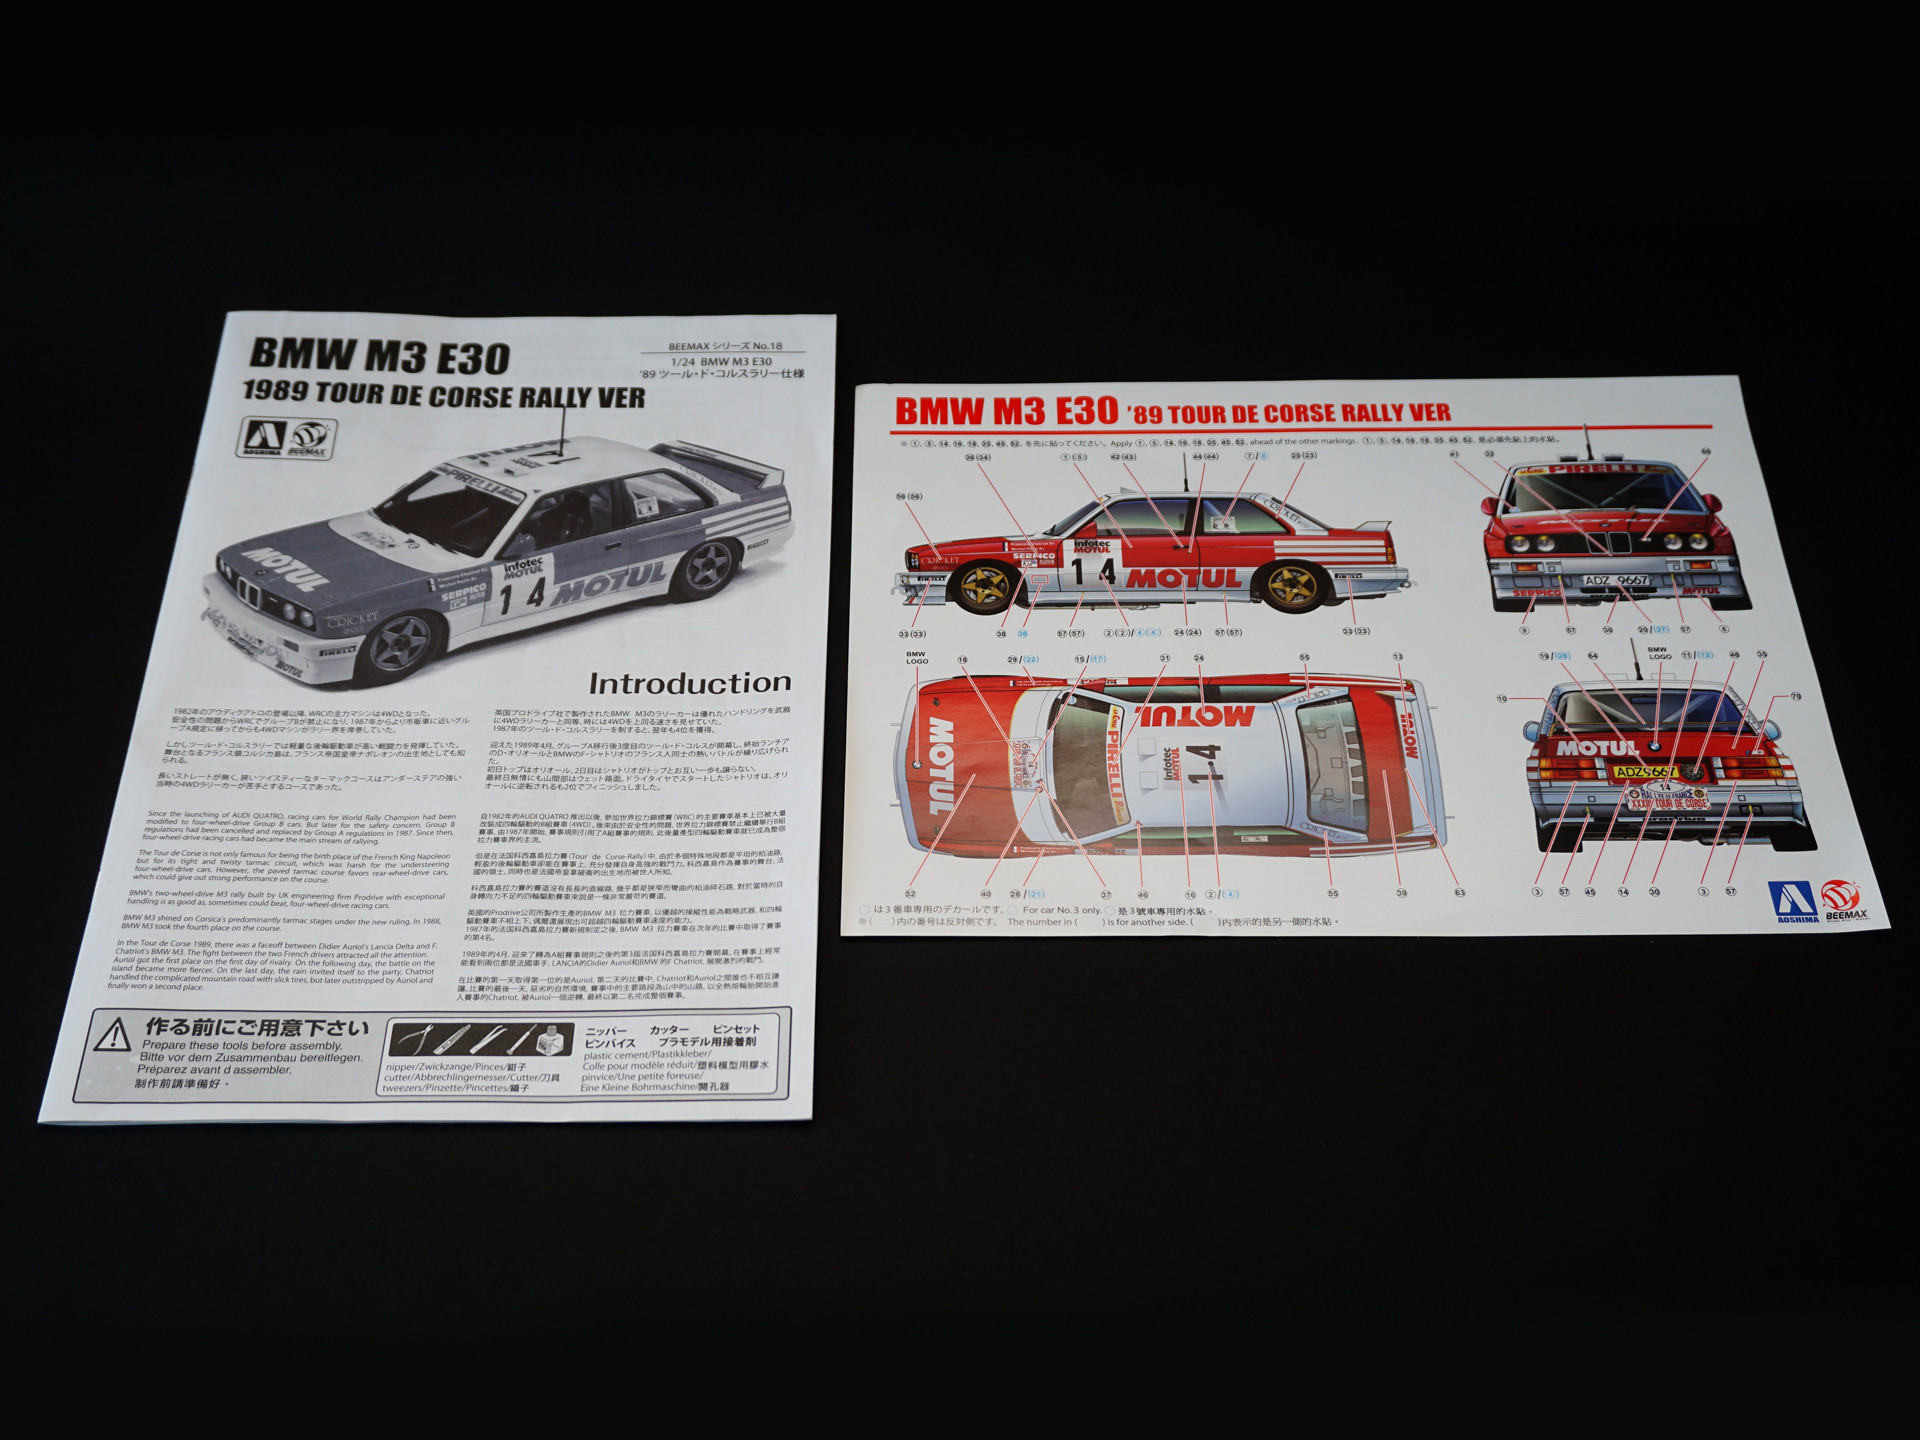
Colors for painting the model.

After the initial inspection and preparation, I am optimistic about this model. The castings are very good quality of the decals as well. I will check the fittings of the parts soon. Being honest, you can feel from the model that it is repackaged from a racing version to a BMW rally version. Despite a few changed sprues, some work needs to be done to bring the M3 up to the rally specs. As you know, life is an art of compromise and it seems to me that the Beemax has achieved this compromise, but as a model kit, the racing version is better prepared.
If someone decides to build this model, I recommend buying additional decals from Beemax, otherwise by making the model ‘straight out of the box' you will get a censored miniature without a handbrake, rear mud flaps and one wiper, which the manufacturer recommends to put on the other way around (because it's another detail from the racing version) which looks bizarre.
Time to start work!
The first work on the model is checking the fitting of parts and testing the fitting of the suspension.

The first step to make the model look like its original and adapt it to the specification of a rally car is to modify the hood. The rally car has bolts securing the halogen frame as well as the ends of the washer wires to the windscreen. I noticed these details in the photos of other BMW that I took at the Donington Park Museum in 2014. Of course, these details are also visible on a original car, there is only more difficult to see them due to the quality of the photos available.

Below, the hood before and after drilling.


The next work was to remove the excessive plastic from the grille, removal 'B' which is characteristic for every BMW, and the lamps try-on and drilling the bumper.


Work on the rear, from which it was necessary to remove the tailgate clips as well as drill the wall between the lamps for the fuel filler.


At the end of today's update the try-ons of the rear lamps, spoiler and bumper. In addition, I removed the locks on the doors to replace them with rivets as well as drilled a slot in the roof for the antenna and cabin air inlets.


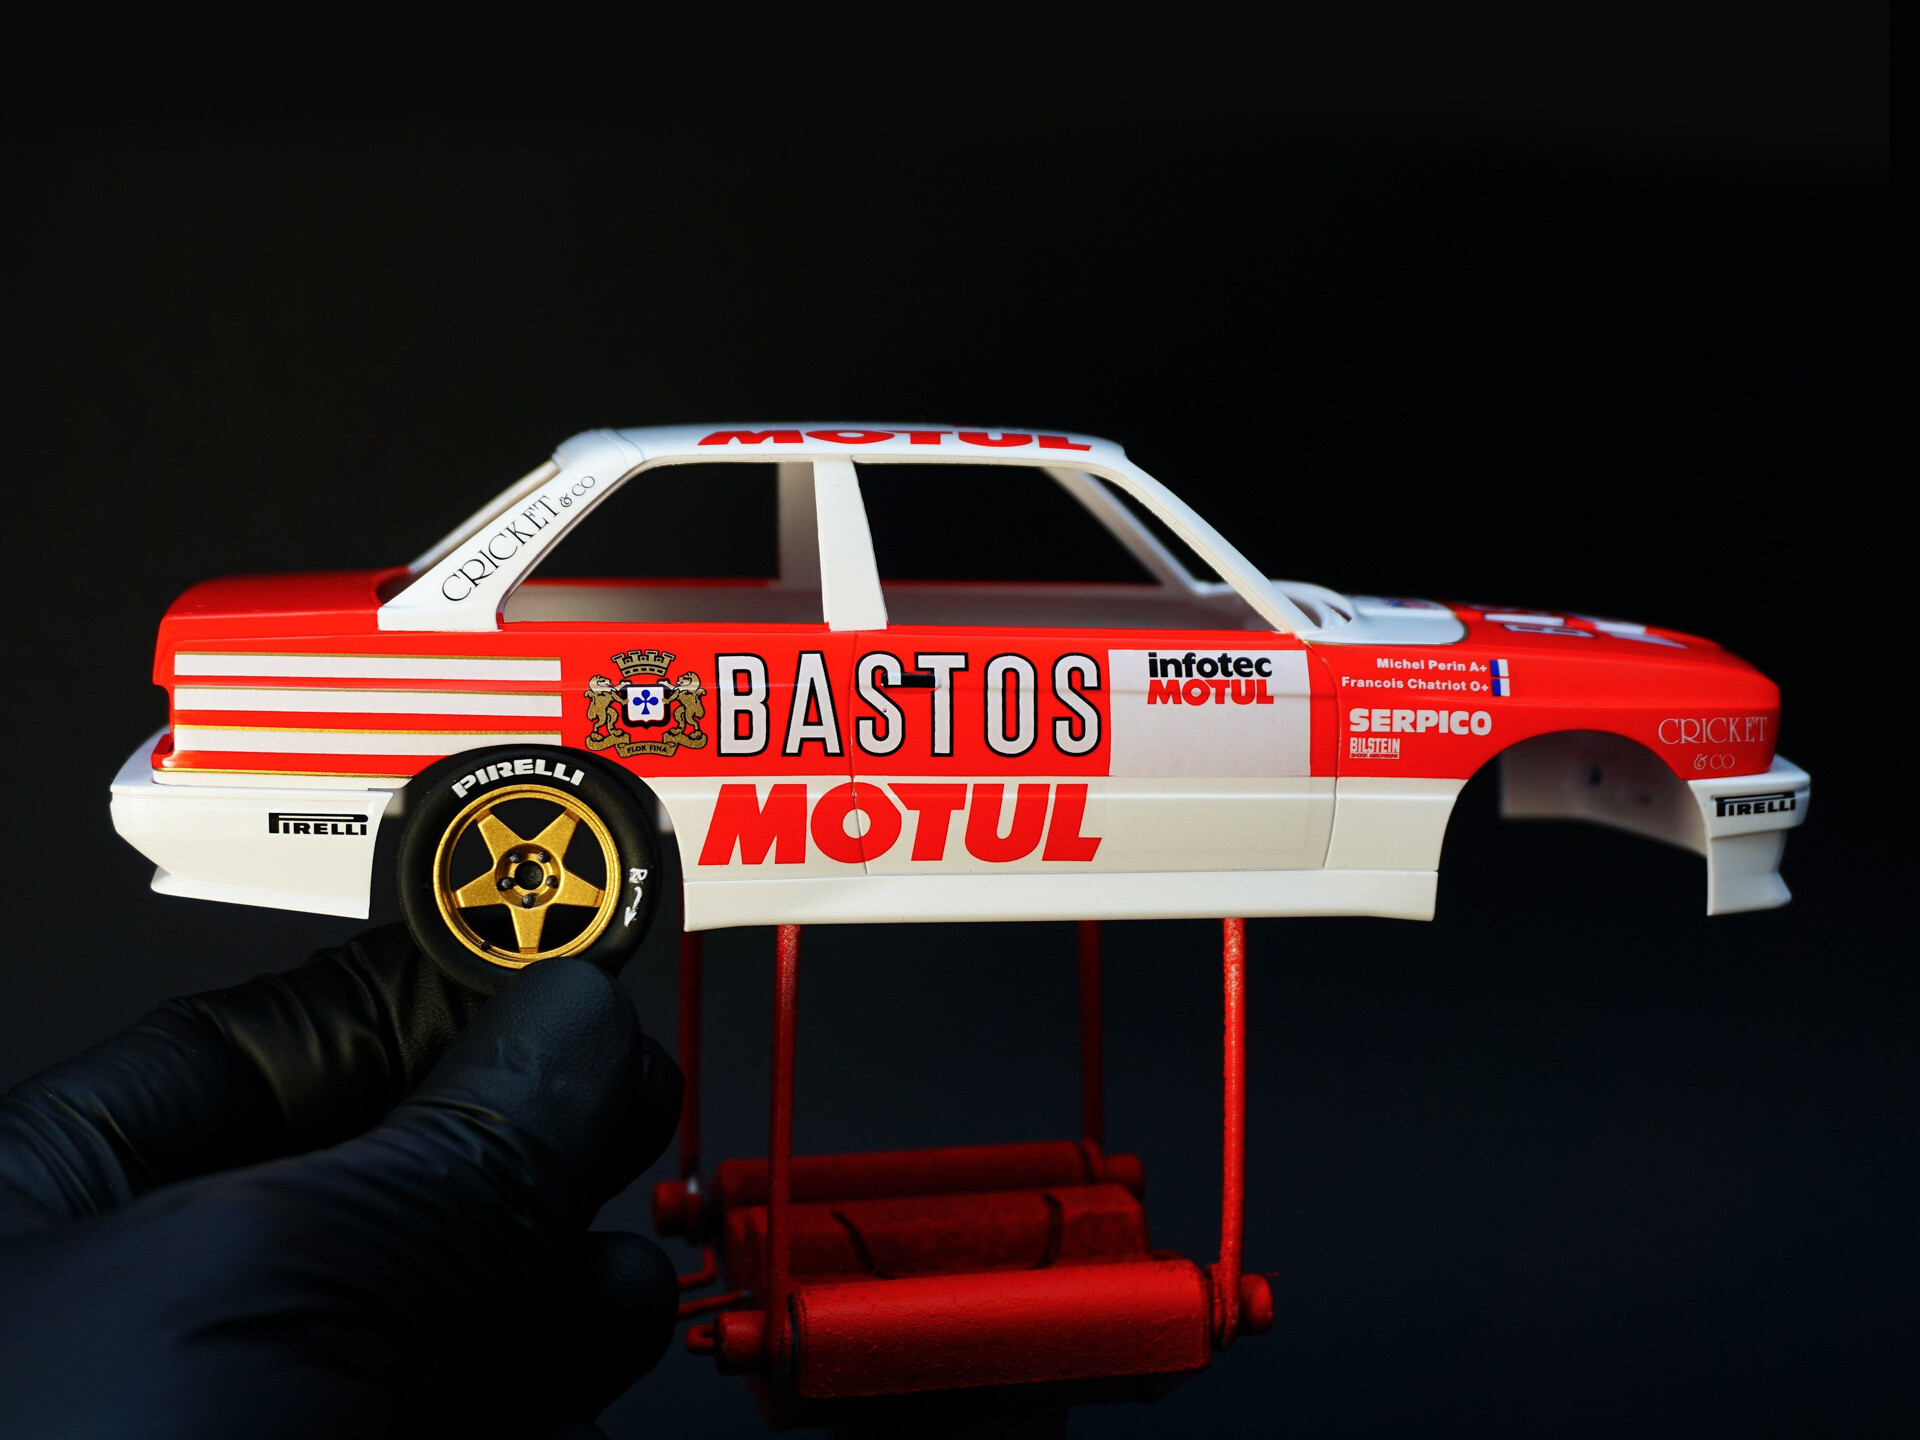
In today's update, work on the rims and tires.
As I already mentioned, the original bolts will be removed and replaced with scalecars.online product.

Before reaming, I removed the inner edges of the rims to make them look natural.

Comparison of narrowed and non-narrowed rim.

Removing screws and reaming rims for air valves.


Rims painted with primer and Tamiya TS-21.

Rims with new bolts and air valves. The color of the bolts is Tamiya TS-42, the color of the valves is Humbrol 33.

Tires fitted and wrapped with decals, tread rubbed with sandpaper to add the realism.
Pirelli decals - Beemax
P.Zero decals - Tamiya
Tire markings - Decalcas
Front rims markings (red dots) - Tamiya


Below, the effects of two weeks of work on the BMW Prodrive.
At the beginning, puttying the fuel filler flap, the lack of which I found on a real car.

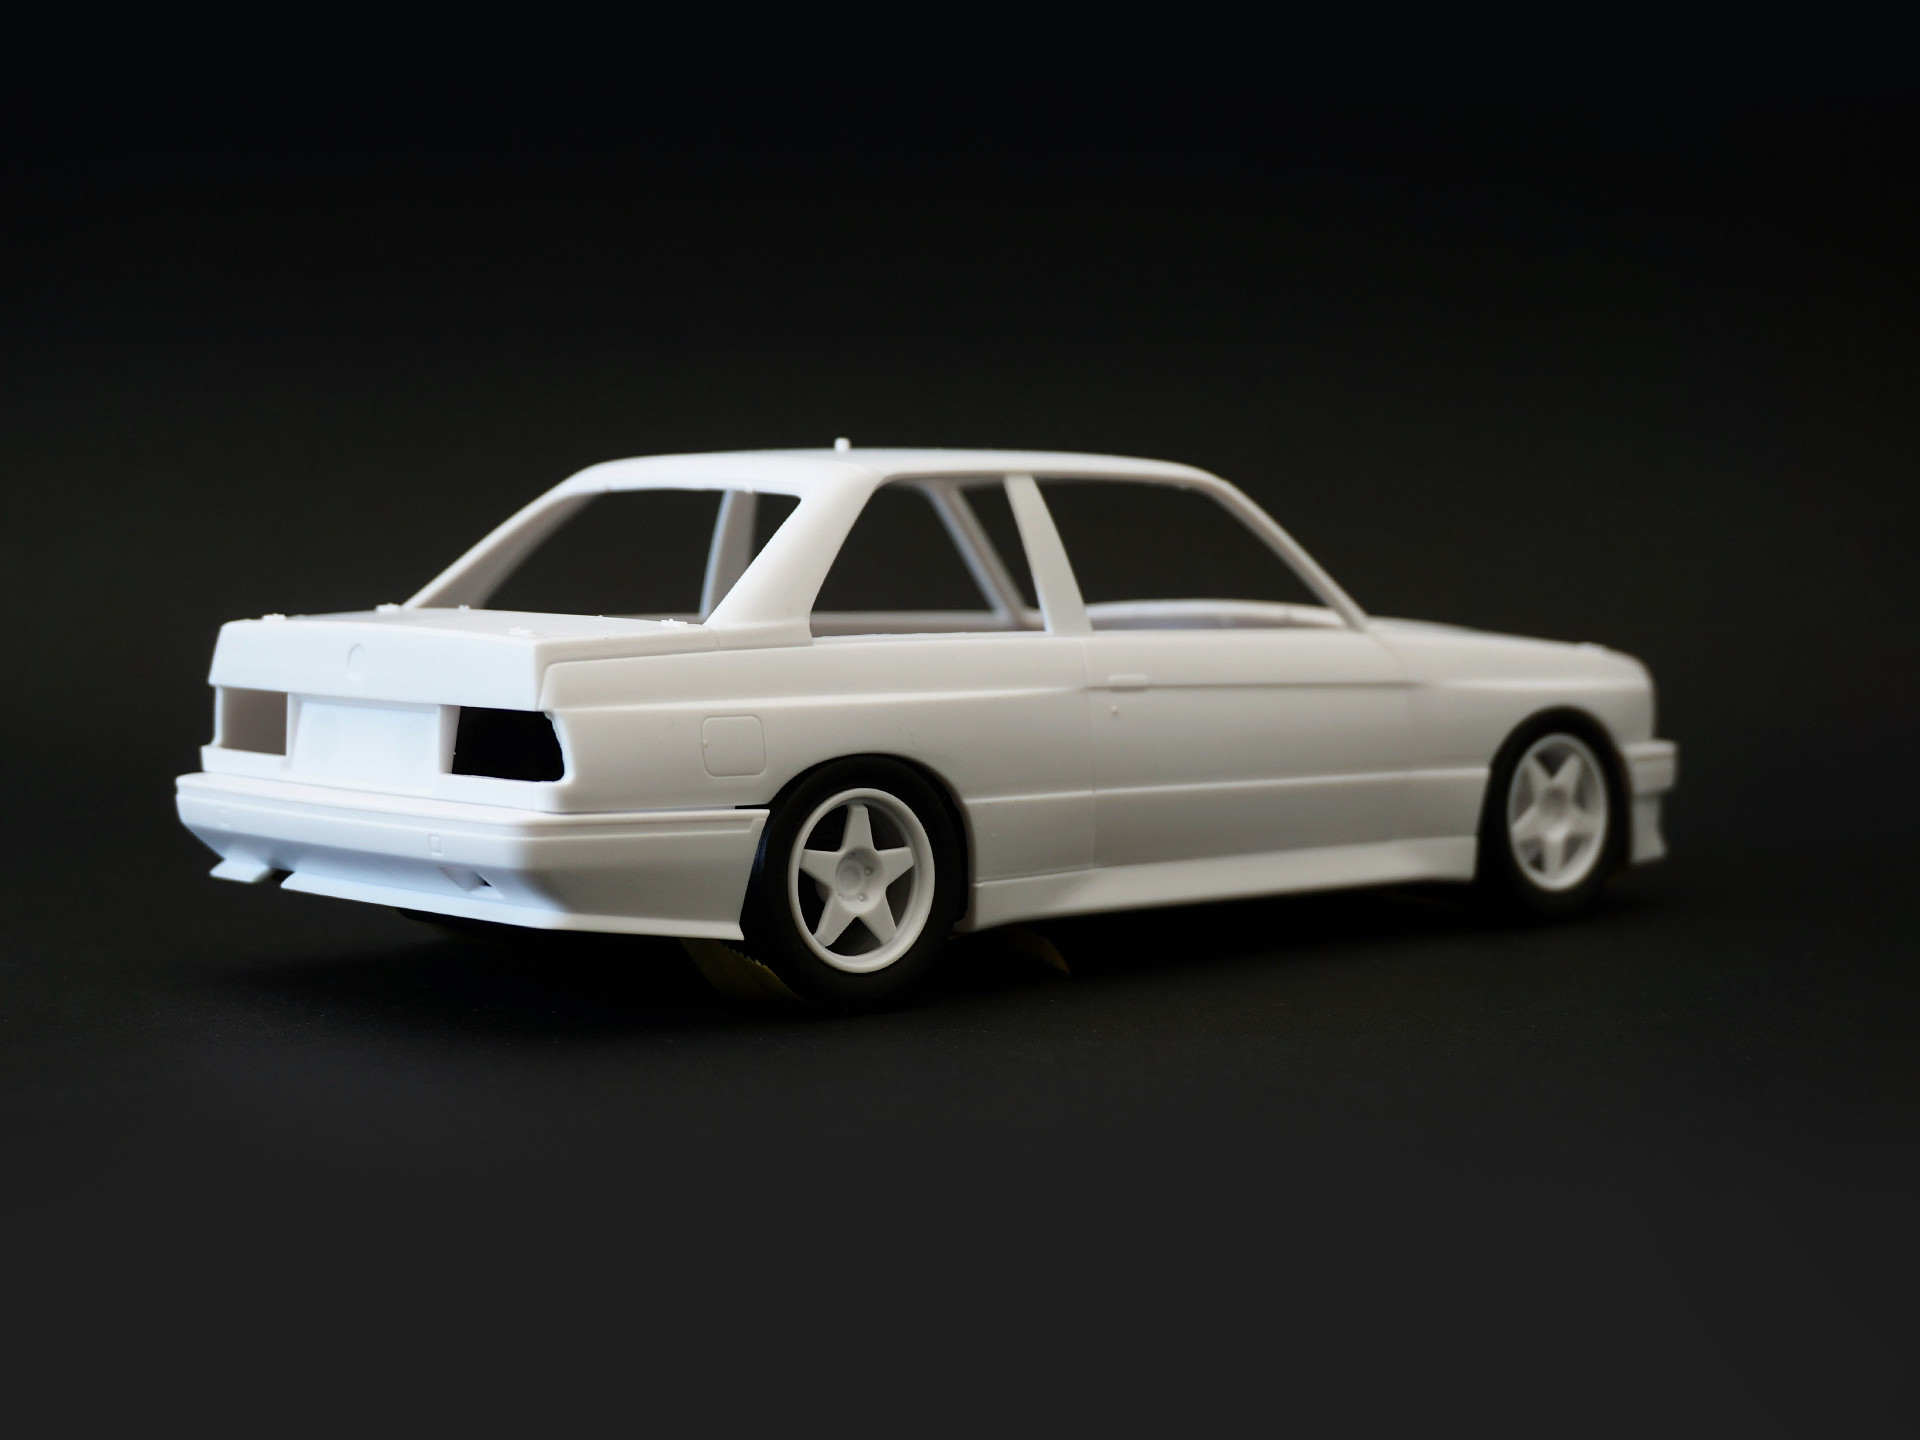
Then the car body had to be perfected, seams and unevenness were removed.
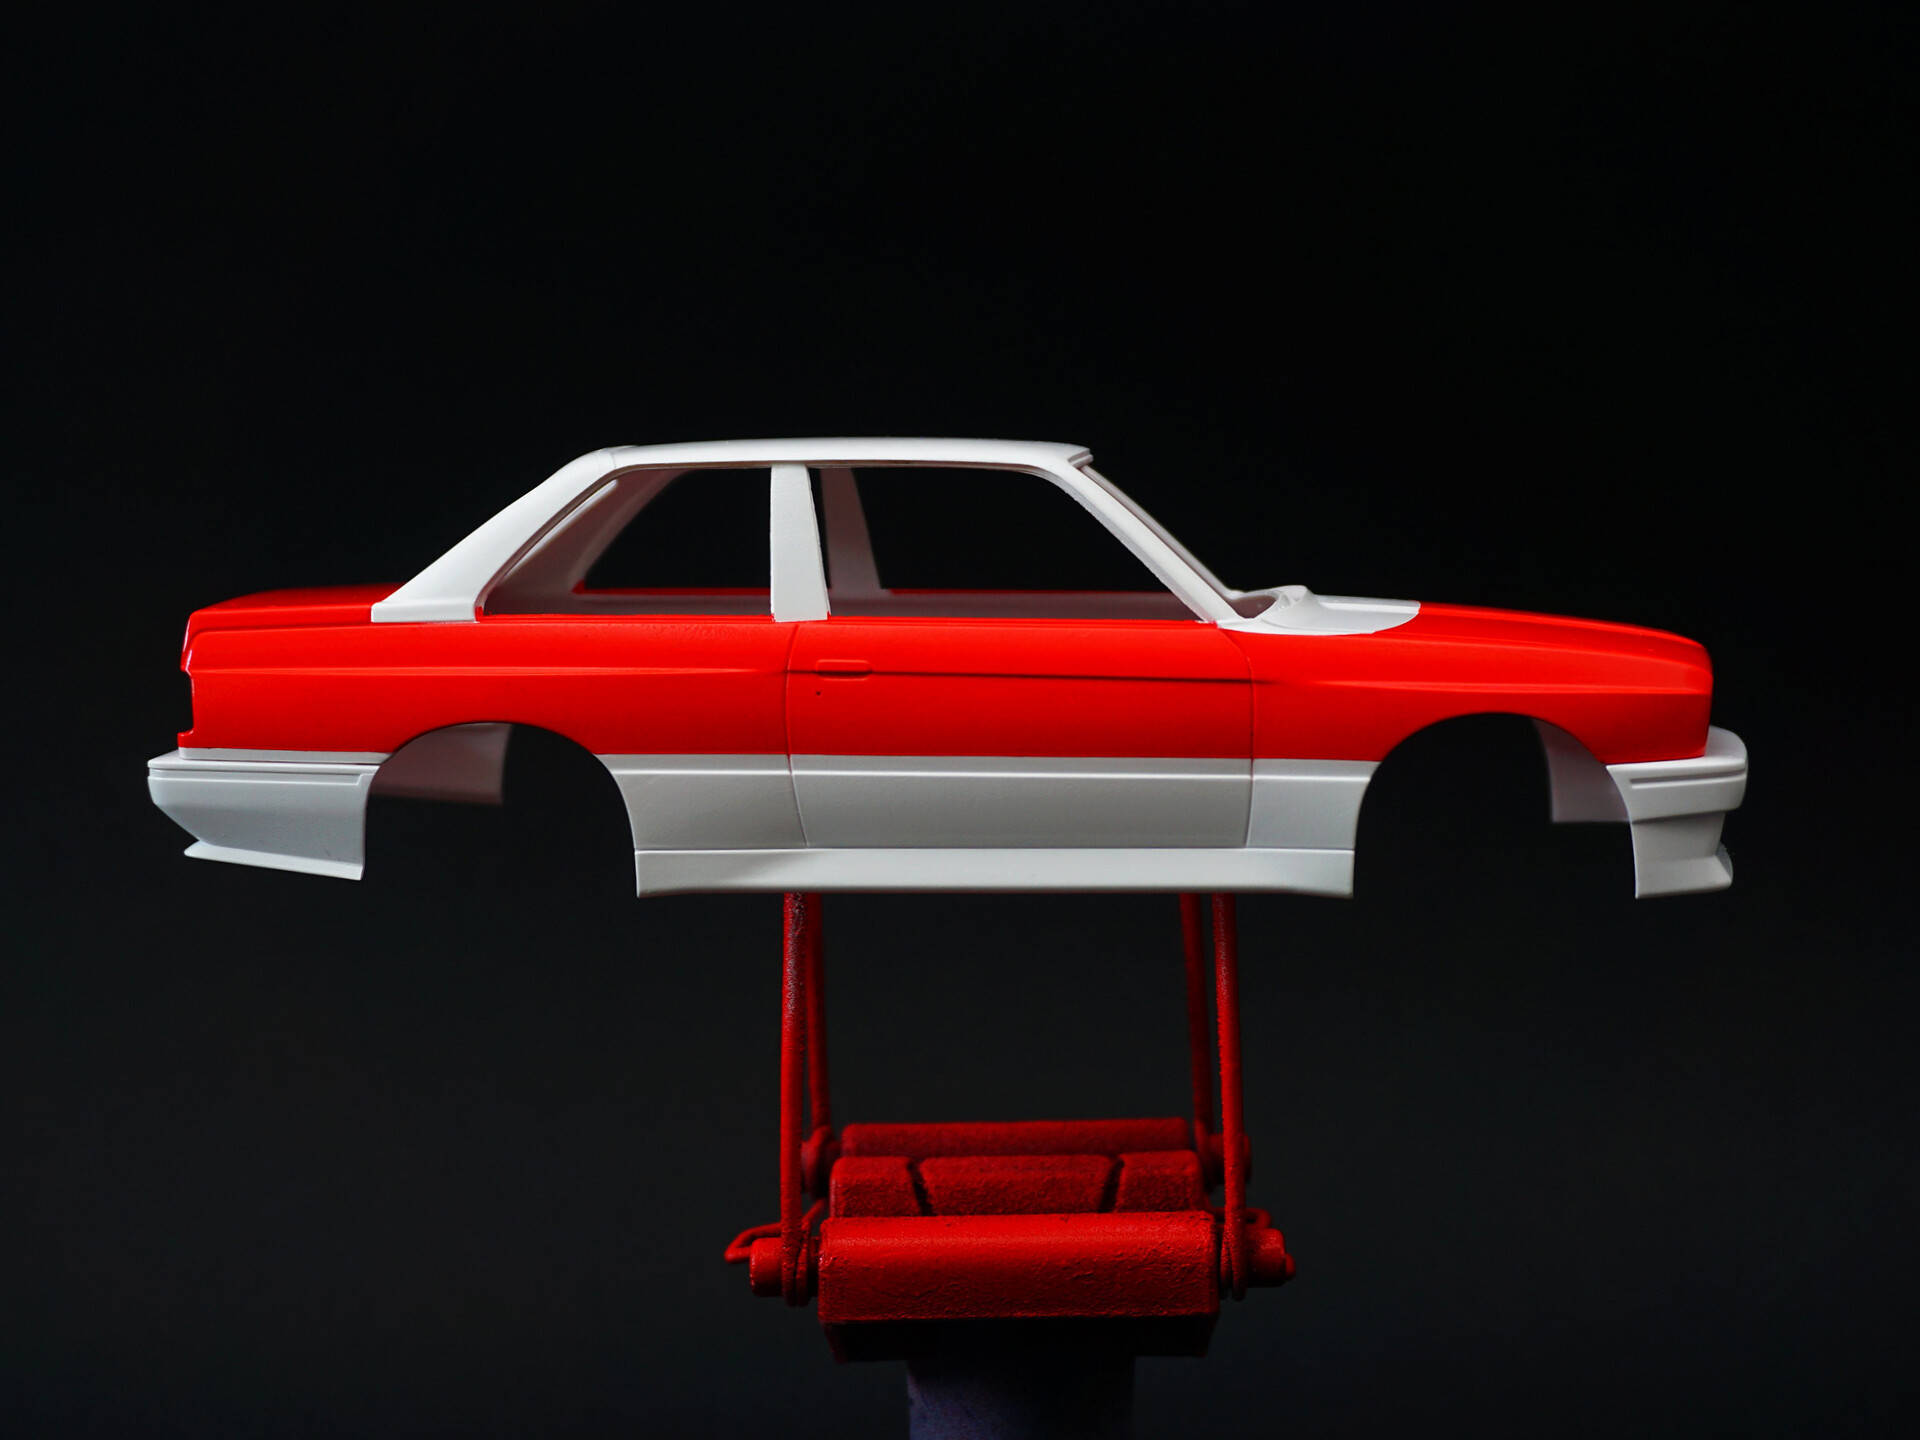
The model was painted with a primer and a white Tamiya's spray TS-26 base.


The next stage of work was masking the model - 5 hours of taping.


Painting with Tamiya TS-49.

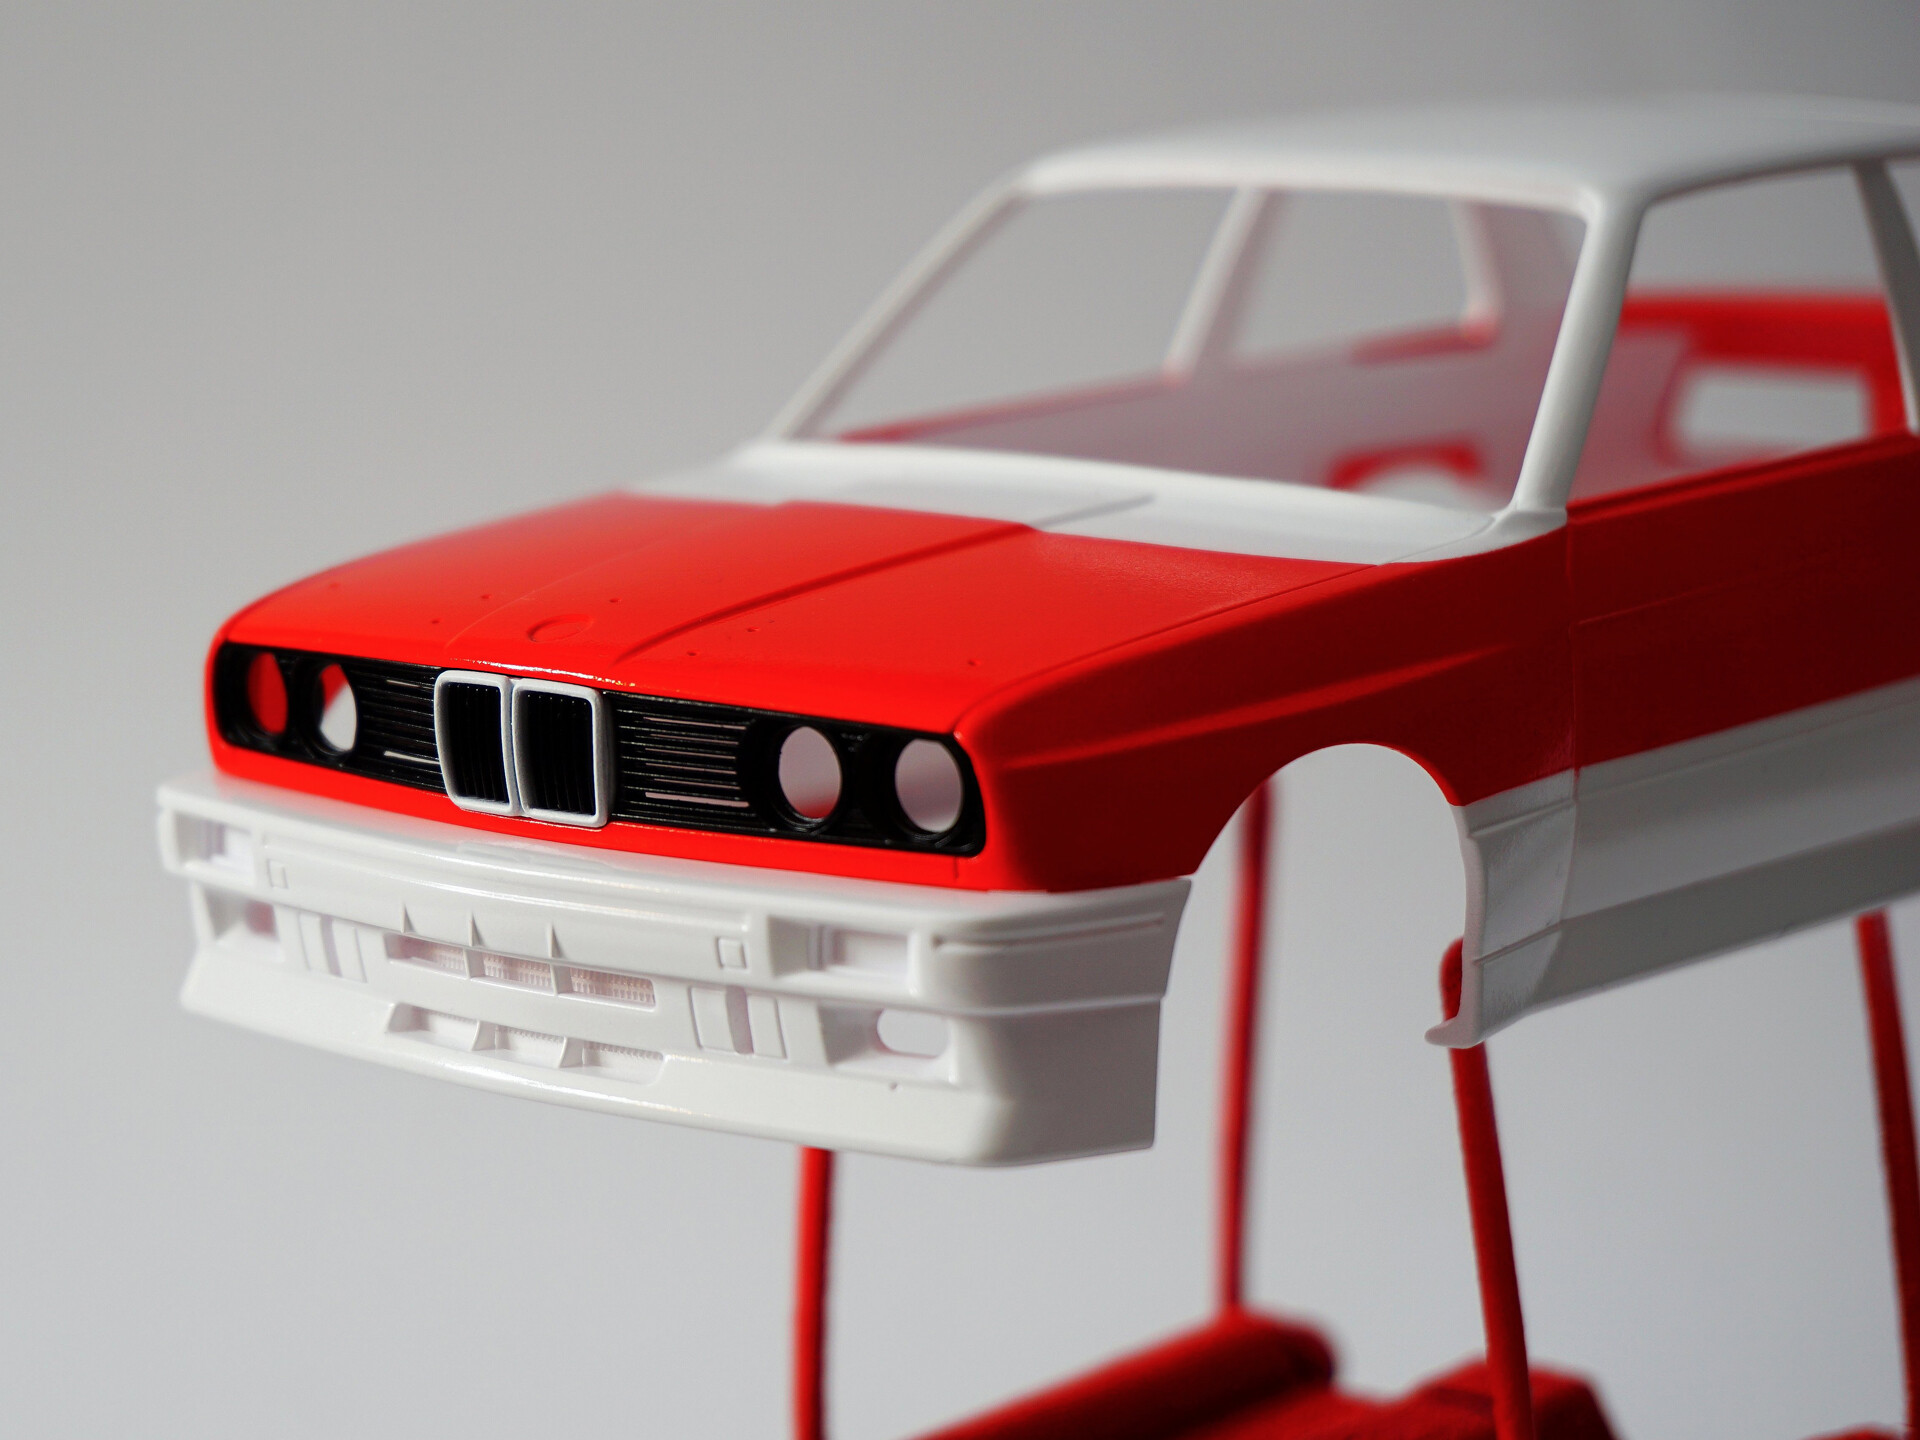
After removing the masking tapes, I had to make a few corrections, but overall I am satisfied with the result of the work.


Try on the grill :)
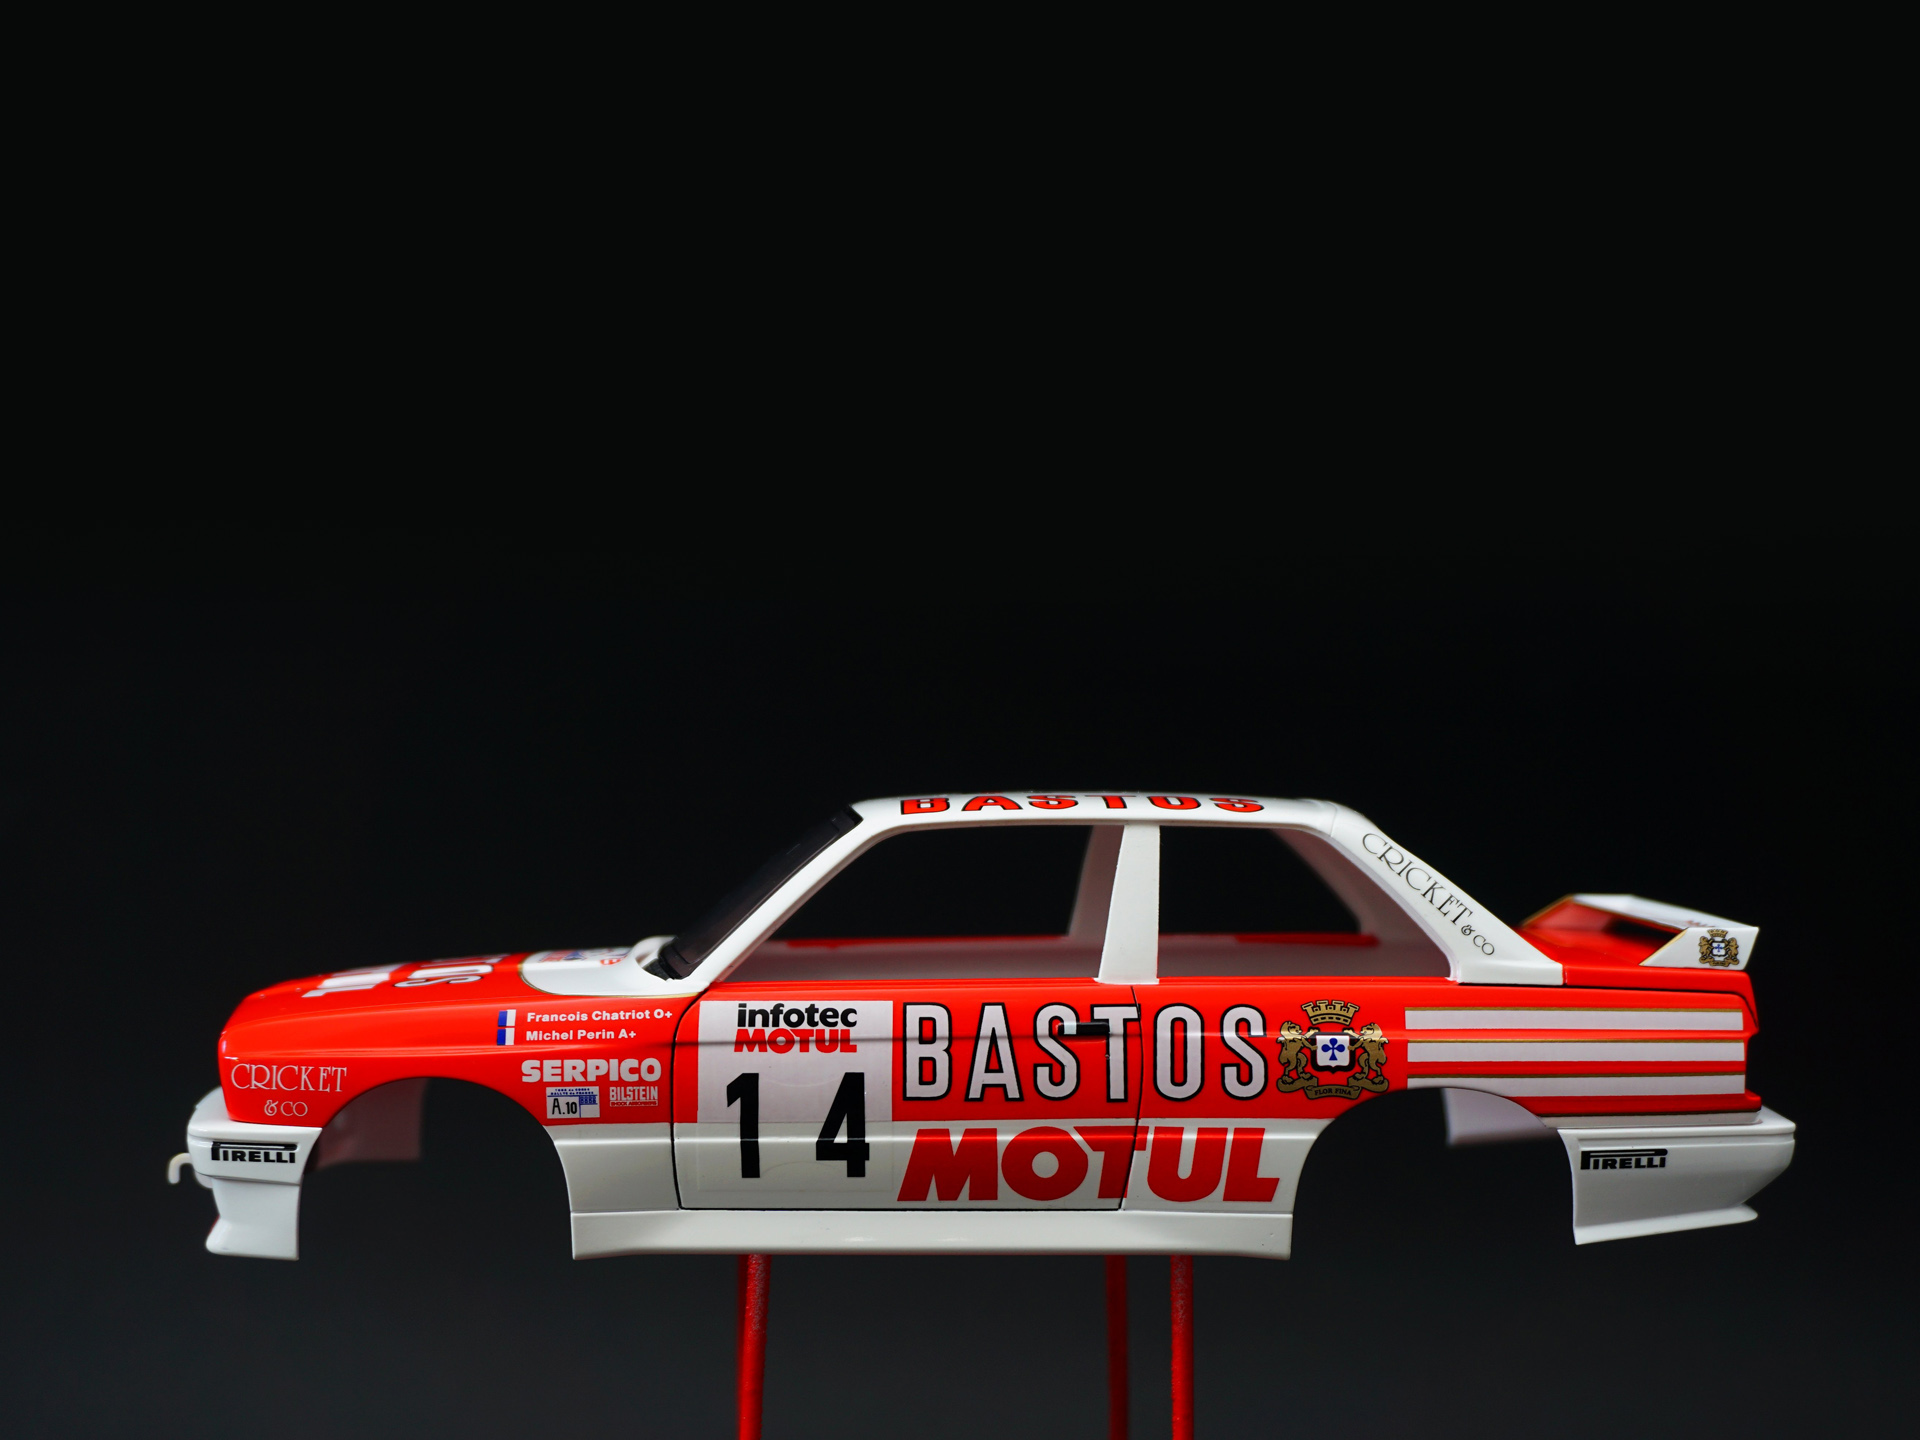
The next stage of work on BMW M3 has begun - applying decals.
Day one and the first decals on the model. White and gold stripes cut from original decals sheet and applied individually.
13 stickers in total... About 4 hours of work.


Day two.
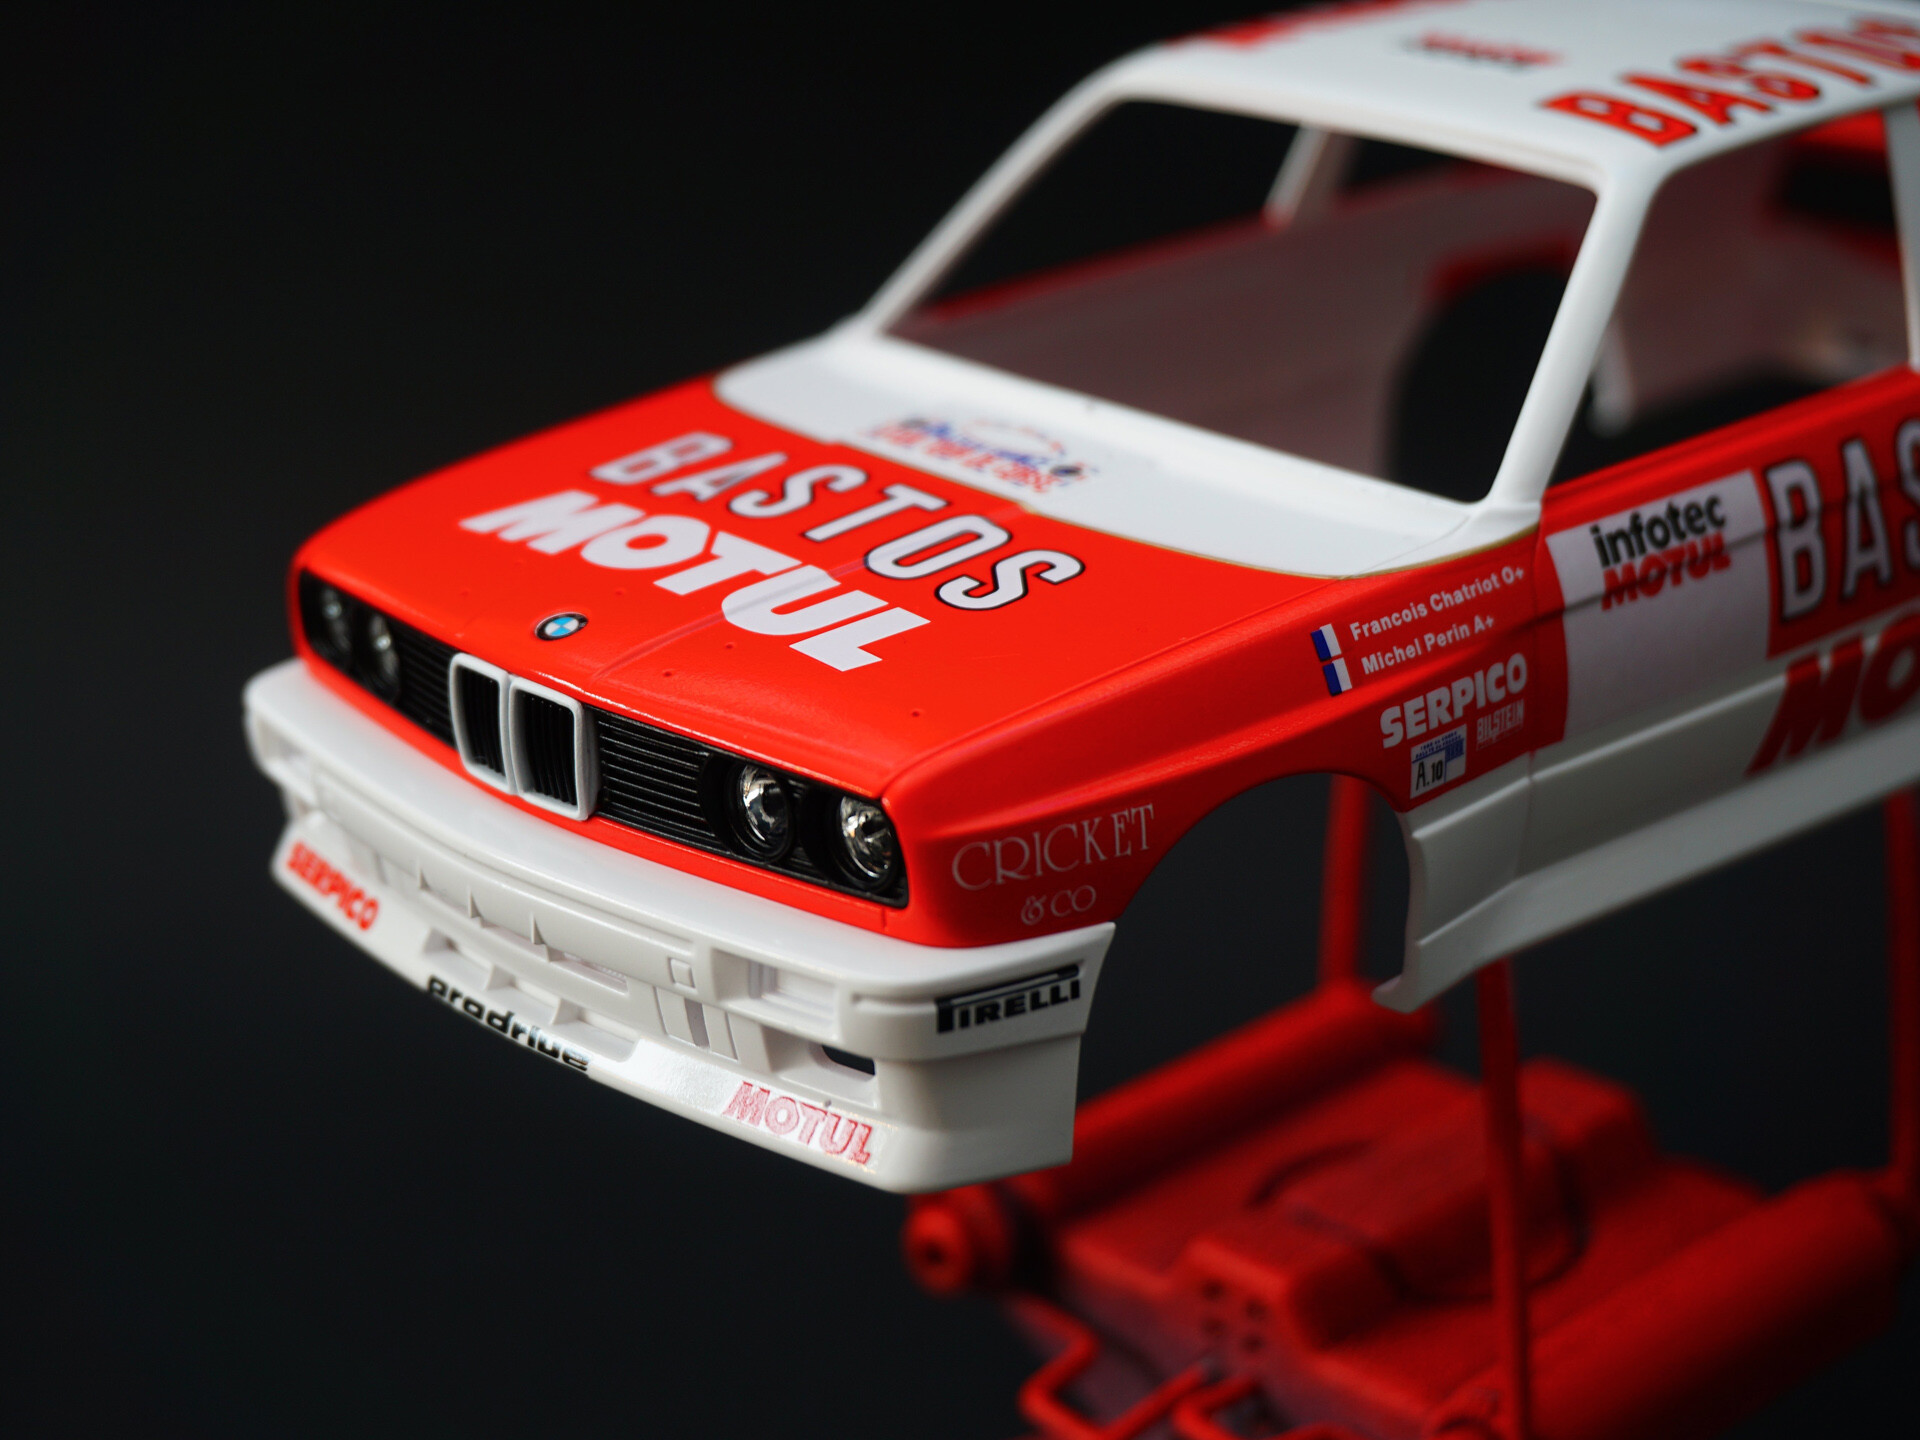
First Bastos and Motul decals on the car! I used a Renaissance decals on the model's hood. Bastos crests on the sides of the model is also Renaissance, because the golden color looked better than the Beemax one. Bastos decals on the sides of the model are Beemax.
Each decal was cut into 5 pieces and applied separately. Today's work took me 6 hours.


In today's update, day three and day four of the decals application.
Day three is 21 decals and 7 hours of work. Day four is 15 decals and 5 hours of work.


Now the car body is waiting to be cleaned of decal solutions and debris from cotton buds. The next step is to clear coat.

The model was painted with TS-13.
Below are the first results of polishing.


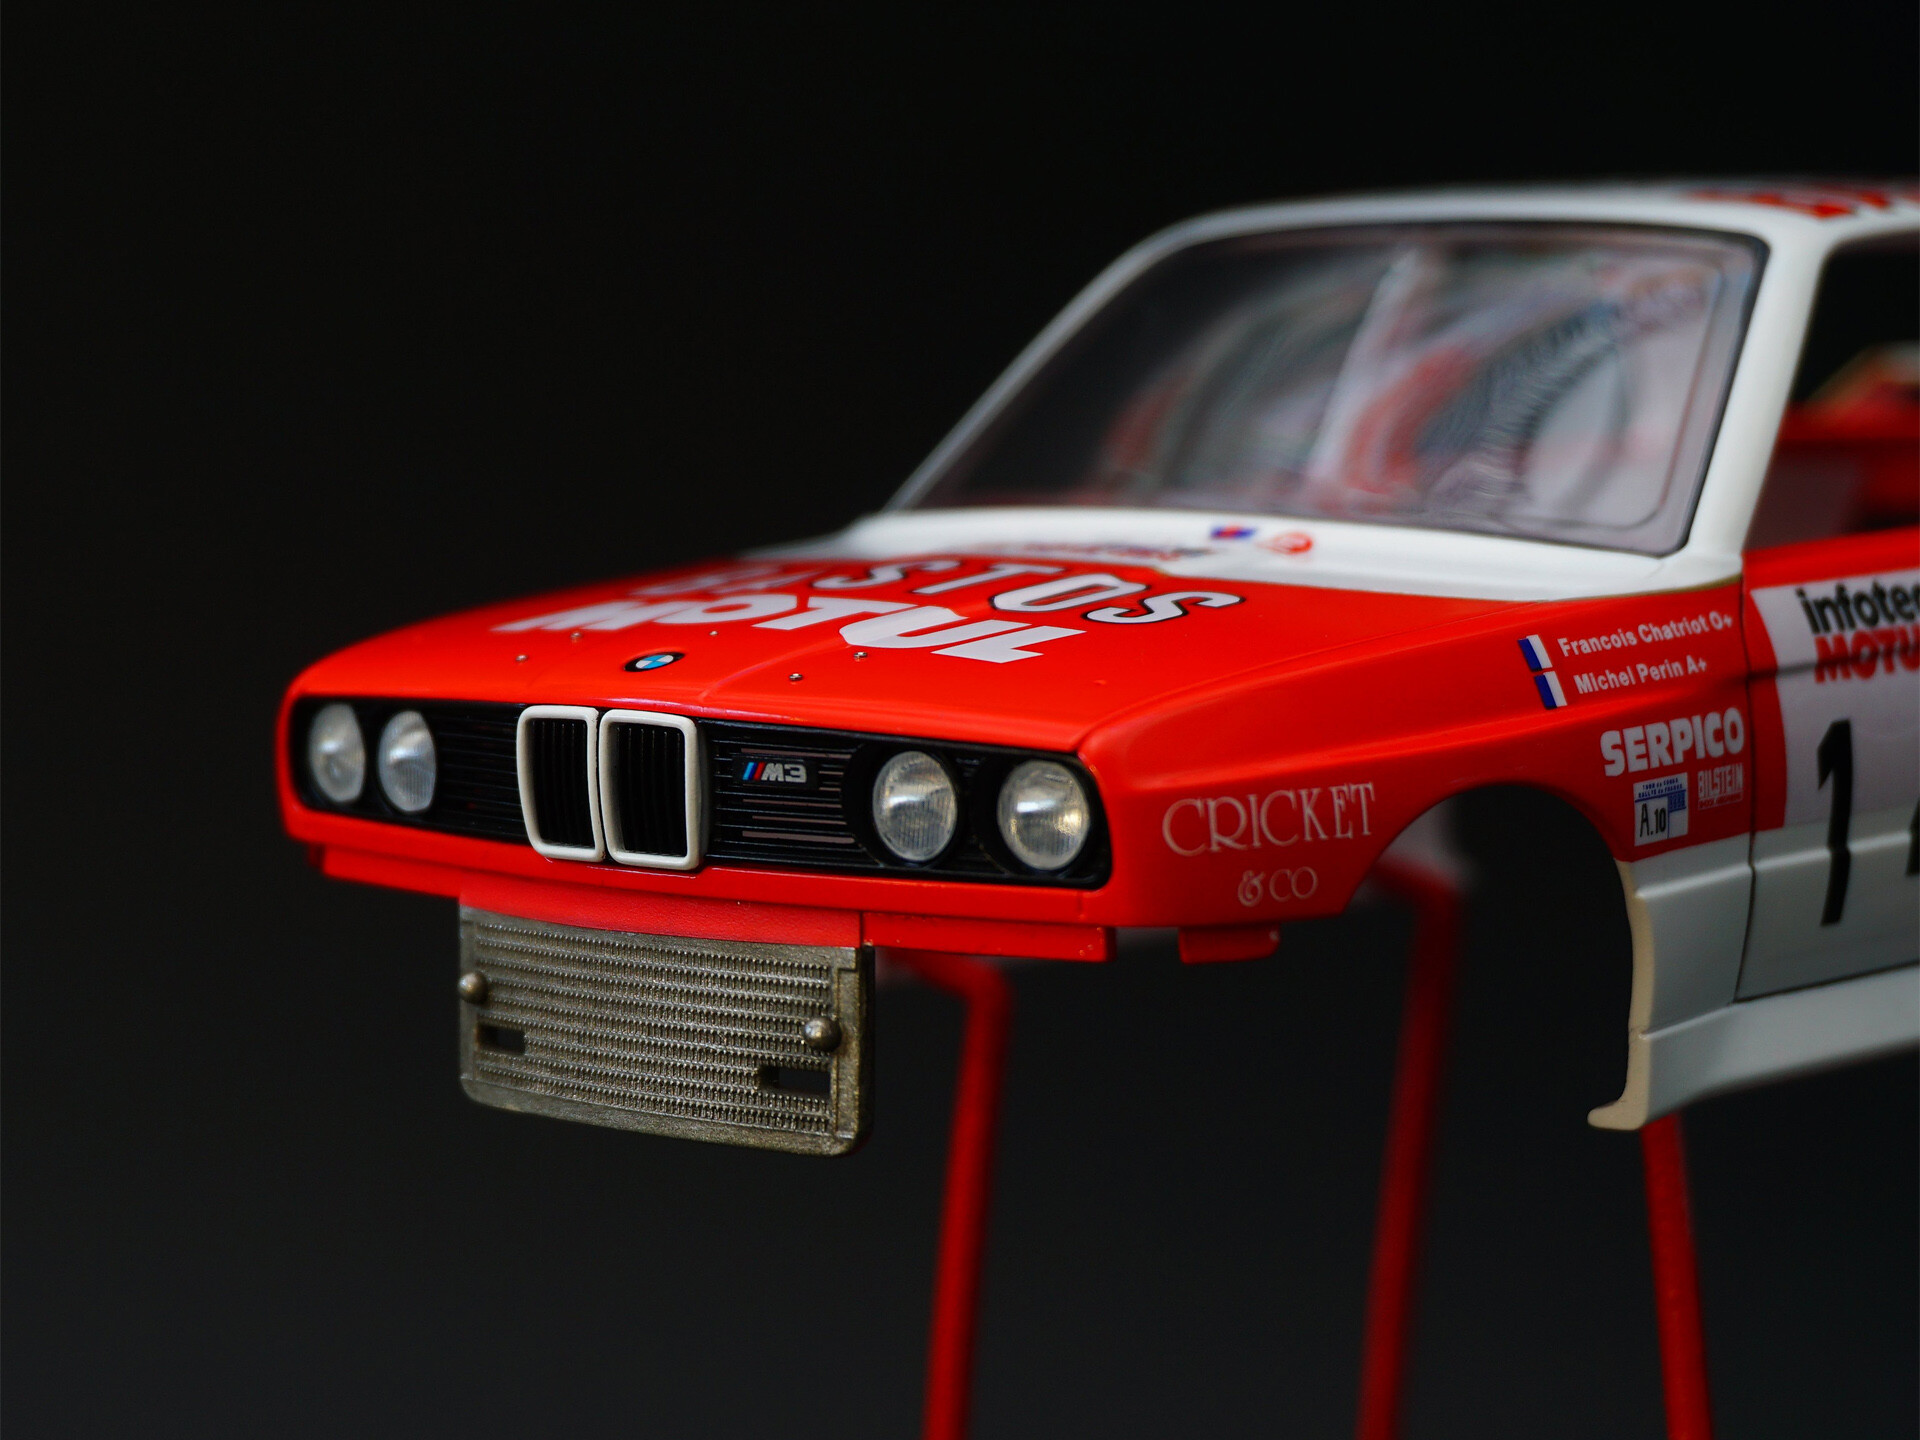
Simultaneously with the polishing, the work focused on the finishing of the front bumper. Indicator lenses are painted with TS-73. Halogen covers got black frames to visually bring the model closer to the original. The hooks for lifting the car in the service area come from the model set, not from an additional photo etched set. The reason is that the PE plates would be too thin for the real hooks and, moreover, it would not be possible to stick yellow markers on them.
The air inlet mesh has been painted black, while according to the manual, the detail is to be painted white, which is a mistake. In general, the bumper of the model comes from the racing version and has two air intakes. I made the mistake of not blocking the top inlet, convinced it would be completely covered by license plate. However, this is not the case and if someone does not realize and makes the model according to the instructions, then will have an incorrectly made front bumper. I covered the holes with white masking tape, because at this stage of work the bumper was already painted, glued and polished. It's not a perfect solution, but I think I handled the situation.


Small details can change the overall look of the model. And that's exactly what happened when I put the headlight lenses. Eventually, the model begins to look appropriate. I put the M3 emblem on the grill. Beemax added an appropriate sticker, but forgot to add the part to put the emblem on. I put halogen mounting bolts on the hood. I also made the panel lines and added several decals.


The cooler is also ready.
Update 9 | 09.12.2021
The reflectors in the model kit are chrome plated. This helps modellers, especially with headlamps, but does not always work with tail lamps. In the BMW model, the chrome reflectors of the rear lights in combination with the lampshades looked very unnatural, so I painted the reflectors with a matt varnish.
The BMW rear lights are divided into sections - turn signal, reversing lights, etc. One of the sections is a reflector that is located in the lampshade, so there is no visual depth in the lamp. I made this detail with silver paper taken from a cigarette pack. The model instruction incorrectly and not clearly describes the way of painting the reversing light, which made the transparent surface too small. I managed to avoid this mistake.
Another mistake in the model manual is the color of the fuel filler cap. It should be black, not silver.


Beginning of the work on interior.

First, a modification of the roll cage.
Beemax in its manual recommends removing two roll cage components, but this is not enough for the model to conform to the specification of the rally car version. I marked all the elements that need to be removed for it to be correct.

Below the roll cage before and after modifications.


Roll cage fittings and model floor plate with markers for drilling.


One of the things that should be refined in the Beemax model is the rear shelf. In the rally specification, it has additional reinforcements.


The interior was painted white. Now you can clearly see the 54 holes drilled in it.


Parts fitting try-ons.


Another works on interior details.
Cover cap of the floor plate painted black. Electrical wires in place. Rear shelf detailed up with rivets.


Fuel and fire extinguishing lines.
The fire tank is from Subaru but has been modified and adapted to this model. In addition, I have added homologation stickers. Fuel lines are Top Studio 0.6mm, hose joints are scalecars.online product.


Control console - another of the things you won't find in this model's manual. Which is strange as this part is included in the kit. In any case, the console must be placed in front of the gear stick. In addition, I made wires for it.


Hand brake lever.
As I mentioned at the beginning of this project, the Beemax kit does not include a handbrake. It is included in an additional set of parts and decals dedicated to this model, which must be purchased separately. In addition, the manual contains an error in the description of the painting of the frame, which should be black, not silver. Another mistake is the lack of connection of the hose with the cable, which makes the handbrake incomplete. I made this detail using the hose joint SCO-R006. In addition, I also made a cable.


Helmets holder.
Another part that is not included in the Beemax kit is the helmets holder. Mine comes from Subaru Impreza 2001 by Tamiya, anyway, both cars were produced by Prodrive. The part was painted with a gray primer and then I washed it for a sponge effect. Unfortunately Tamiya part is incomplete as it is just a sponge without a frame. So I also made a frame.


Pilot's foot riser.
I have to repeat myself "the next part, which is not included in the Beemax set, is" - the foot riser. Mine is from Subaru Impreza 2001, I have made it to fit BMW. Additionally, I made a support to make it look like in a real car.


And now work on the floor from the driver's side. Driver's foot riser made. Beemax has not correctly placed the throttle pedal. It should be in the floor so I fixed this bug and additionally made a tie-rod.

The fire extinguisher is another part that is not included in Beemax kit.

Sponges on the roll cage done. Below another attempt to adjust the frame.


The drilled seats were painted with Humbrol 33 Black Matt. Then I applied Kevlar decals. The next step was to wash the Kevlar surface and paint the Tamiya TS-80. I added the seat inserts cut to the correct size from sandpaper and painted them with Humbrol 106 + wash. Then Recaro decals and entire seats painted TS-80. I wasn't entirely happy with the result so I sprayed the seats again but this time with Humbrol Varnish Matt.


Work on seatbelts and the first seat in place.


The driver's seat is attached.


Try on the safety cage.


Update 12 | 06.02.2022
Work on door upholstery. The upholstery on the BMW door is not uniformly gray as the model manual shows us. It has a pattern. I decided to try to do something to make the upholstery look more like in a real car. In the photos you can see the work process.


Work on the Dashboard. The dashboard was painted TS-29 and later TS-80, all this to obtain the right structure of the plating and it worked. Clocks and central panel details are the decals from Renaissance. I had to use them because decals from Beemax are made for a racing car and not a rally car. ON/OFF switches from the driver's side are a product from scalecars.online (SCO-R001). Clutch and brake pedals gained anti-slip mats made of sandpaper. I refined the details and colors of the clock from the co-driver side, it also has a Kevlar mounting panel. The gear shift stick comes from Subaru Impreza '99. It has the appropriate shape, length and, above all, it has a reverse gear protection delimiter.


The interior is almost ready. Intercom cables done as well as a light for night special stages for co-driver.


Work on the floor plate, driveline, exhaust system, suspension and brakes.

At first, the floor plate, which had to be modified to the specification of a rally car.

From the floor plate, I removed the car's hydraulic jacks intended for pit-stops and the extinguishing fluid tank mounted to the bottom of racing cars. There are two reasons - the extinguishing fluid tank is already inside the model, the second more important is that the exhaust system catalyst should be located in the place of the tank. The entire original exhaust system provided by Beemax for this model is generally incorrect. So I removed the front section of the exhaust pipes from the plate. I also removed the original gearbox oil cooler and the fuel tank cover, which would hit the ground in a rally car. I put cut-to-size styrene slices into the space left by the removed elements and then putty them. In the rear part of the floor plate, I plugged the catalyzer groove.

The chassis was painted with a white Tamiya primer and then the TS-26. The engine and gearbox have been masked so as not to flood the details with too much paint.

The next stage of work was masking the floor plate to paint the engine, gearbox and drive shaft. The colors are Humbrol 11, TS-13, TS-79. Additionally, the engine and gearbox were weathered using Tamiya (sets B and C).

After removing the masking, the floor plate also underwent a gentle weathering (Tamiya sets B and C).


Work on the differential, axleshafts and the drive shaft is painting with the following colors: Humbrol 11, Humbrol 33, TS-29, TS-79, TS-13 and Tamiya weathering (set B and C).

The next stage of work is to put the differential in its place. The model gained a new gearbox oil cooler, which I took from the BMW M3 model by Fujimi. The hoses from the gearbox to the radiator are Top Studio 0.6 mm. The hose joints are scalecars.online product (SCO-R006).


As already mentioned, the exhaust system of the Beemax is completely wrong. After removing it, I made my own from scratch using styrene tubes, bending them into the right shape. The catalyzer, like the gearbox oil cooler, comes from the BMW M3 model by Fujimi.

The exhaust was painted with Humbrol 11, the catalyzer and exhaust tips are Tamiya TS-42. The next step is weathering by Tamiya set "D", painting the entire with TS-79 and another weathering with set "C" to balance the colors.


The exhaust fitted in its place.


To make the brake discs look worn, I used tips from Adam and I placed the brake discs on a Dremel and sanded them with sandpaper.


The seals and window frames have been painted and the windows are in their place. A little tip for modellers who make or will make this model - the red stripes behind the side windows, decals no. 23 and 25 should be on the glass frame, not on the C-pillar. I am writing about it because all the models I have seen so far had the same mistake. The wipers come from a BMW M3 by Fujimi. In addition, in the pit I made an emergency cut-off of fuel and electricity.


On the door I placed another layer of decals with competition numbers. I wanted to reduce the showing through of red, which was a success.
I would like to thank Robert Riley for sending me an extra set of decals!

Assembled suspension and brakes.


One of the details that you don't find in the Beemax set is the engine cover. I matched mine with a set of photo-etched parts made by Hobby Design dedicated to the Subaru Impreza WRC '98. The cover was cut to the correct size, sandpaper treated, then painted matte TS-80 and again sandpaper.


A first glance at a BMW standing on wheels. The model's suspension has been raised by 1 mm to make the M3 look like a rally car, not a racing car. A few details are still missing, but the work on the model is nearing completion.


More photos of the completed model here | Gallery
Author | Krzysztof Szpakowski
Next workbench | Porsche 935 Baby

© 2025 | Cookies Policy | Terms & Conditions