
Volvo 740 Turbo | Italeri 1:24
Author | Krzysztof Szpakowski
Update 1 | 05.10.2022
I would like to present my next project - Volvo 740 Turbo.
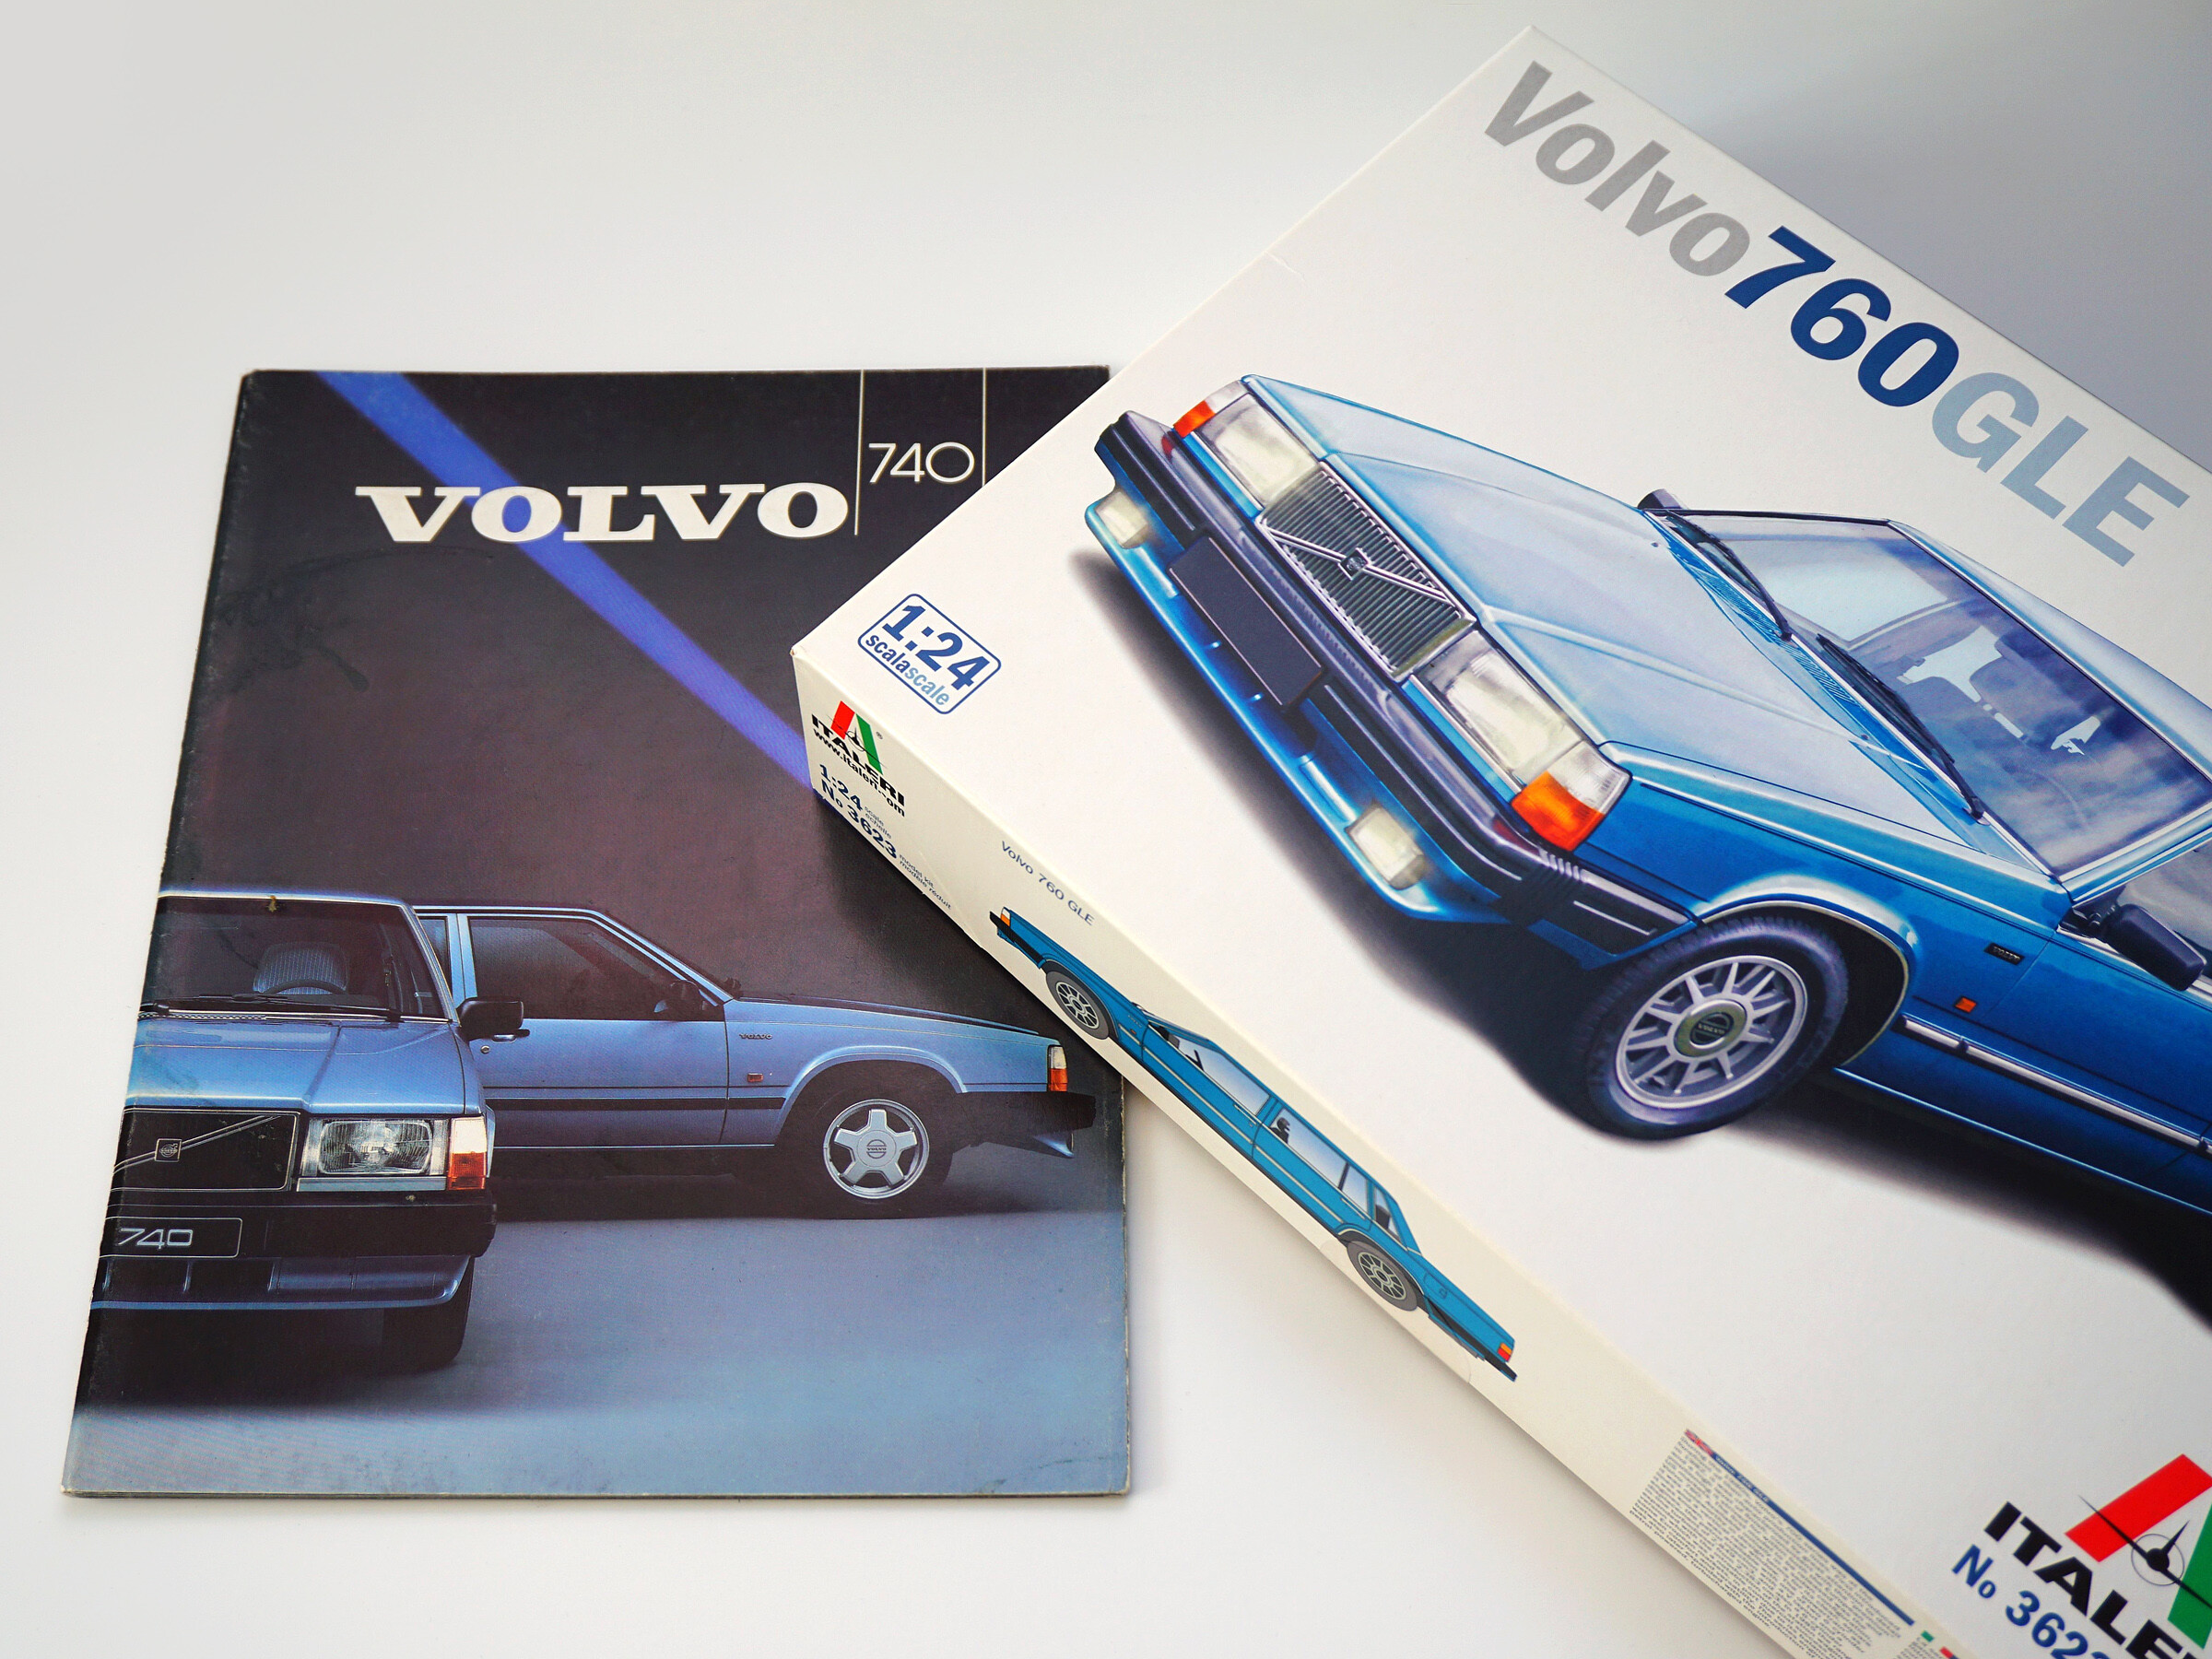
I will use the Italeri Volvo 760 GLE kit to build a miniature of the Swedish limousine.

Inbox


A few important things about the Italeri model.
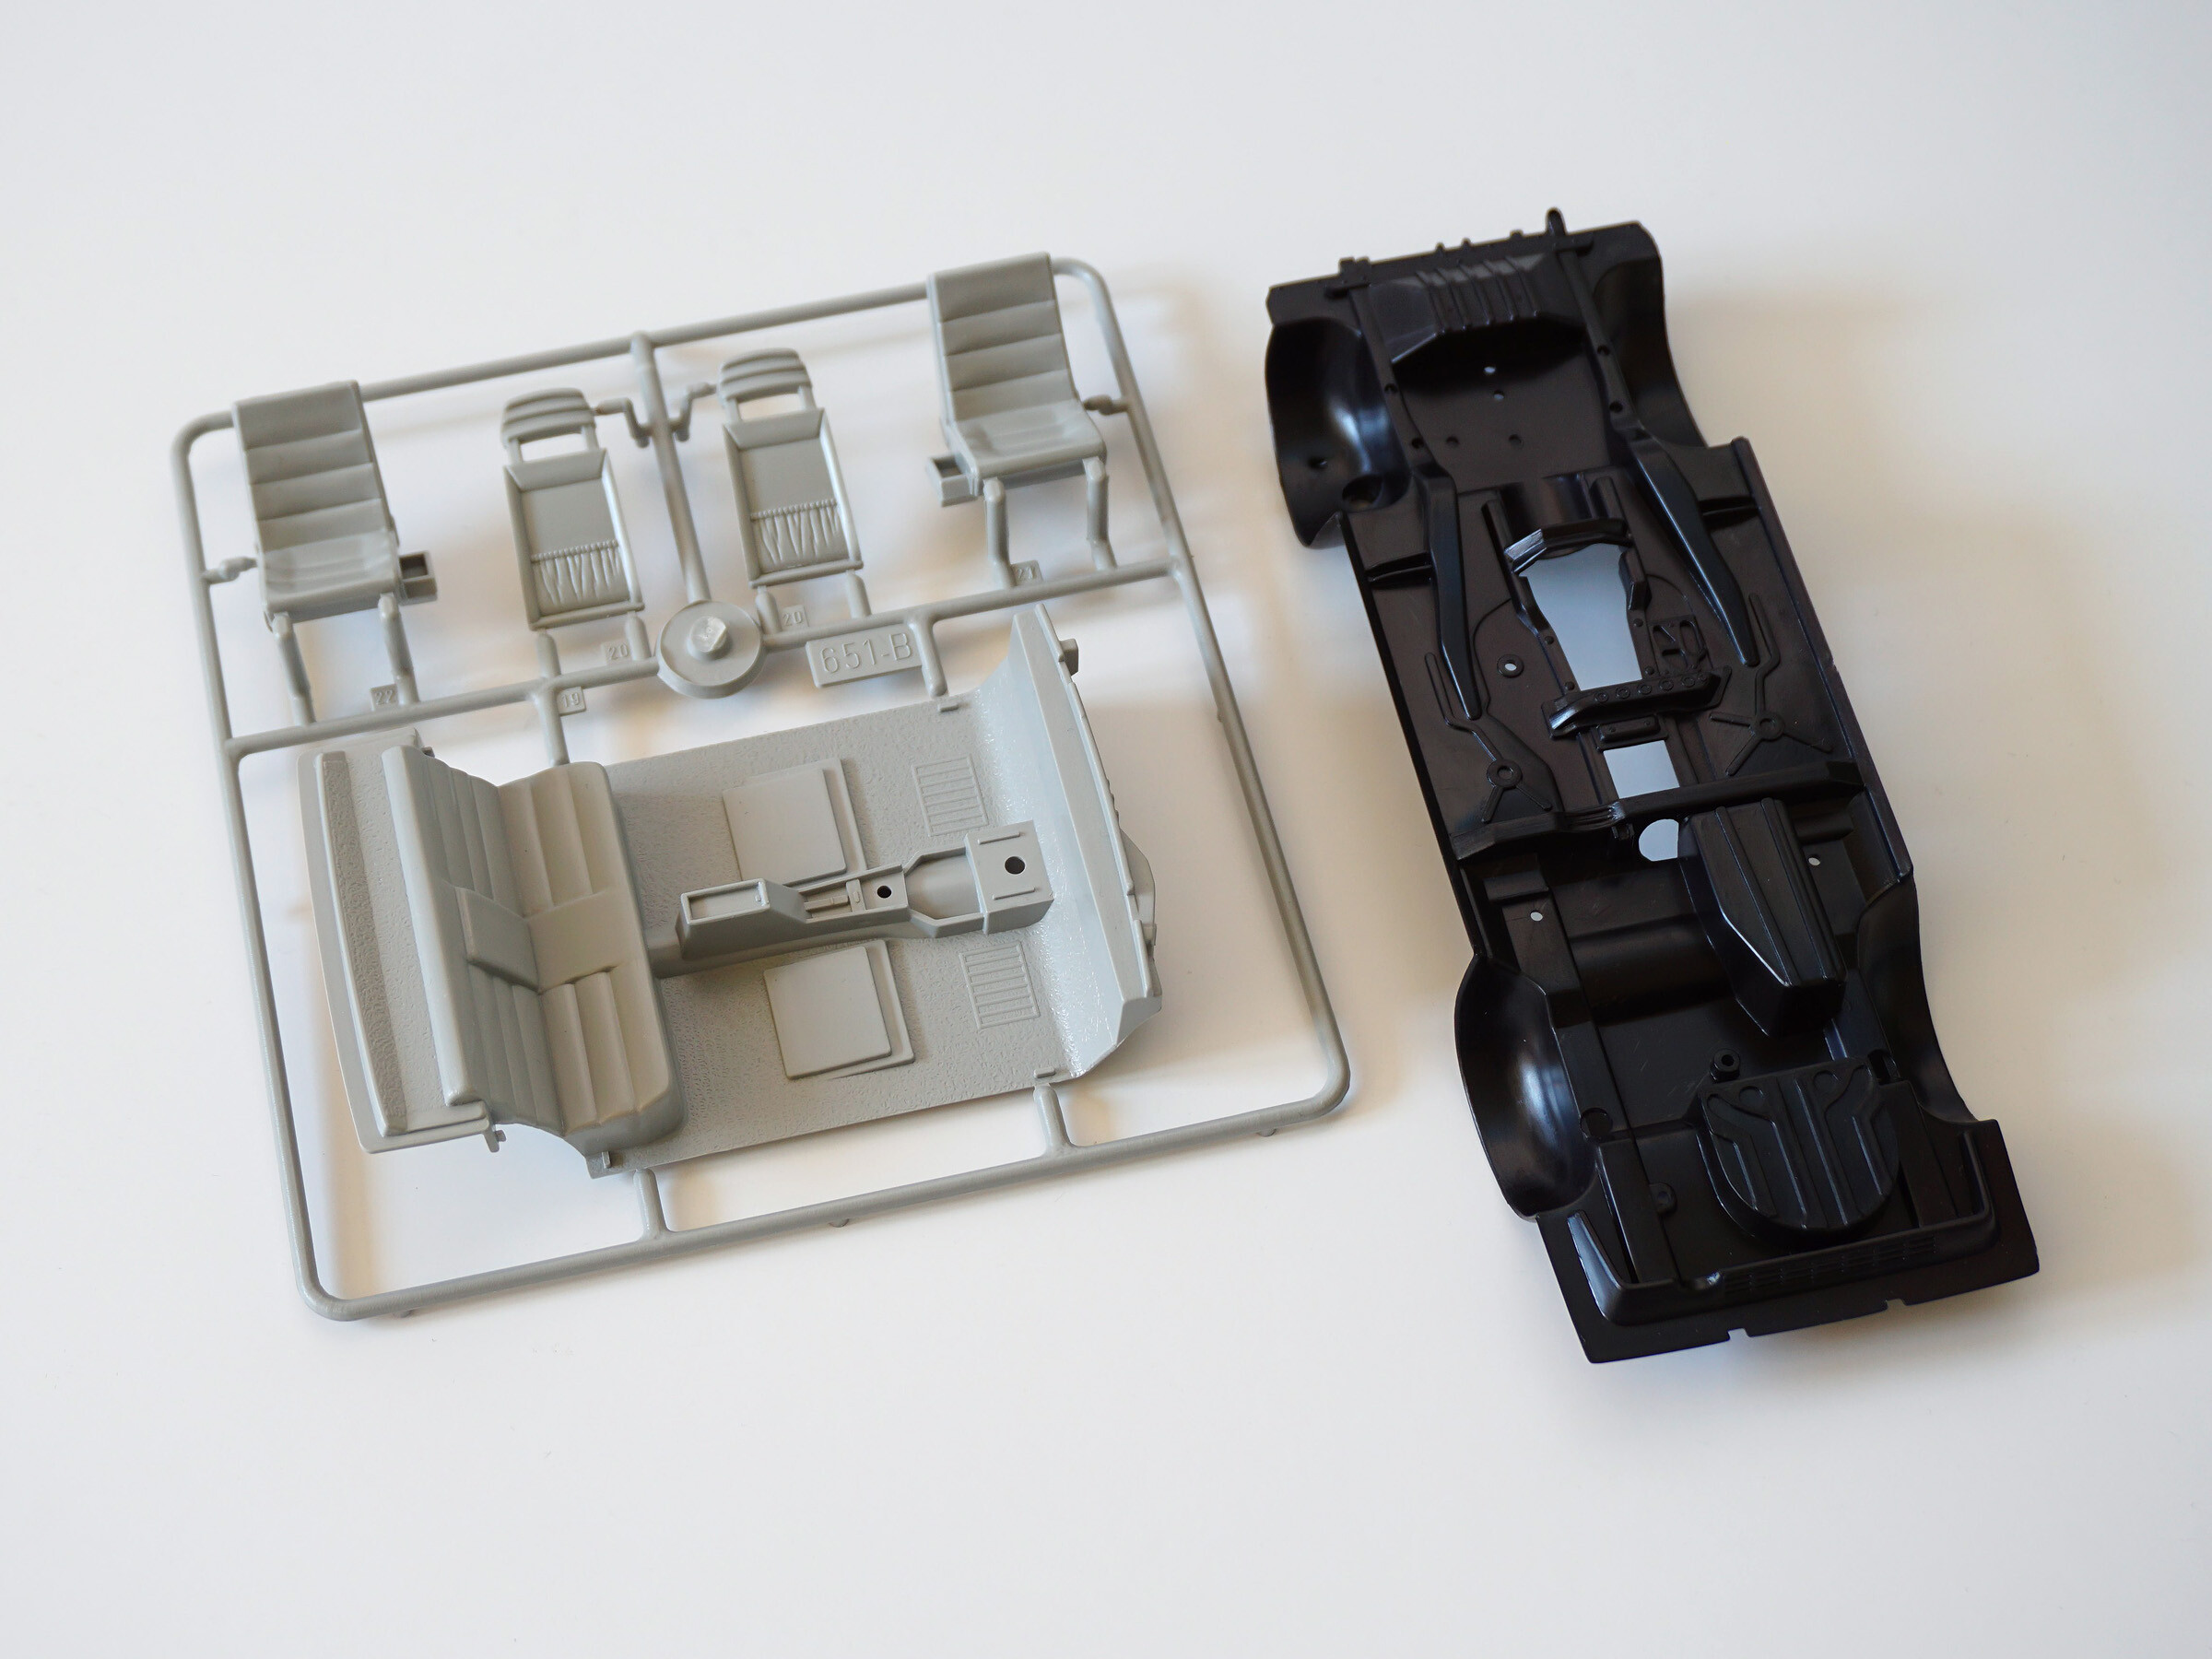
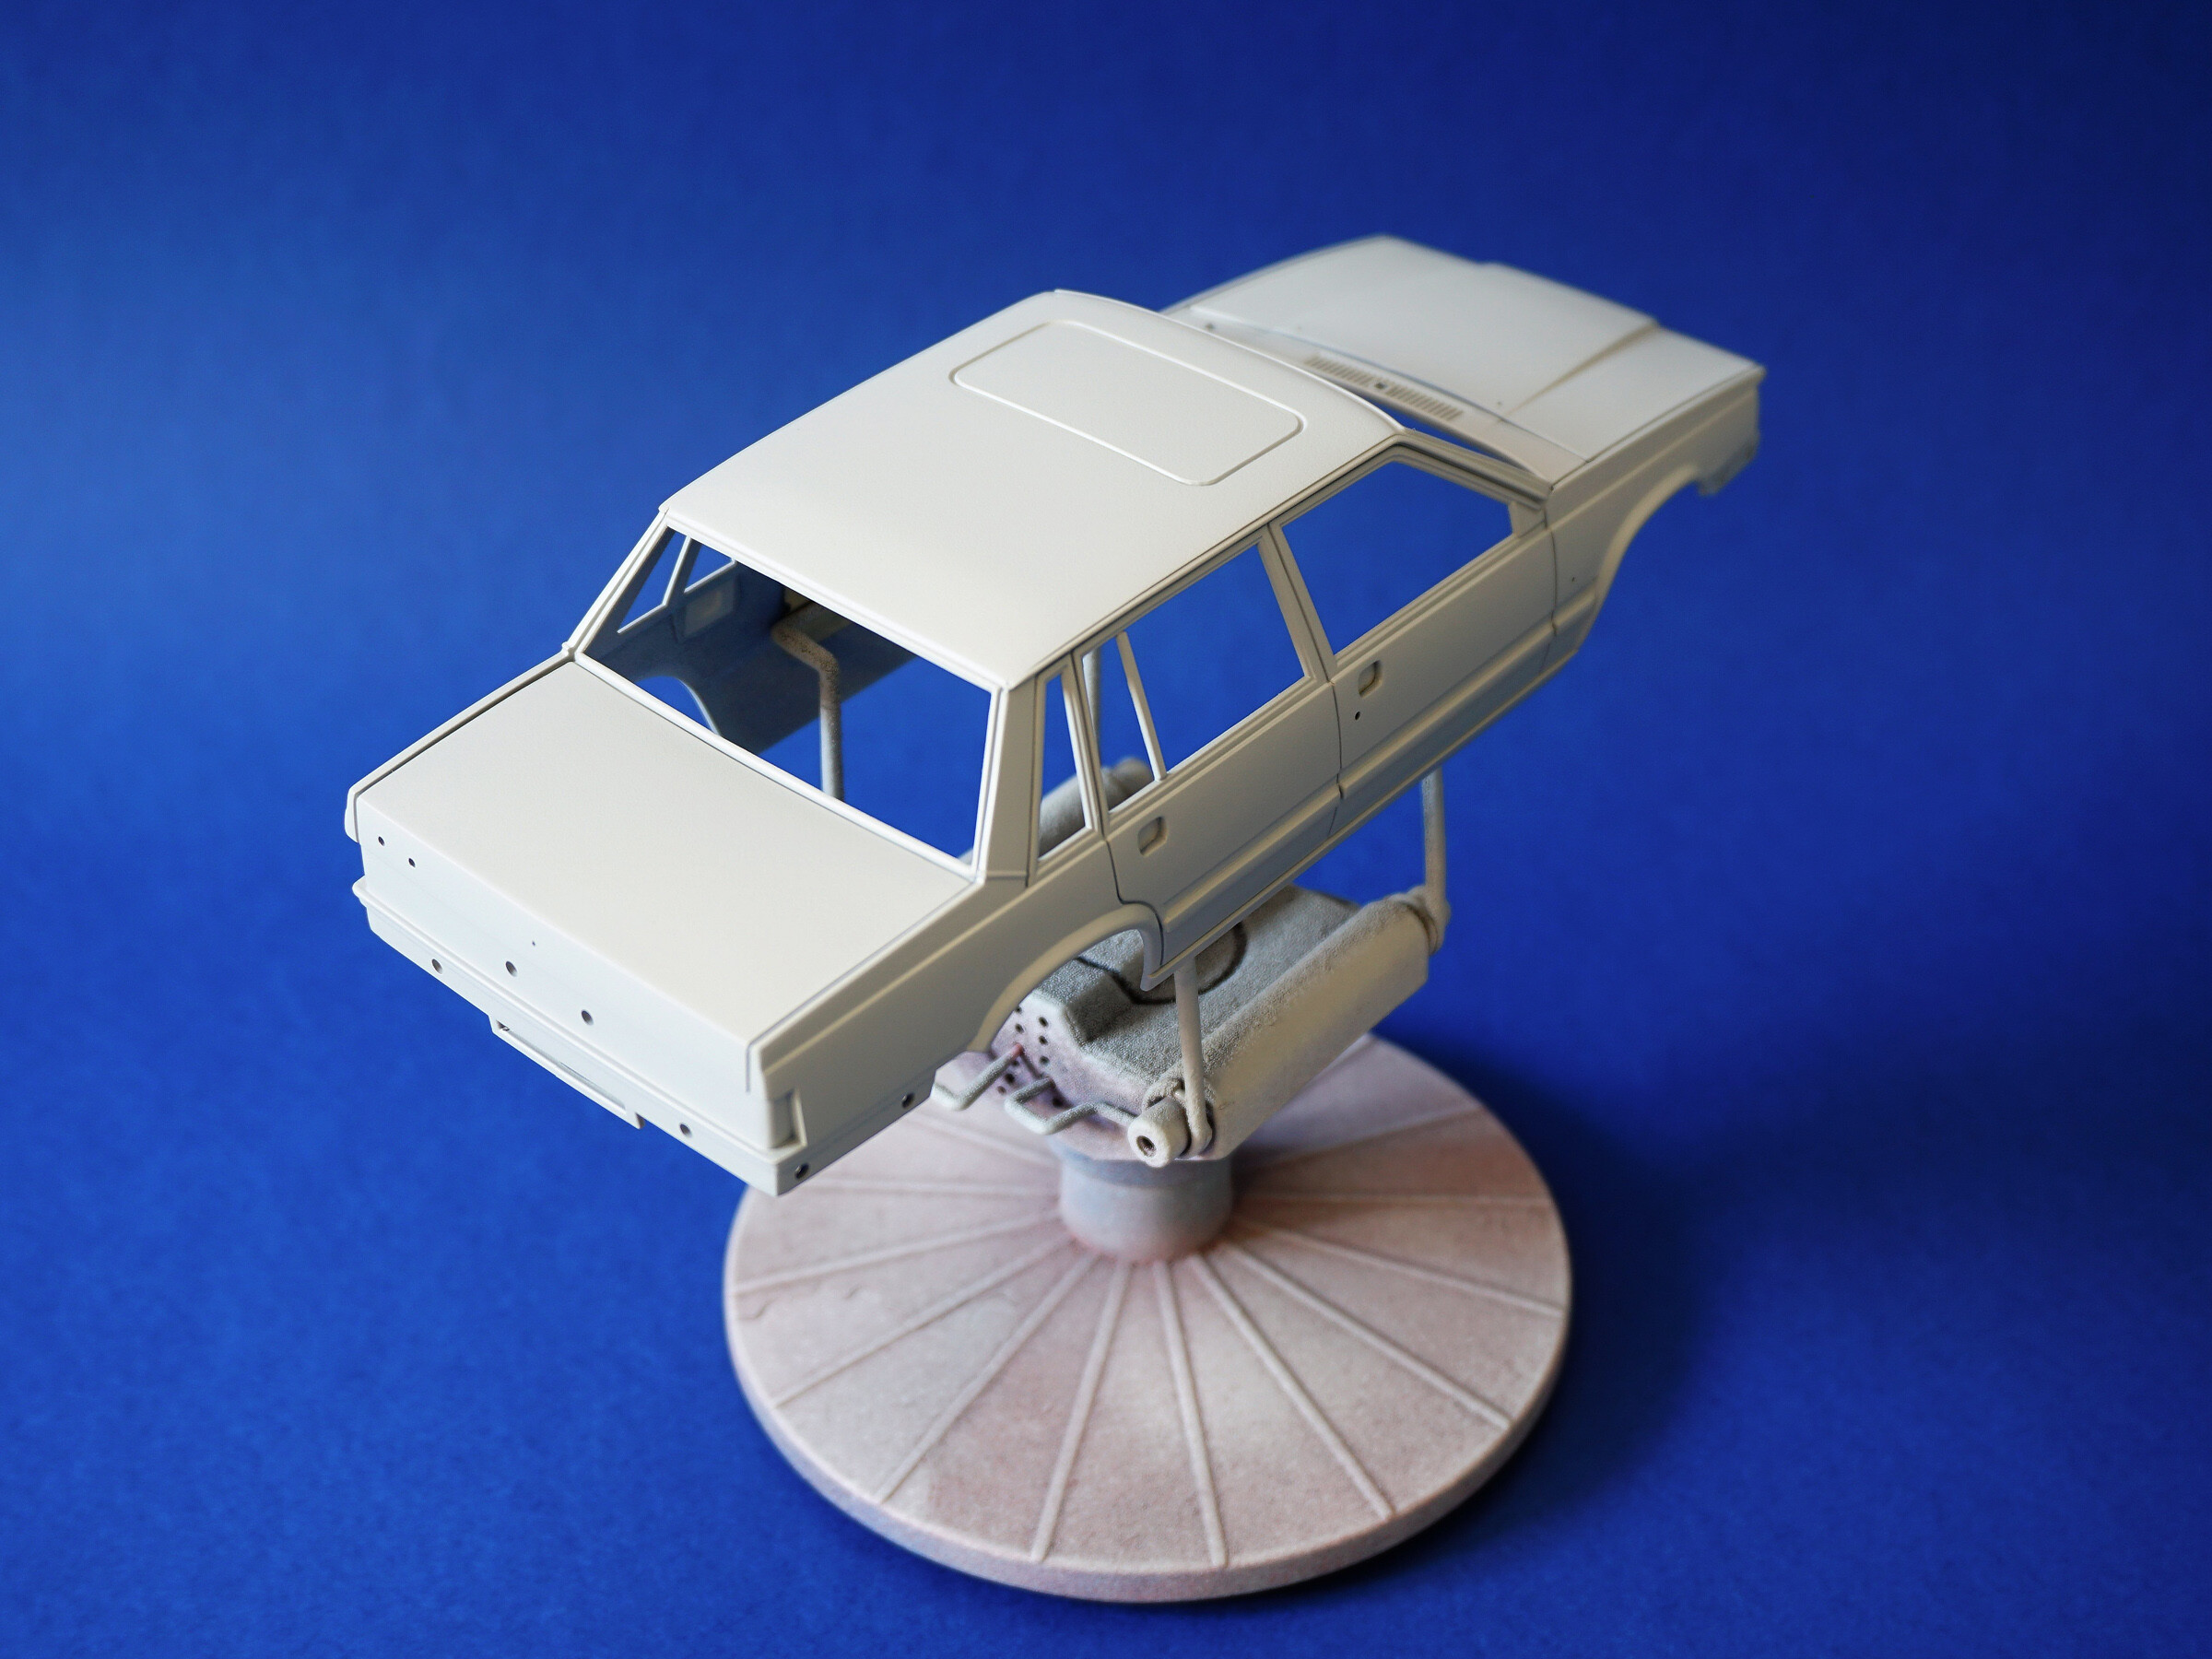
I will not say that my first impression when I opened the box was very negative. Instead, I will say diplomatically - that the model requires a lot of work. When you buy an old Volvo model, you are pretty sure that the body will be beautifully ''brick-shaped'', but in the case of the Italeri the whole body is wavy and uneven. The quantity and quality of the parts in this kit is not adequate to the price. Luckily for me, I didn't buy this model. Unfortunately, my son gave it to me as a Father's Day gift, and that's probably the main reason Volvo didn't end up in the trash can :)
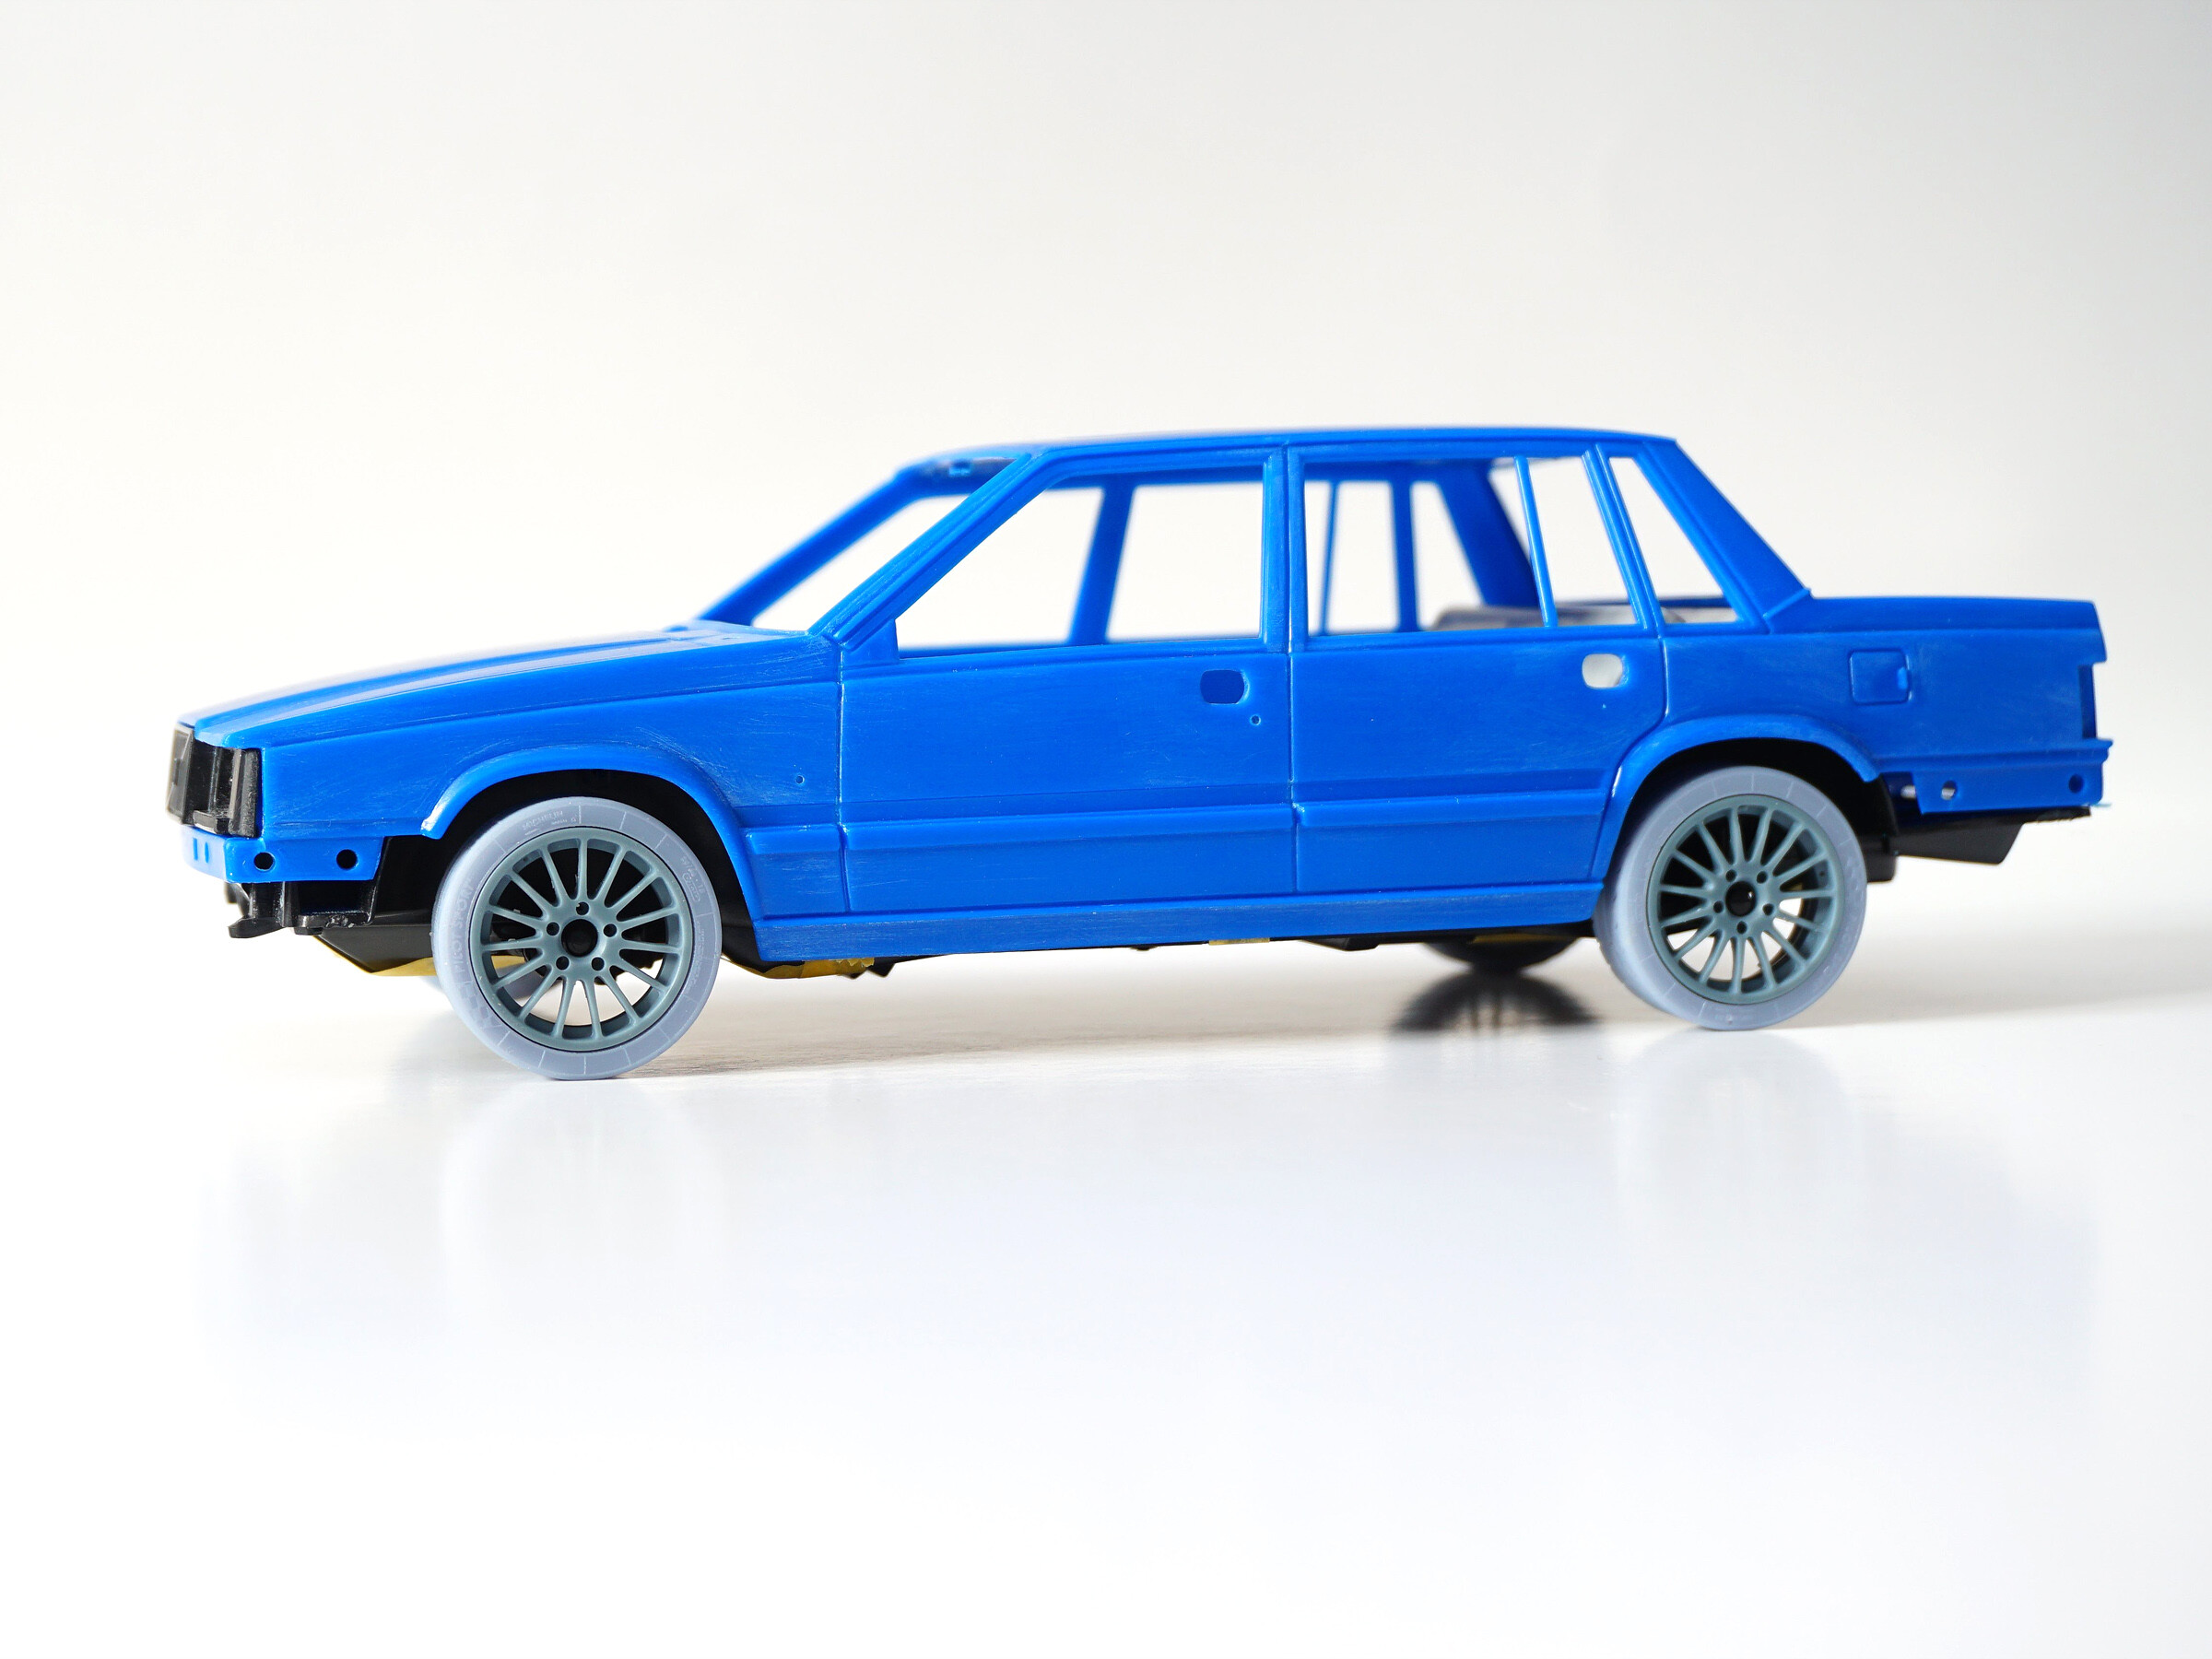
I'm going to change a few details that will make my Volvo 740 Turbo concept different from the original from the era. However, the car will still be elegant. The first modification will be to change the wheels to scalecars.online - OZ type V.2 rims (SCO-R031) and Michelin type tires (SCO-R010). In addition, I will change the brake discs and calipers - front from Subaru Impreza 555, rear from Subaru Impreza S7.
Another add-ons are door locks (SCO-R007) and belts with buckles for civil cars (SCO-R021).

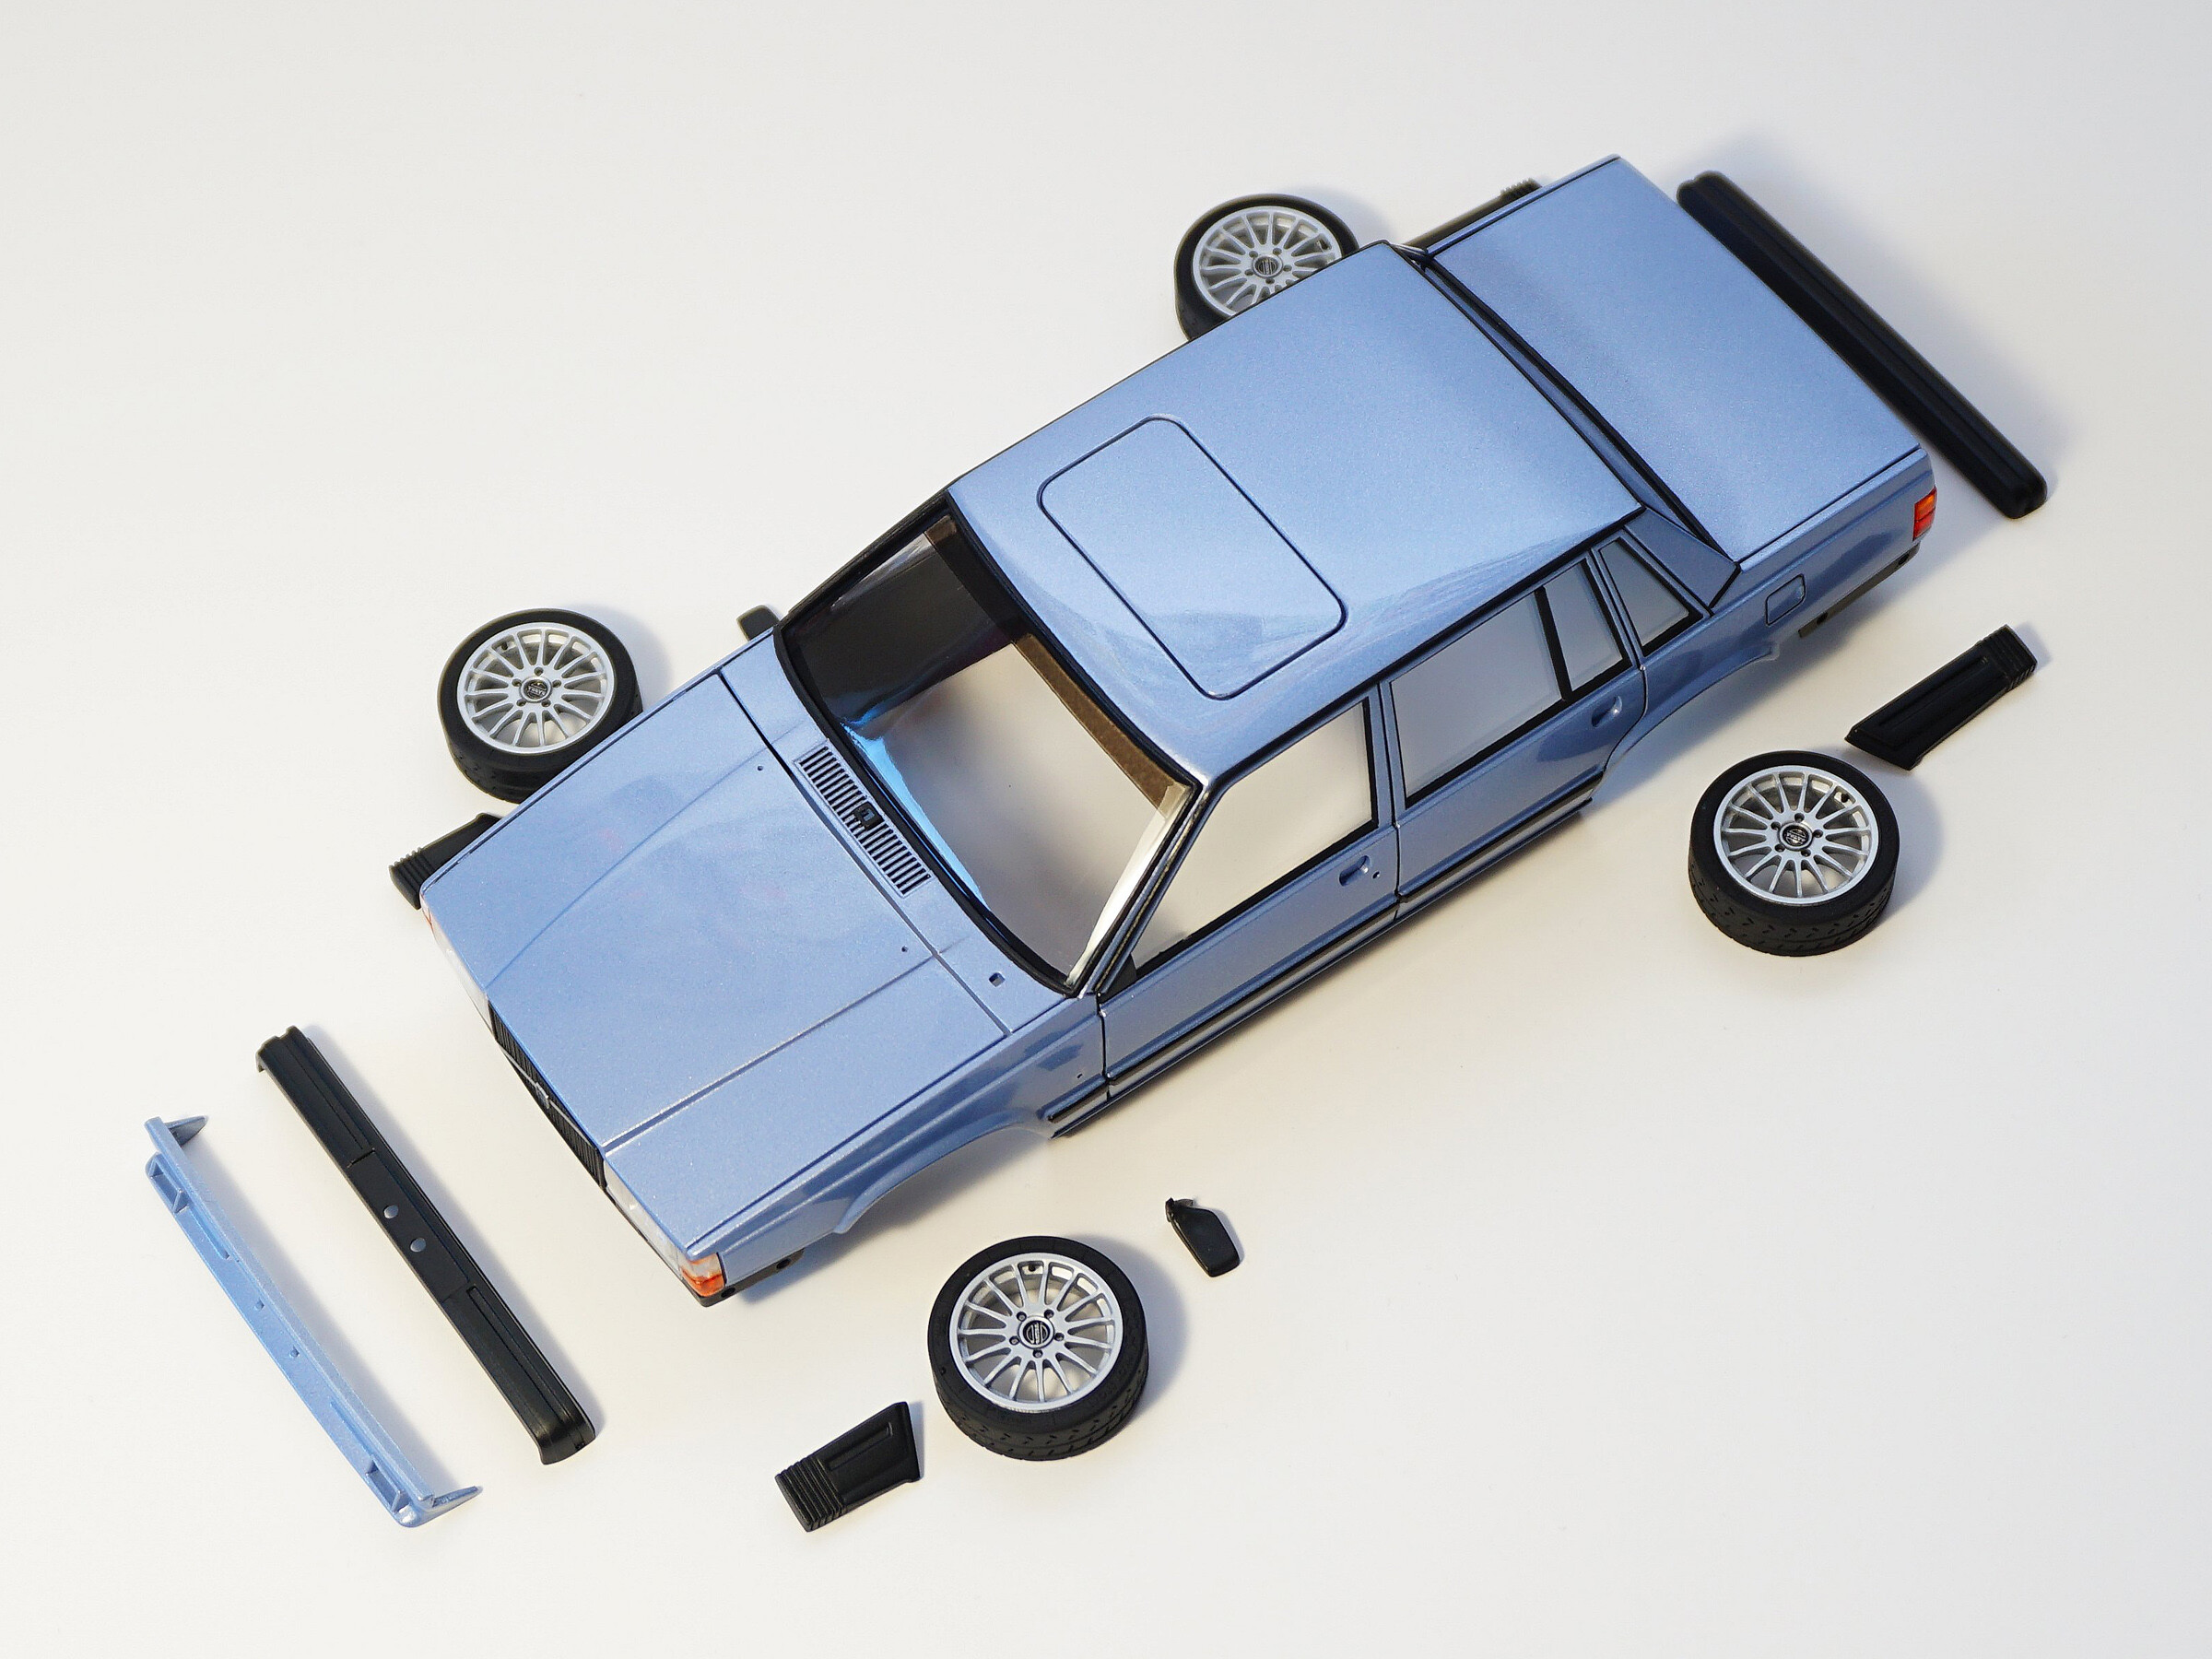
First touch and try-ons. The door handles are not made correctly, so I removed them. Side door strips have been reworked to change the specification of the car from Volvo 760 GLE to 740.


Rims and bumpers fitting.


First work on rims and its color choice.

Try on seat belts on the rear seat (SCO-R021).


Upholstery color test.
The color is Revell's Blue Gloss 34155 coated with Humbrol Varnish Matt 49. Color painted directly on the seats without a primer.
The final version of the seats will be covered with black mat first and then with other paints in order to obtain a darker shade of blue.


Work on the dashboard. The colors are Black Matt 33 and Midnight Blue 15 coated with Humbrol Varnish Matt 49.

The first effects of a painted interior and rear seatbelts.


Seatbelt buckles in the front seats.

Front seats in place. From black technical paper, I made car mats in the appropriate shape and dimensions.


Work on the door upholstery. It was necessary to add an internal B-pillar to install seat belts.


To avoid boredom inside the Volvo, I decided to add some details.
The first is a cardboard box from the most recognizable Scandinavian store.

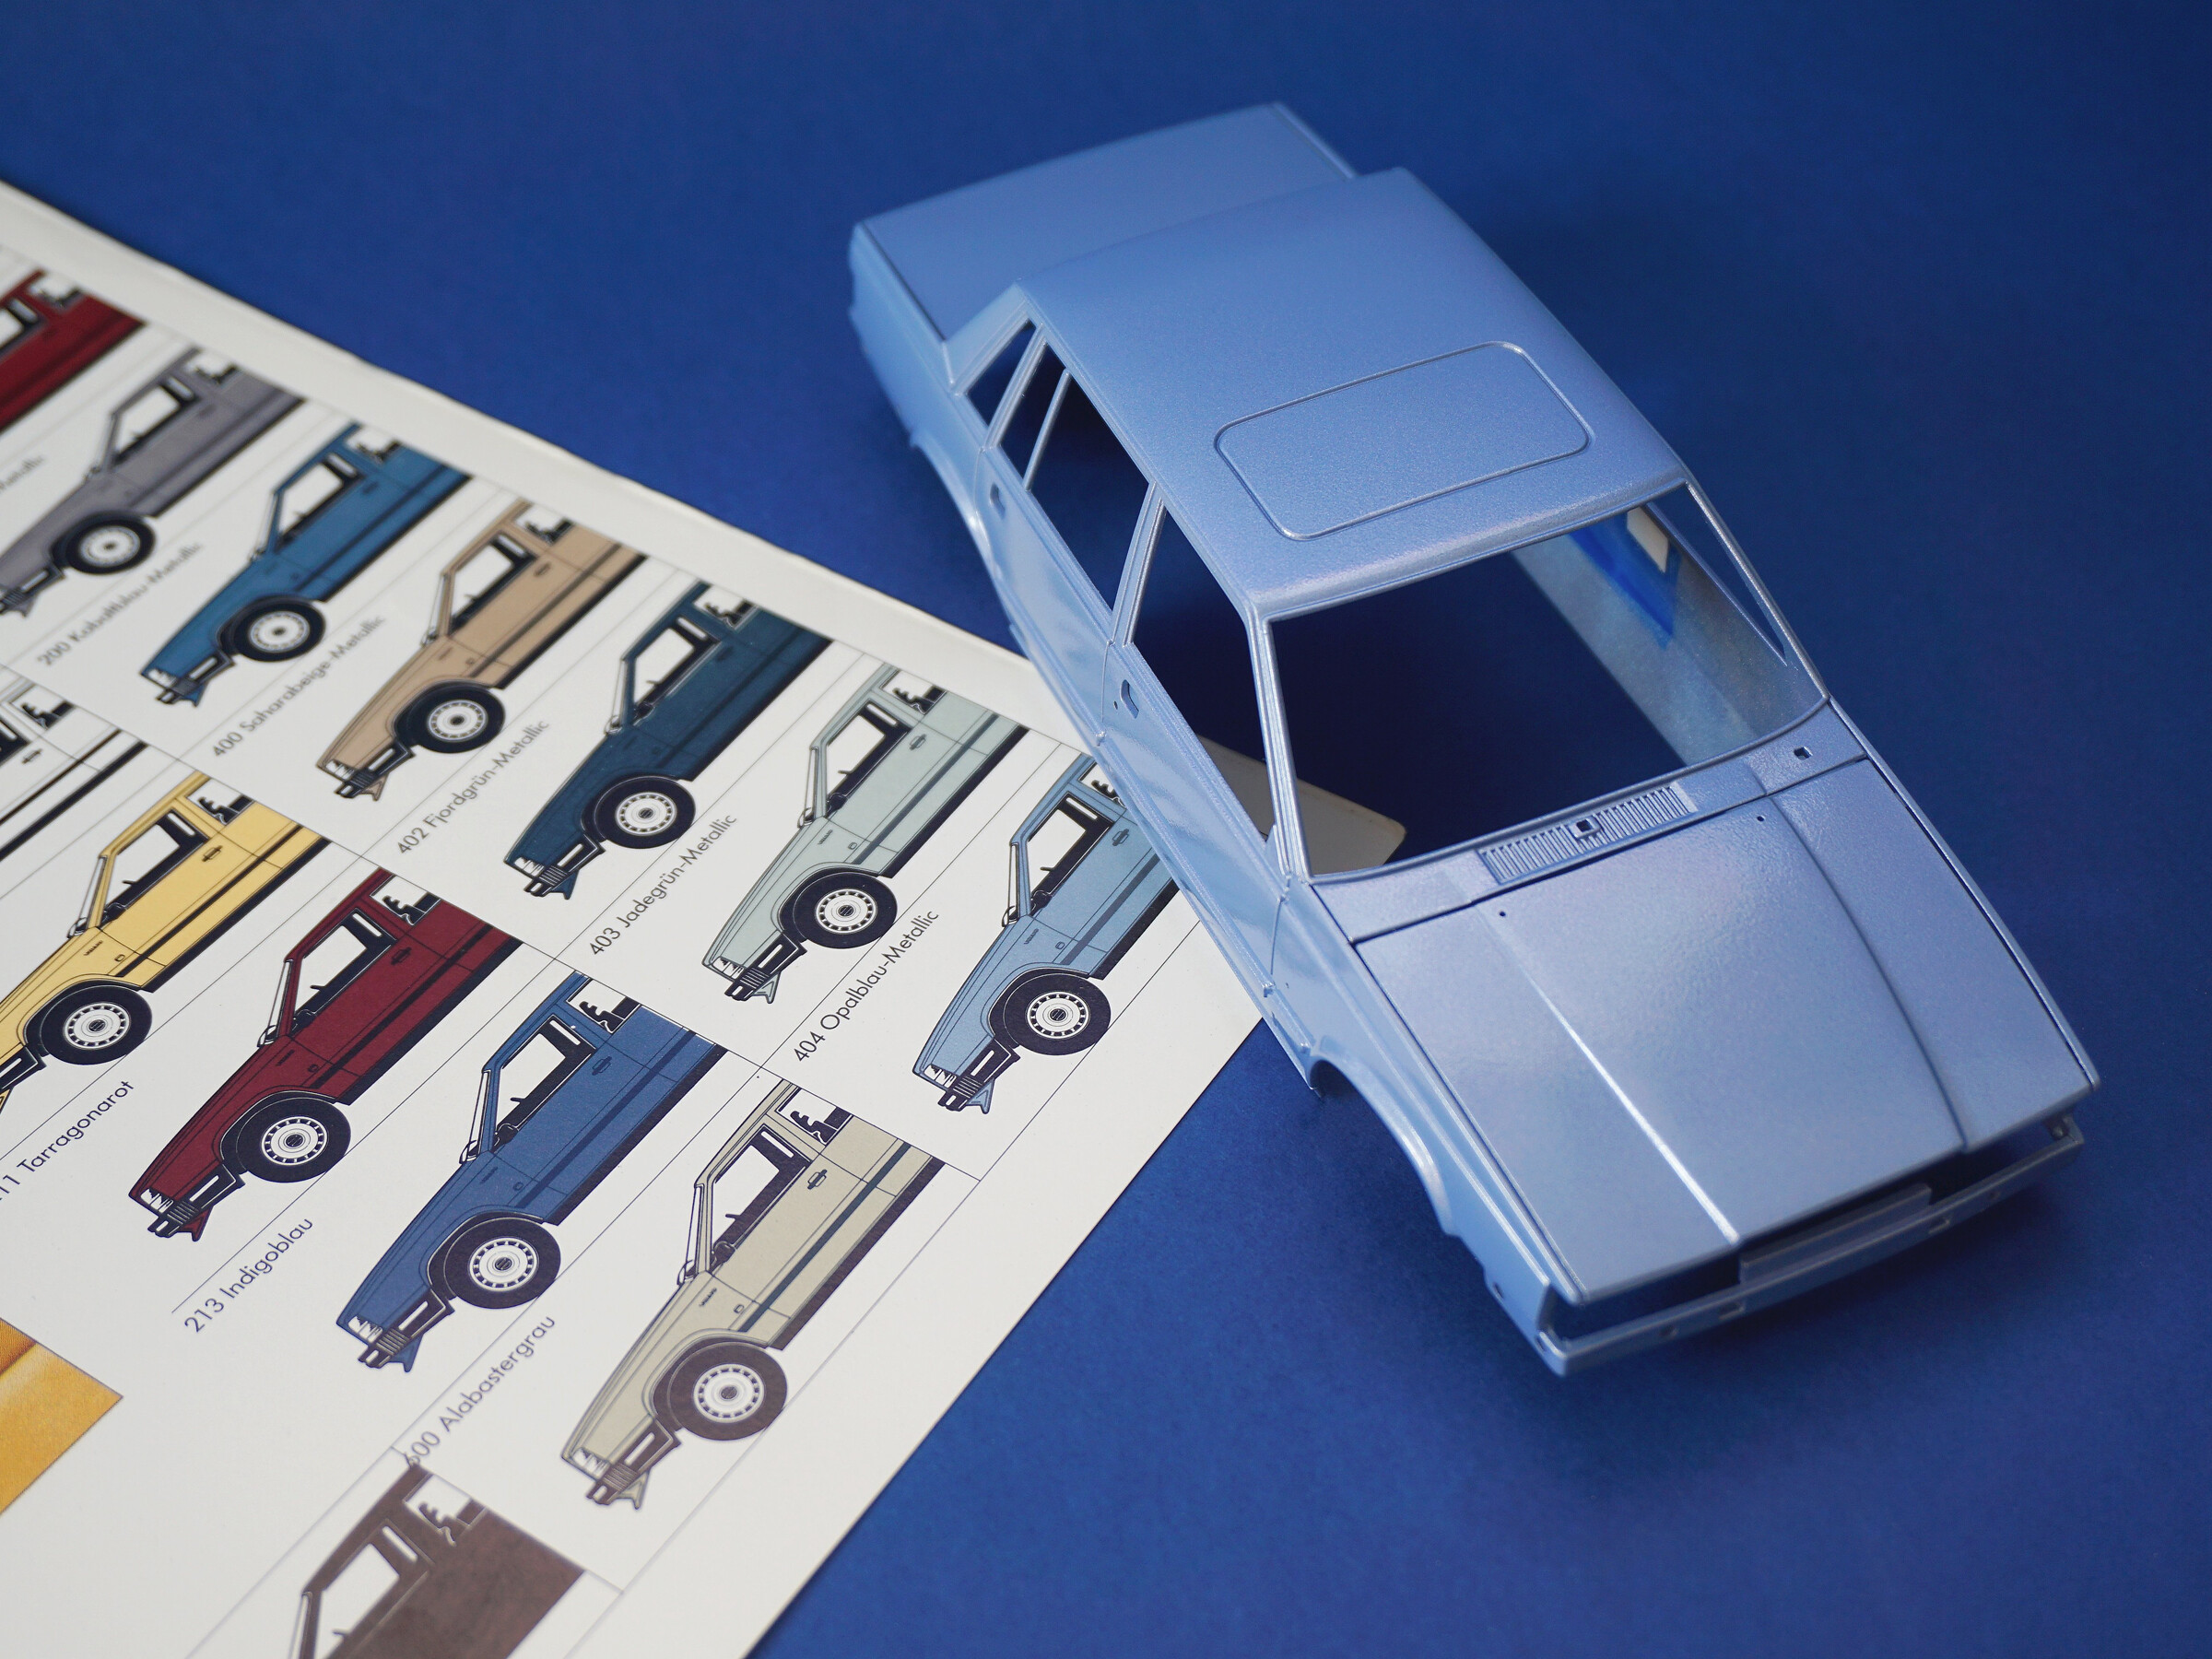
This is the Volvo 740 catalog that appears in various photos from the model's build report. I got it from my Dad and it is the main source for reference photos. So I decided that it must not be missing inside the model! The idea for the mini-catalog came from Adam Łokuciejewski, while the printing was done by my wife. Thank you for contributing to this project!


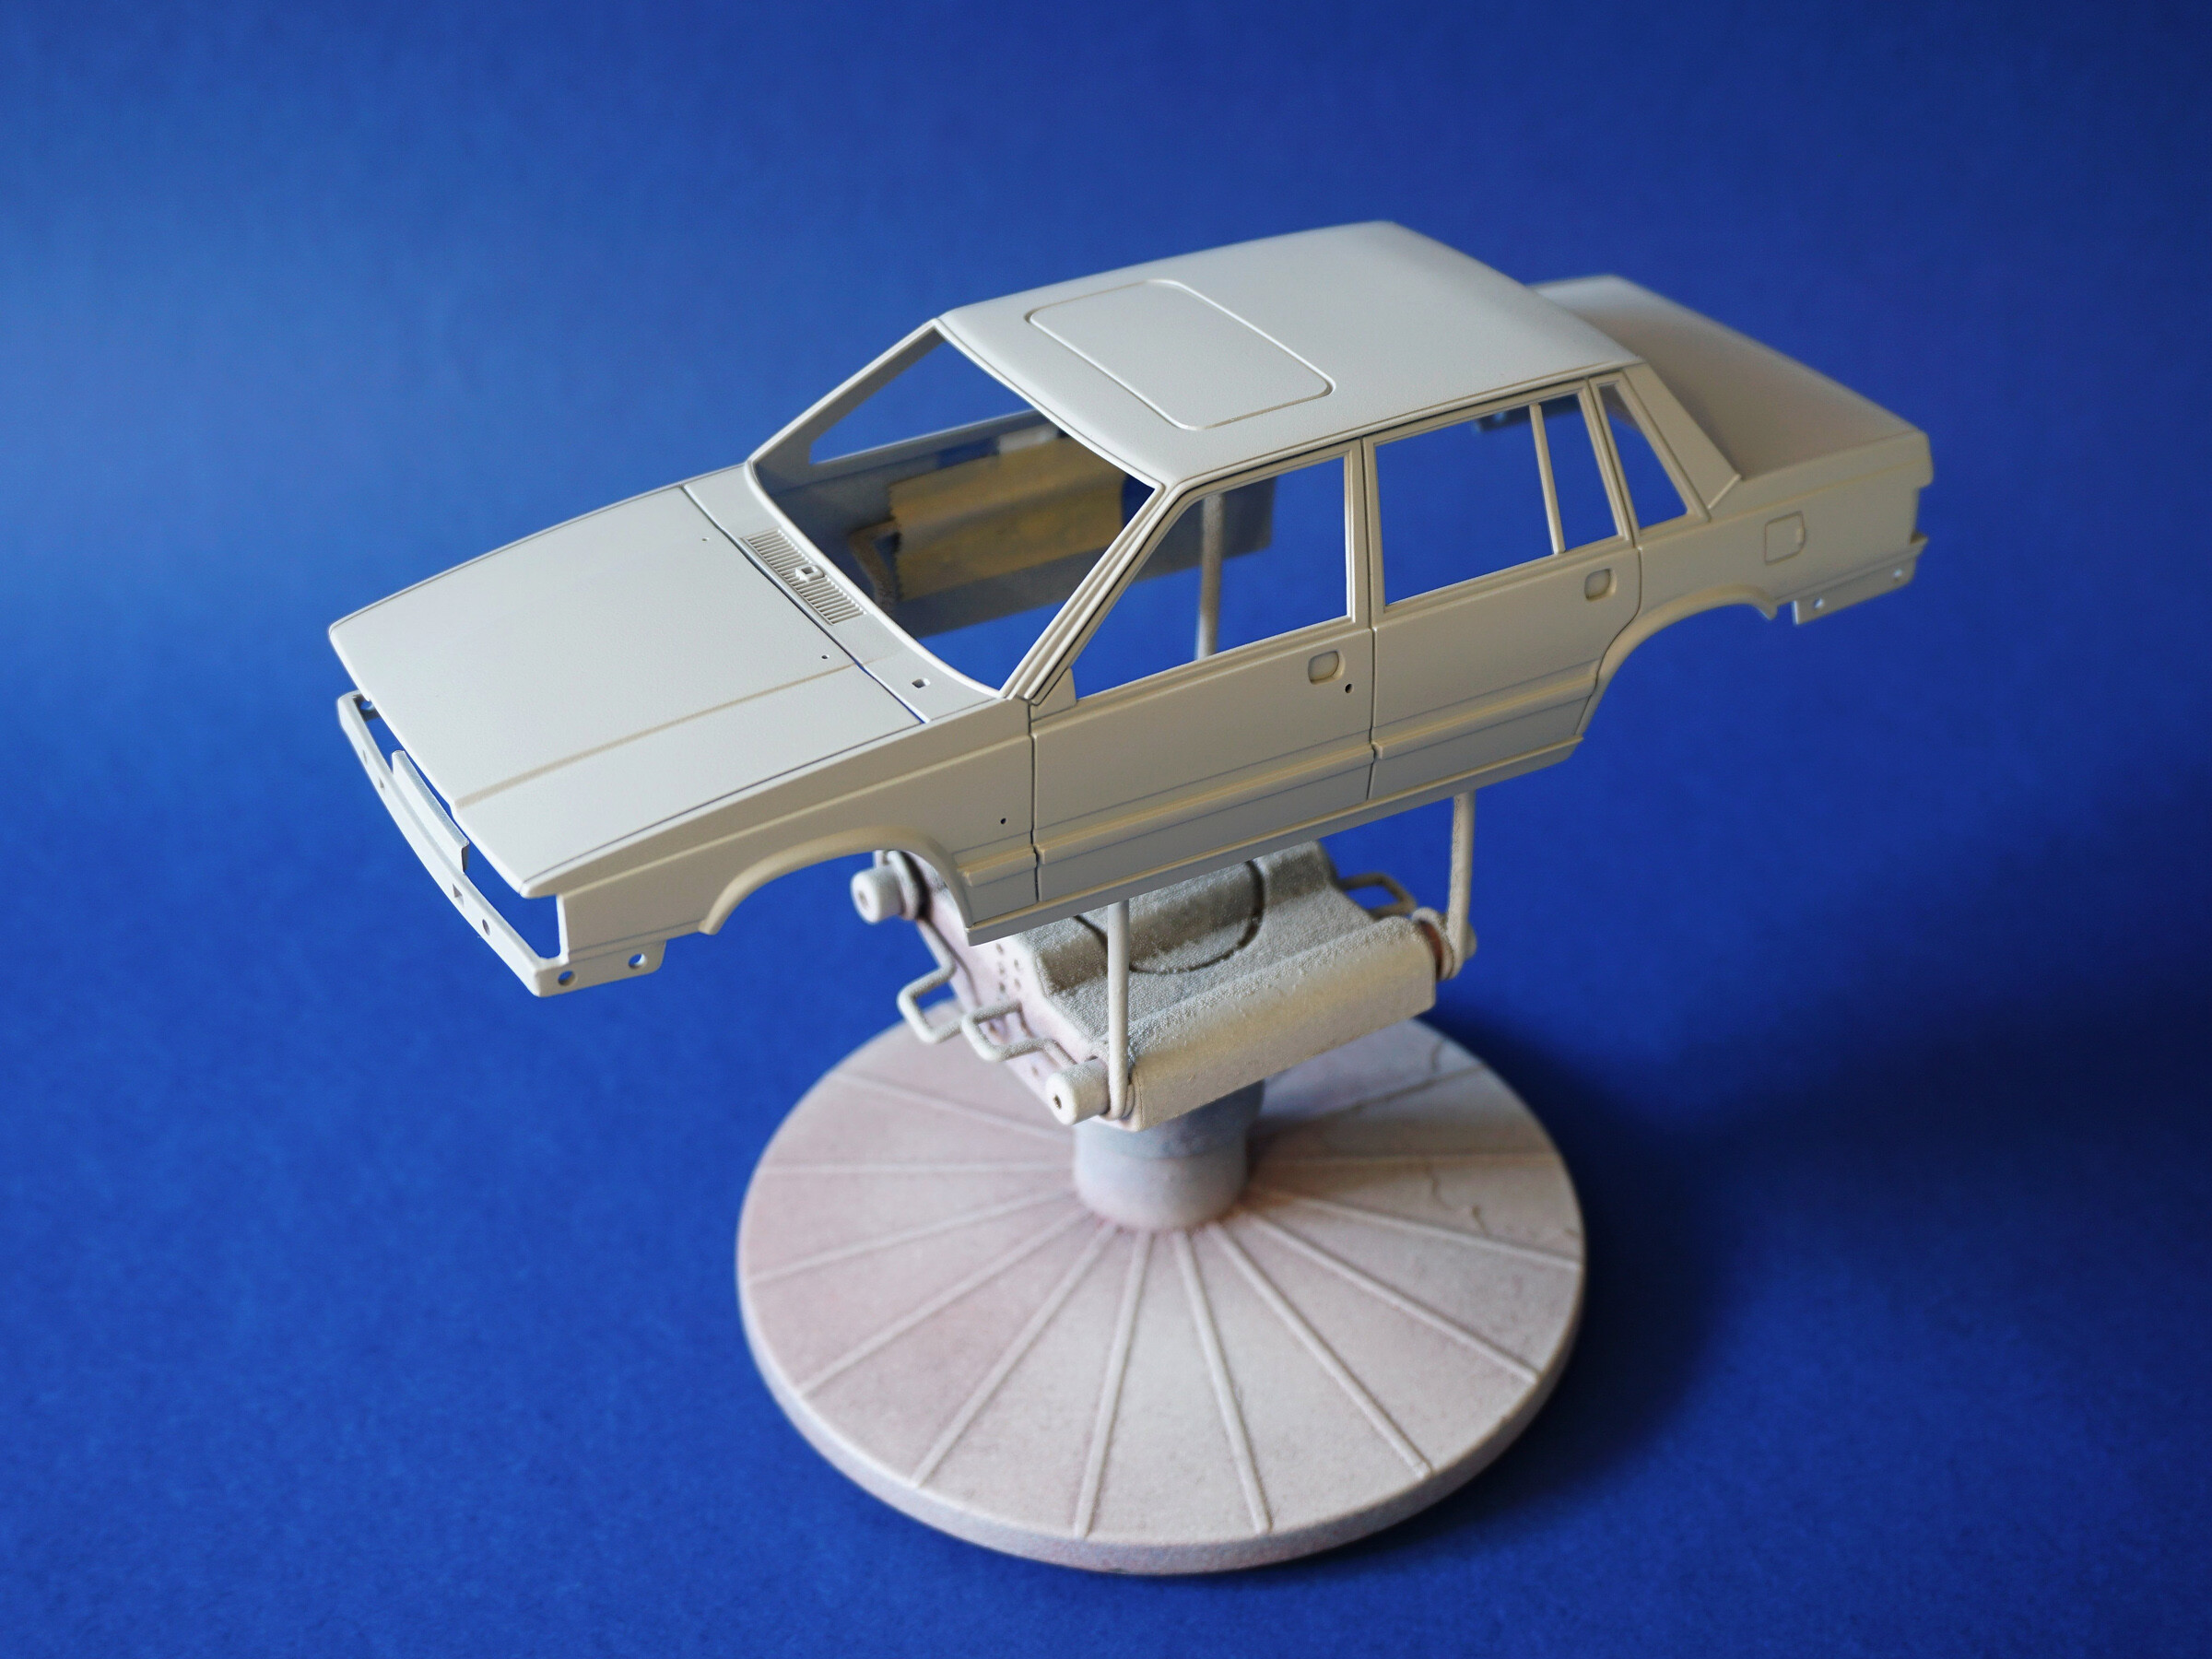
After many hours of sanding, I finally got the right shape of the Volvo. The body was painted with a gray primer. And finally the moment I've been waiting for - the Volvo body was painted in a base color! The real cars were painted metallic 404 Opal Blue, the closest color I found was Tamiya TS-58 Pearl Light Blue. I think it fits perfectly. Finally, the model was coated with TS-13 Gloss Clear.


At this stage of work, I let the paints to dry for a few days, and then started polishing the varnish. At first I used 1500 grit sandpaper, then 2000, 2500, 5000 and finally 7000. Then I used Tamiya polishes - Coarse, Fine, Finish.


Panel lines and painting details: boards in the doors, roof boards, doorsteps, window seals. Usually, such details take me about 3-4 hours. In the case of Volvo, I spent about 12 hours on it and I'm still making some adjustments because I'm not completely satisfied with the results.


Front lights and grill.
The model's original headlights looked very bad, so I cut them out. In the first concept I wanted to match the headlight from Opel Manta, but when setting and cutting them at the right angle, it turned out that they are too small. I had to look for another solution and it turned out that the headlights from the Fiat 126p would be suitable. The problem was that the Fiat belongs to my son... After long and hard negotiations, Max decided that I could take the headlights if I bought him the another toy :)
Another problem was the silver mirrors under the lamps. When the shades were put on, the silver panels were too deep and the lamp protruded beyond their outline. So I made new panels, painted them and put them in place so now everything looks as it should.

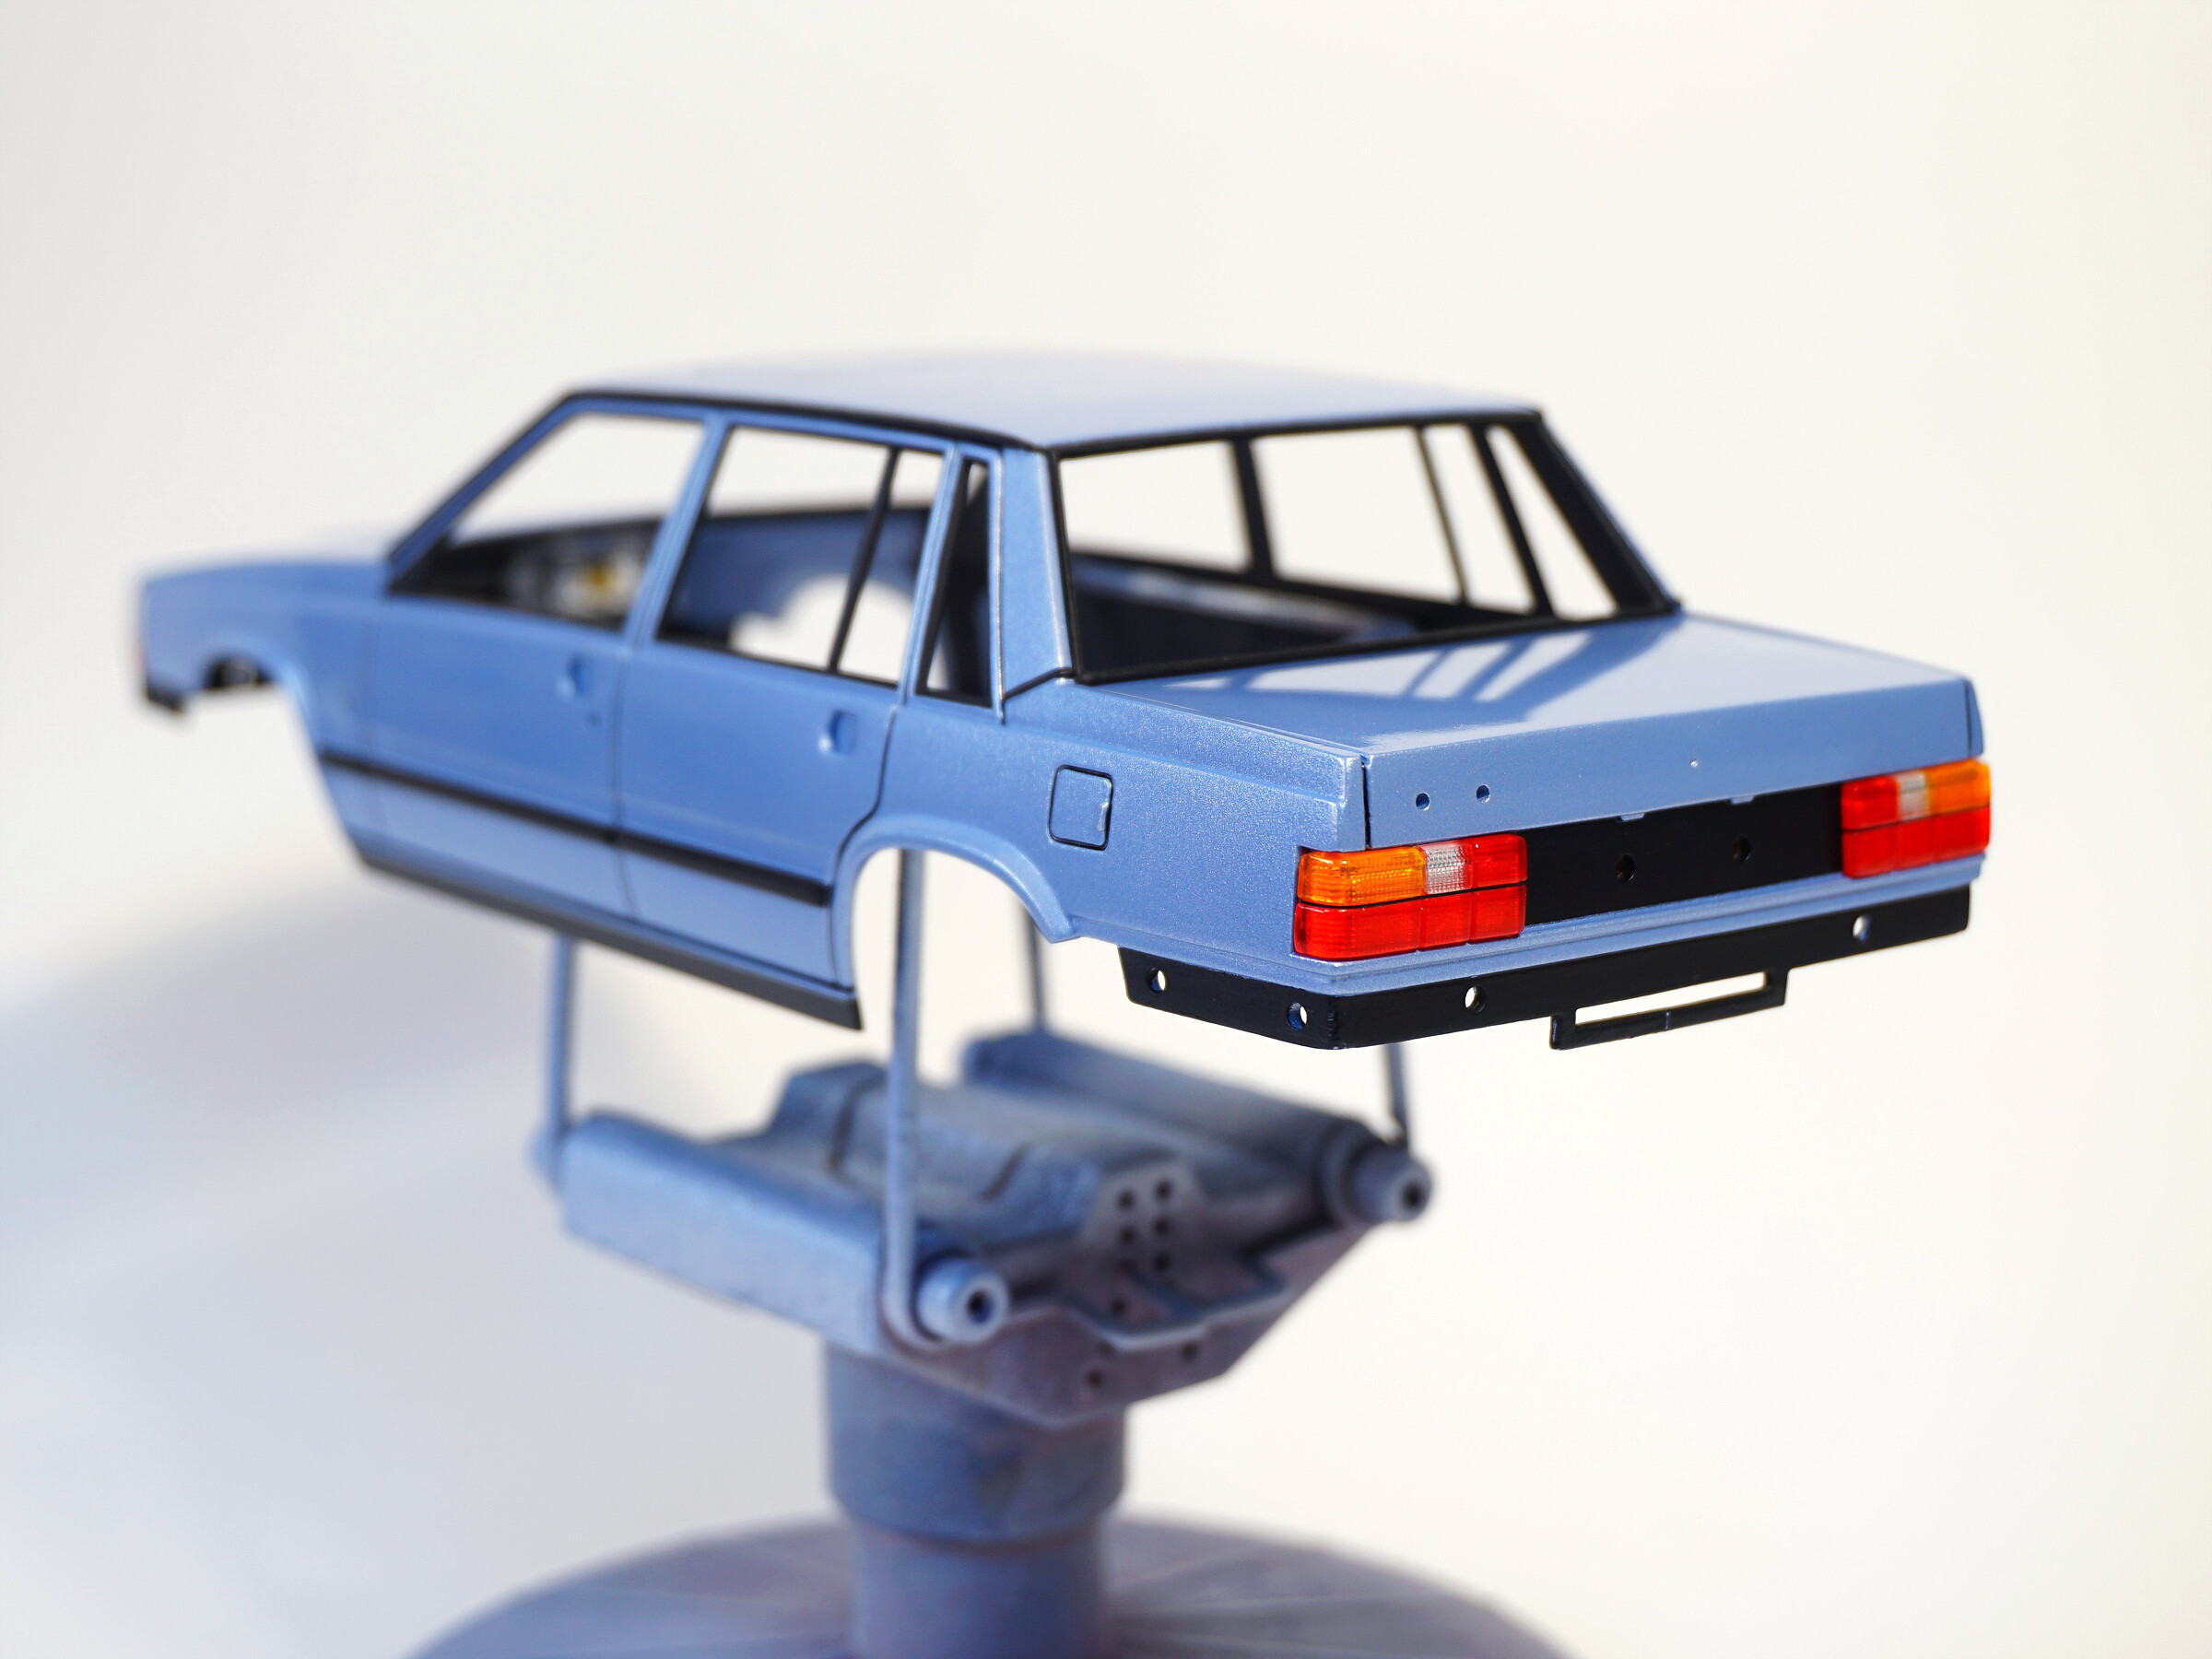
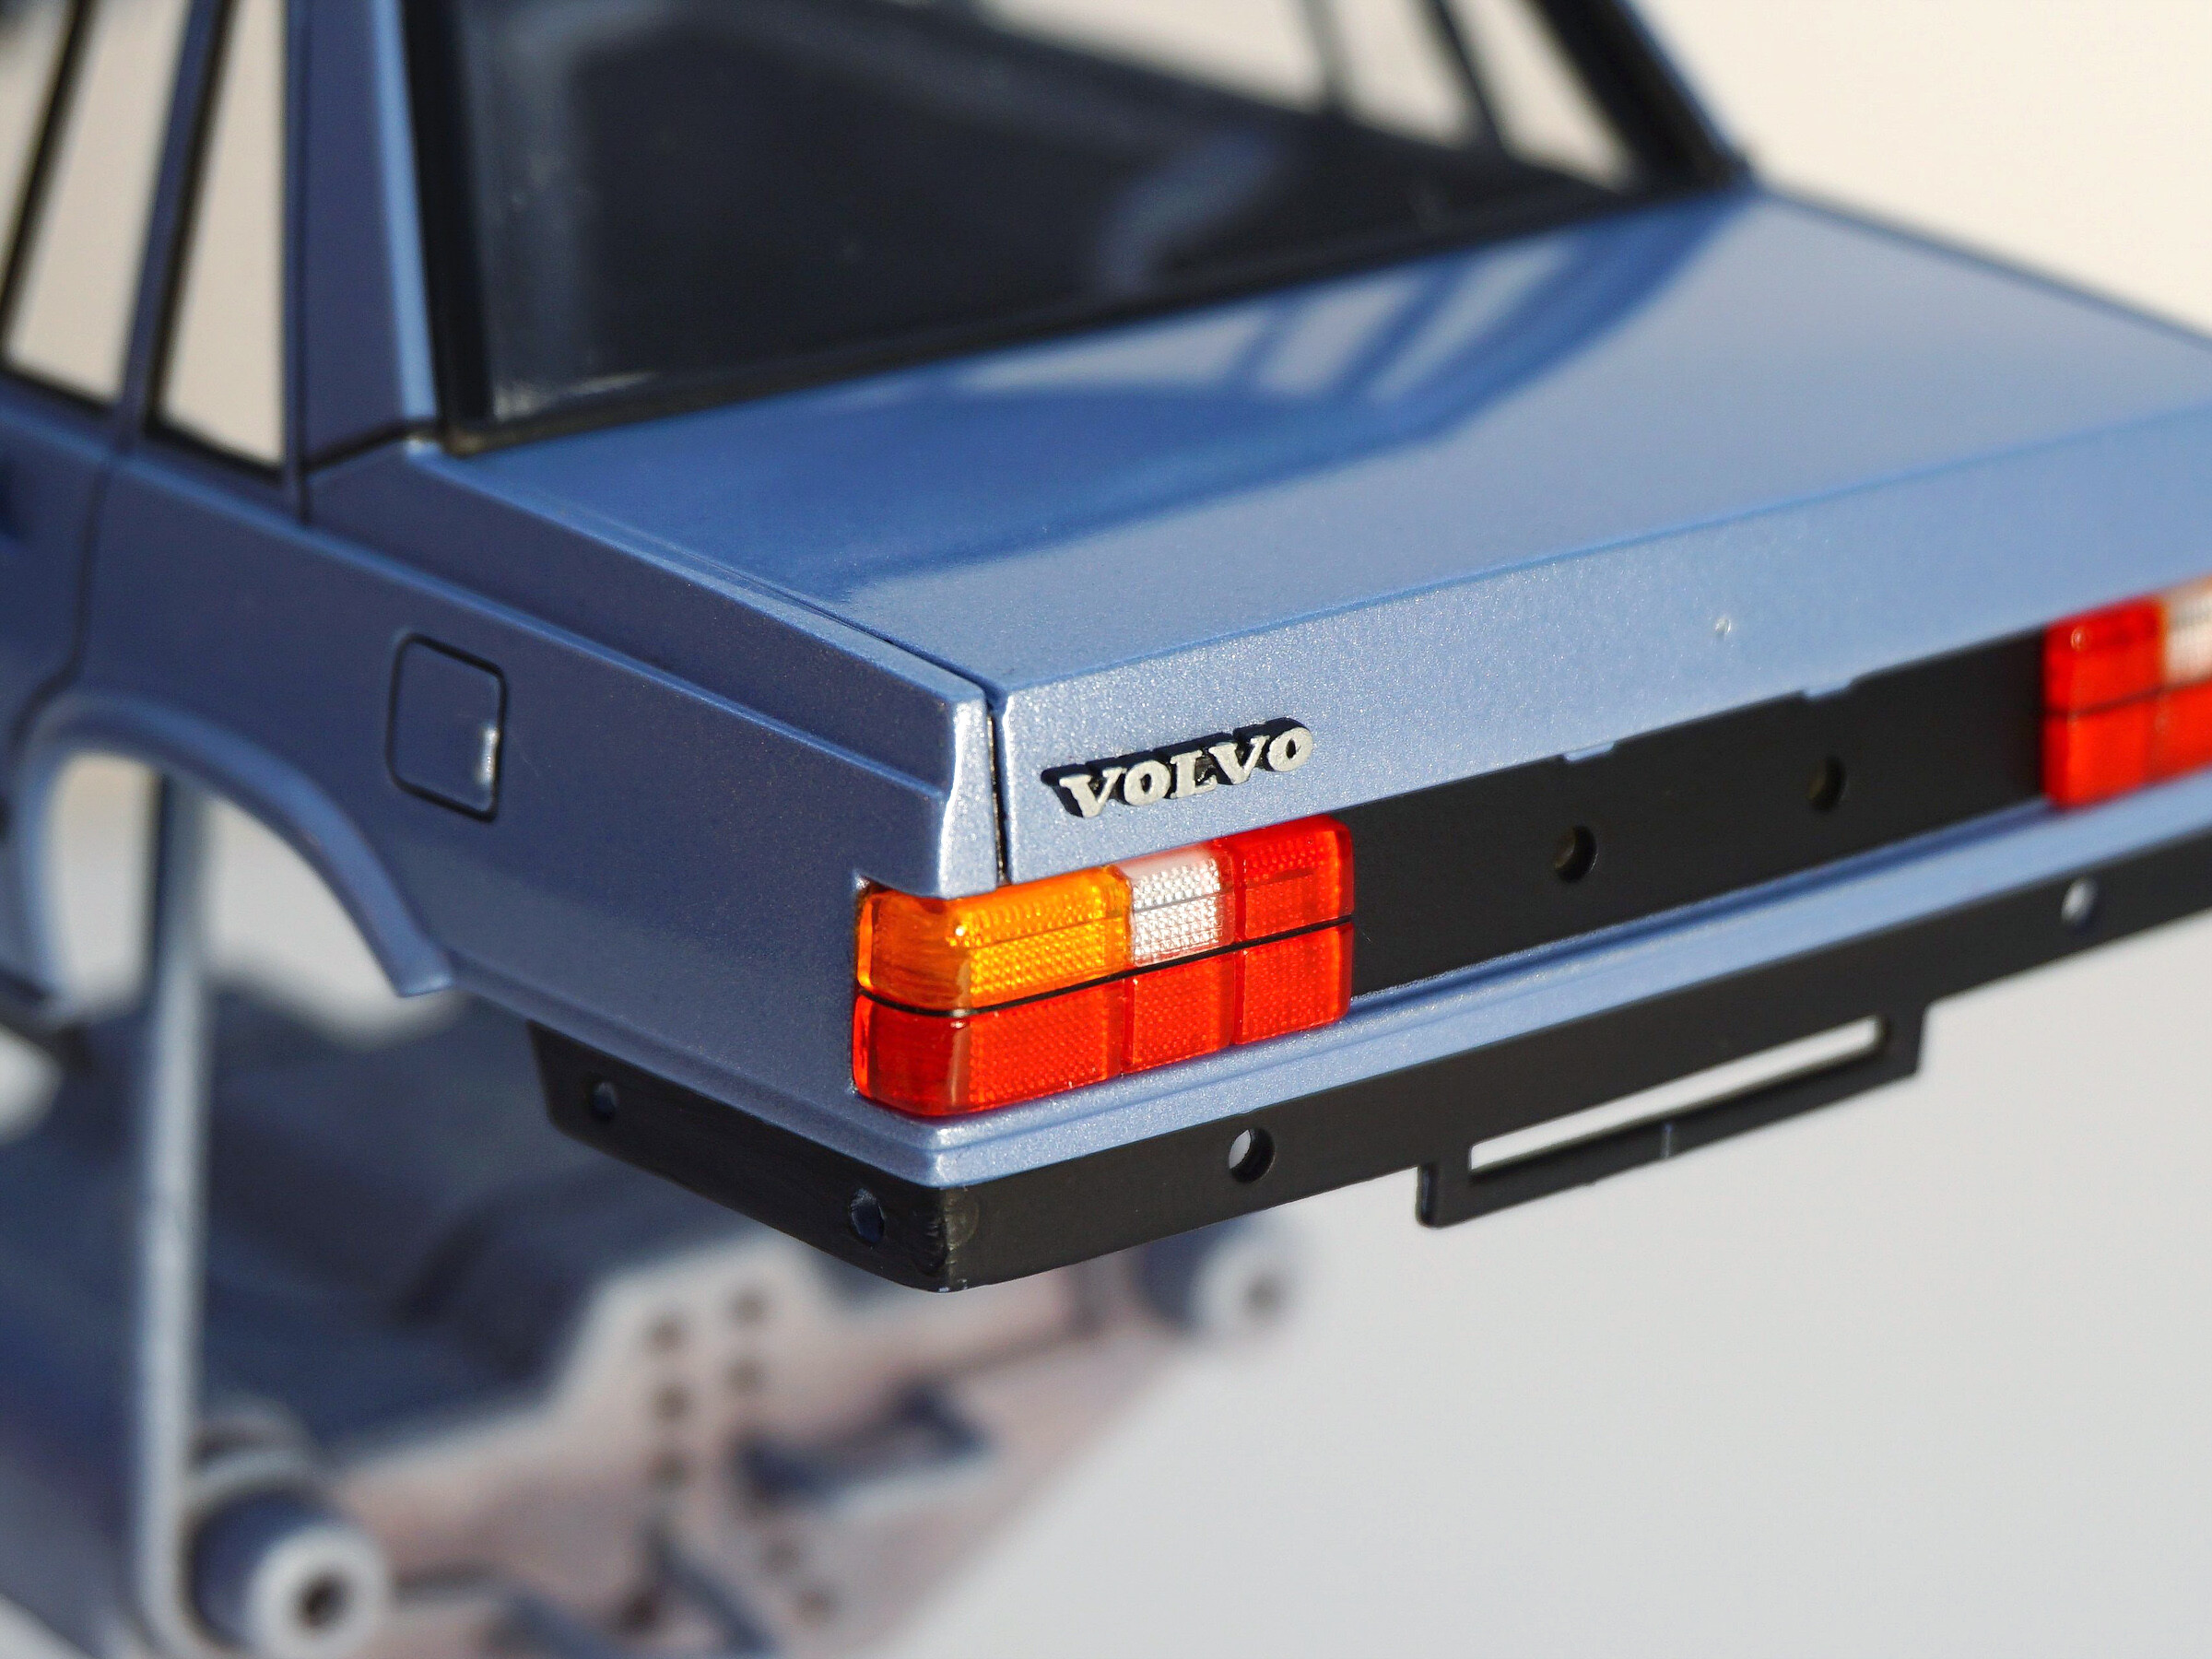
Taillights ready. I used Tamiya TS-74 Clear Red and TS-73 Clear Orange. I made the headlights from silver from a pack of cigarettes. The black stripes on the lamps are masking tape.

Here's something I've been working on for the last few days. As I mentioned at the beginning of this project, Volvo will get alternative wheels. I am using scalecars.online OZ type V.2 rims (SCO-R031) with Michelin type tires (SCO-R010). I changed the concept of the color of the rims, initially it was TS-42 Light Gun Metal, but I thought Volvo would look better on brighter rims, so I painted them TS-30 Silver Leaf and TS-13 Gloss Clear.
Bolts and valves are also products of the scalecars.online - hexagonal bolts V.5 (SCO-R017) and valves V.1 (SCO-R002). The rims were designed for a rally car, so I had no central caps. I came up with the idea of transforming the caps from the Italeri set. I cut them to size for the new rims and then used a black Tamiya Panel Line Accent Color to get a black background and a silver Volvo logo.


Work on the details of the backdoor.

The window frames were painted black. In addition, I tinted the upper part of the windshield with TS-71 Smoke to make it look like a real Volvo car.

First work on the floor plate of the model. The chassis was painted with black mat Humbrol 33, then I applied the first coat of wash. I used Tamiya A, C and D sets and for the first time I used Revell's product - Weathering Set.
The next stage was the thermal insulation of the chassis using silver paper from a pack of cigarettes. The exhaust system was painted with Humbrol 11 and Tamiya TS-38 Gun Metal. The exhaust tip has been drilled. I painted the fuel tank with TS-100 Bright Gun Metal. The engine block and oil pan were painted red with Humbrol 19.


Preparations to assemble the chassis, interior and body.

Work on the Volvo 740 Turbo bumper.


Work on the brake system. The front discs and calipers come from a 1993 Subaru Impreza WRC. The rear discs and calipers are from a 2001 Subaru Impreza WRC. The steel discs come from Hobby Design's 1993 Subaru Impreza add-on. I placed the brake discs on a Dremel and sanded them - so I got the effect of natural wear of the brake disc.
The hubs are a scalecars.online product dedicated to the rims that I will put on the model.


Done!

More photos of the completed model here | Gallery
Autor | Krzysztof Szpakowski
Next workbench | Chevrolet Monte Carlo

© 2025 | Cookies Policy | Terms & Conditions