Chevrolet Monte Carlo | Salvinos JR Models 1:24
Author | Adam Łokuciejewski
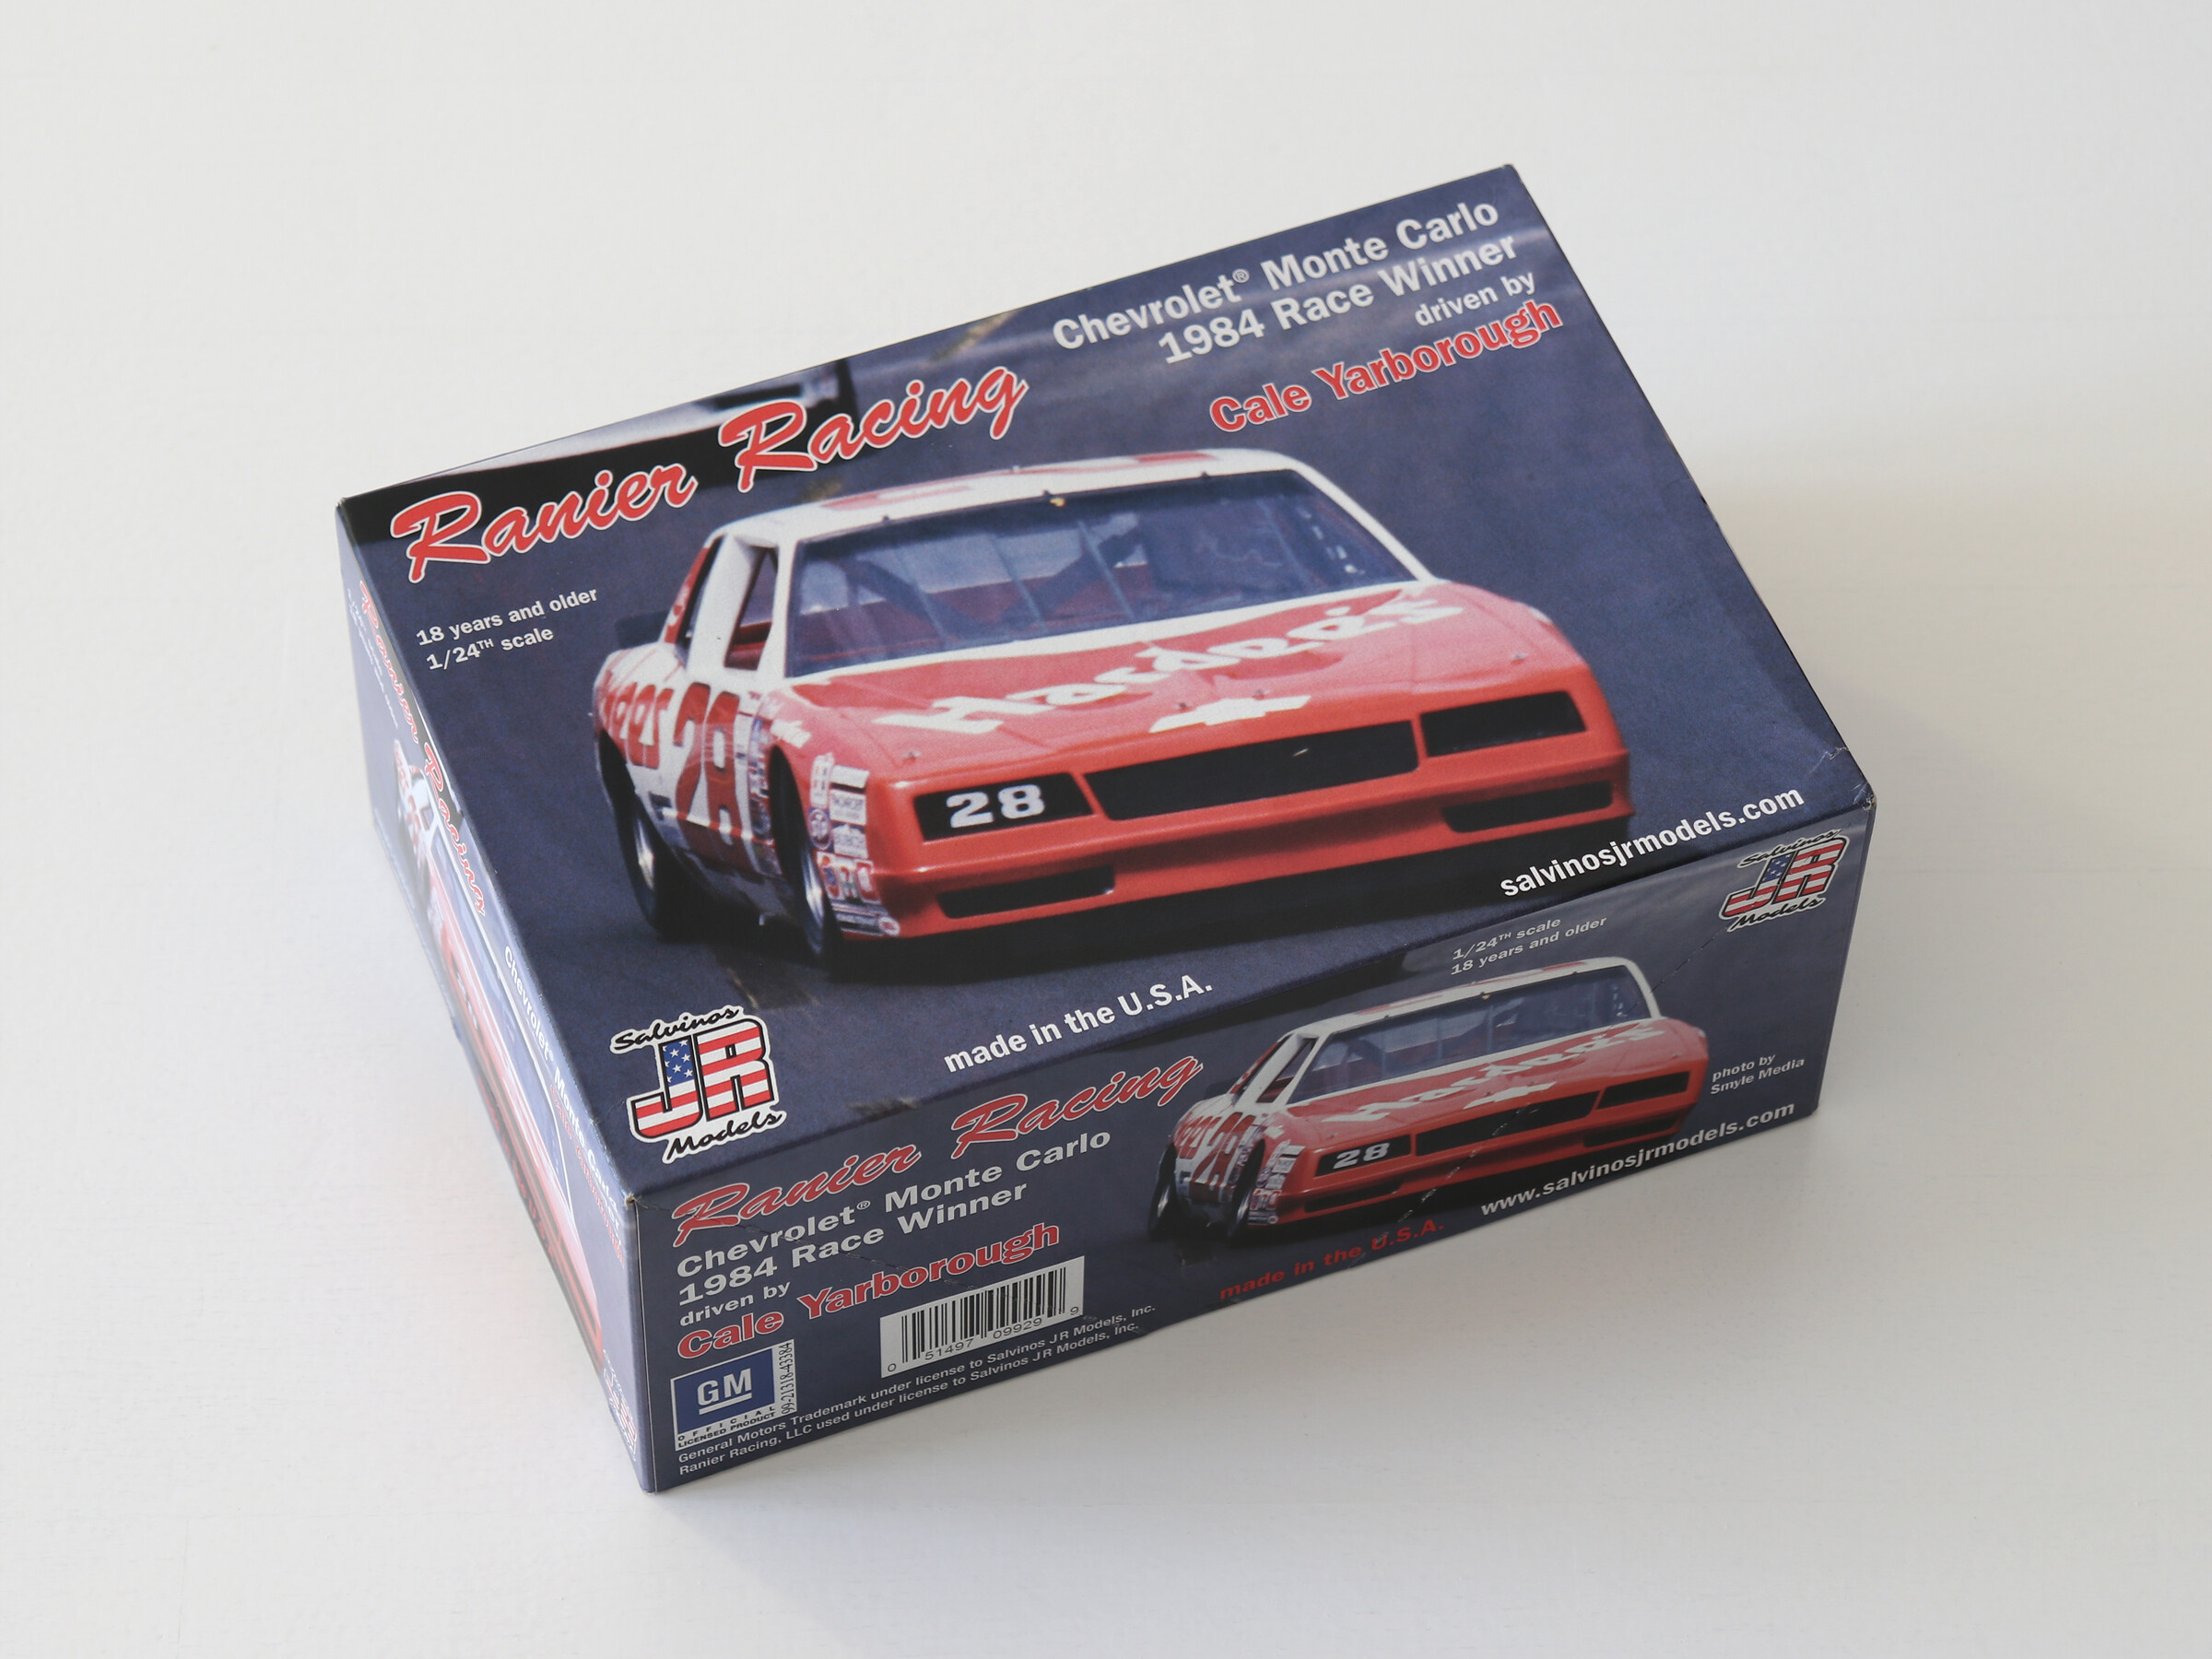
The work on a new car is starting on - Chevrolet Monte Carlo - an American classic from the 1980s. In 1984, Cale Yarborough the driver for the Ranier Racing team won the Daytona 500 with this car - a prestigious 500-mile race that is part of the NASCAR (National Association for Stock Car Auto Racing) series. The entire race is available on YouTube.
This is the first NASCAR car model I am dealing with. While collecting the documentation needed to start the build I learned a lot about this sport, because previously my knowledge was limited only to the belief that NASCAR is just driving on an oval with gas in the floor. However, there are definitely more sports and technological nuances, so I recommend the YouTube video to all who want to get to know them.
The model is a 1:24 scale miniature made by the American brand Salvinos JR Models. The sprues do not look bad, although it will take some work to properly fit the parts. Unfortunately, at first glance, you can see a few substantive errors, e.g. incorrect rims, wrong spacing of hood pins or the front splitter, which should not be there. We'll see what it will be like later, but for now I'm so enthusiastic because I really like this American ride with its characteristic big tires!
I plan to build the model, focusing mainly on the body and chassis. The hood is opening by default and the kit includes an engine, but I won't be focusing on it. I will fix the hood permanently to the body, which should have a positive impact on the correct geometry and more subtle panel lines.
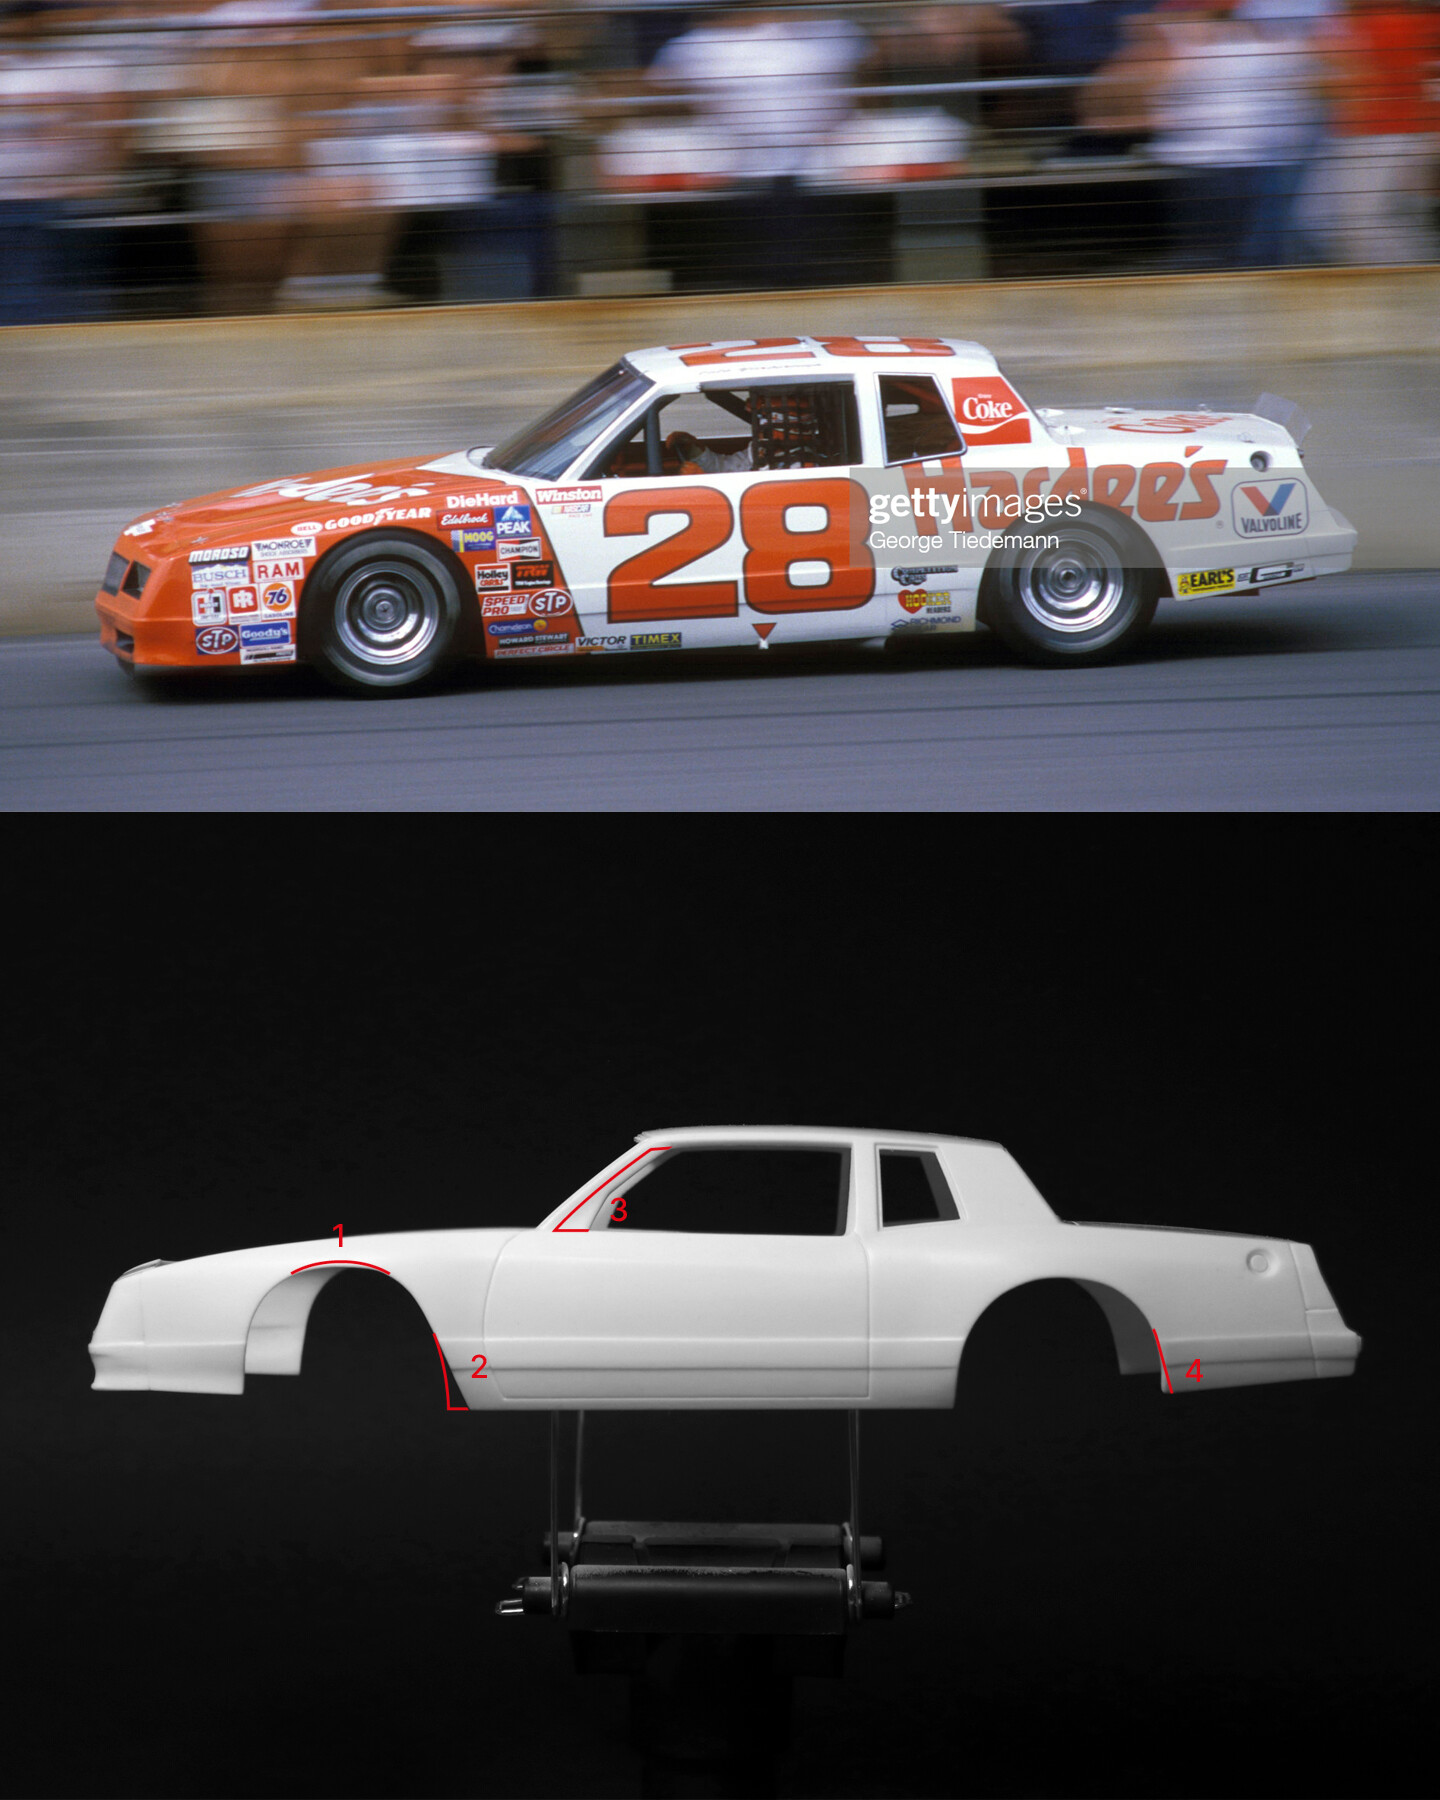
Work focused entirely on the body. As mentioned before, the model has a lot of bugs - it's just not the 1984 Daytona 500 Chevrolet! Fortunately, most parts of the body can be fixed. Below are some points to be corrected.
First corrections based on working with files and sandpaper. Below, the front wheel arches are corrected with pieces of HIPS.
A-post after processing.
The hood pins actually had a different spacing. So I decided to putty the original points and replace them later with photoetched elements.
The glass from the set is very badly fitted and additionally distorts the image. I decided to replace it with 0.3 mm clear polystyrene from Tamiya. This is my first time doing this, but the first try on looks promising.
Works with two-component epoxy mass.
In order to fit the bumper properly, I had to move it away from the tailgate.
A lot of work on the front bumper as well.
Definitely closer to the original!
Author | Adam Lokuciejewski
Next workbench | Opel Manta 400 (Grupa B)
© 2025 | Cookies Policy | Terms & Conditions


