
Red Bull Racing RB8 | Revell 1:24
Author | Mateusz Uścinowicz
Update 1 | 20.08.2021
It's time to start the next project. After a long struggle with the Fiesta S2000, I planned to rest and make some civilian model straight out of the box. Watching the next Formula 1 Grand Prix, I couldn't resist to take the Red Bull car that was waiting in the line on my shelf. In addition, I was encouraged to work on this model by a competition on one of the Facebook groups in which I decided to take a part.
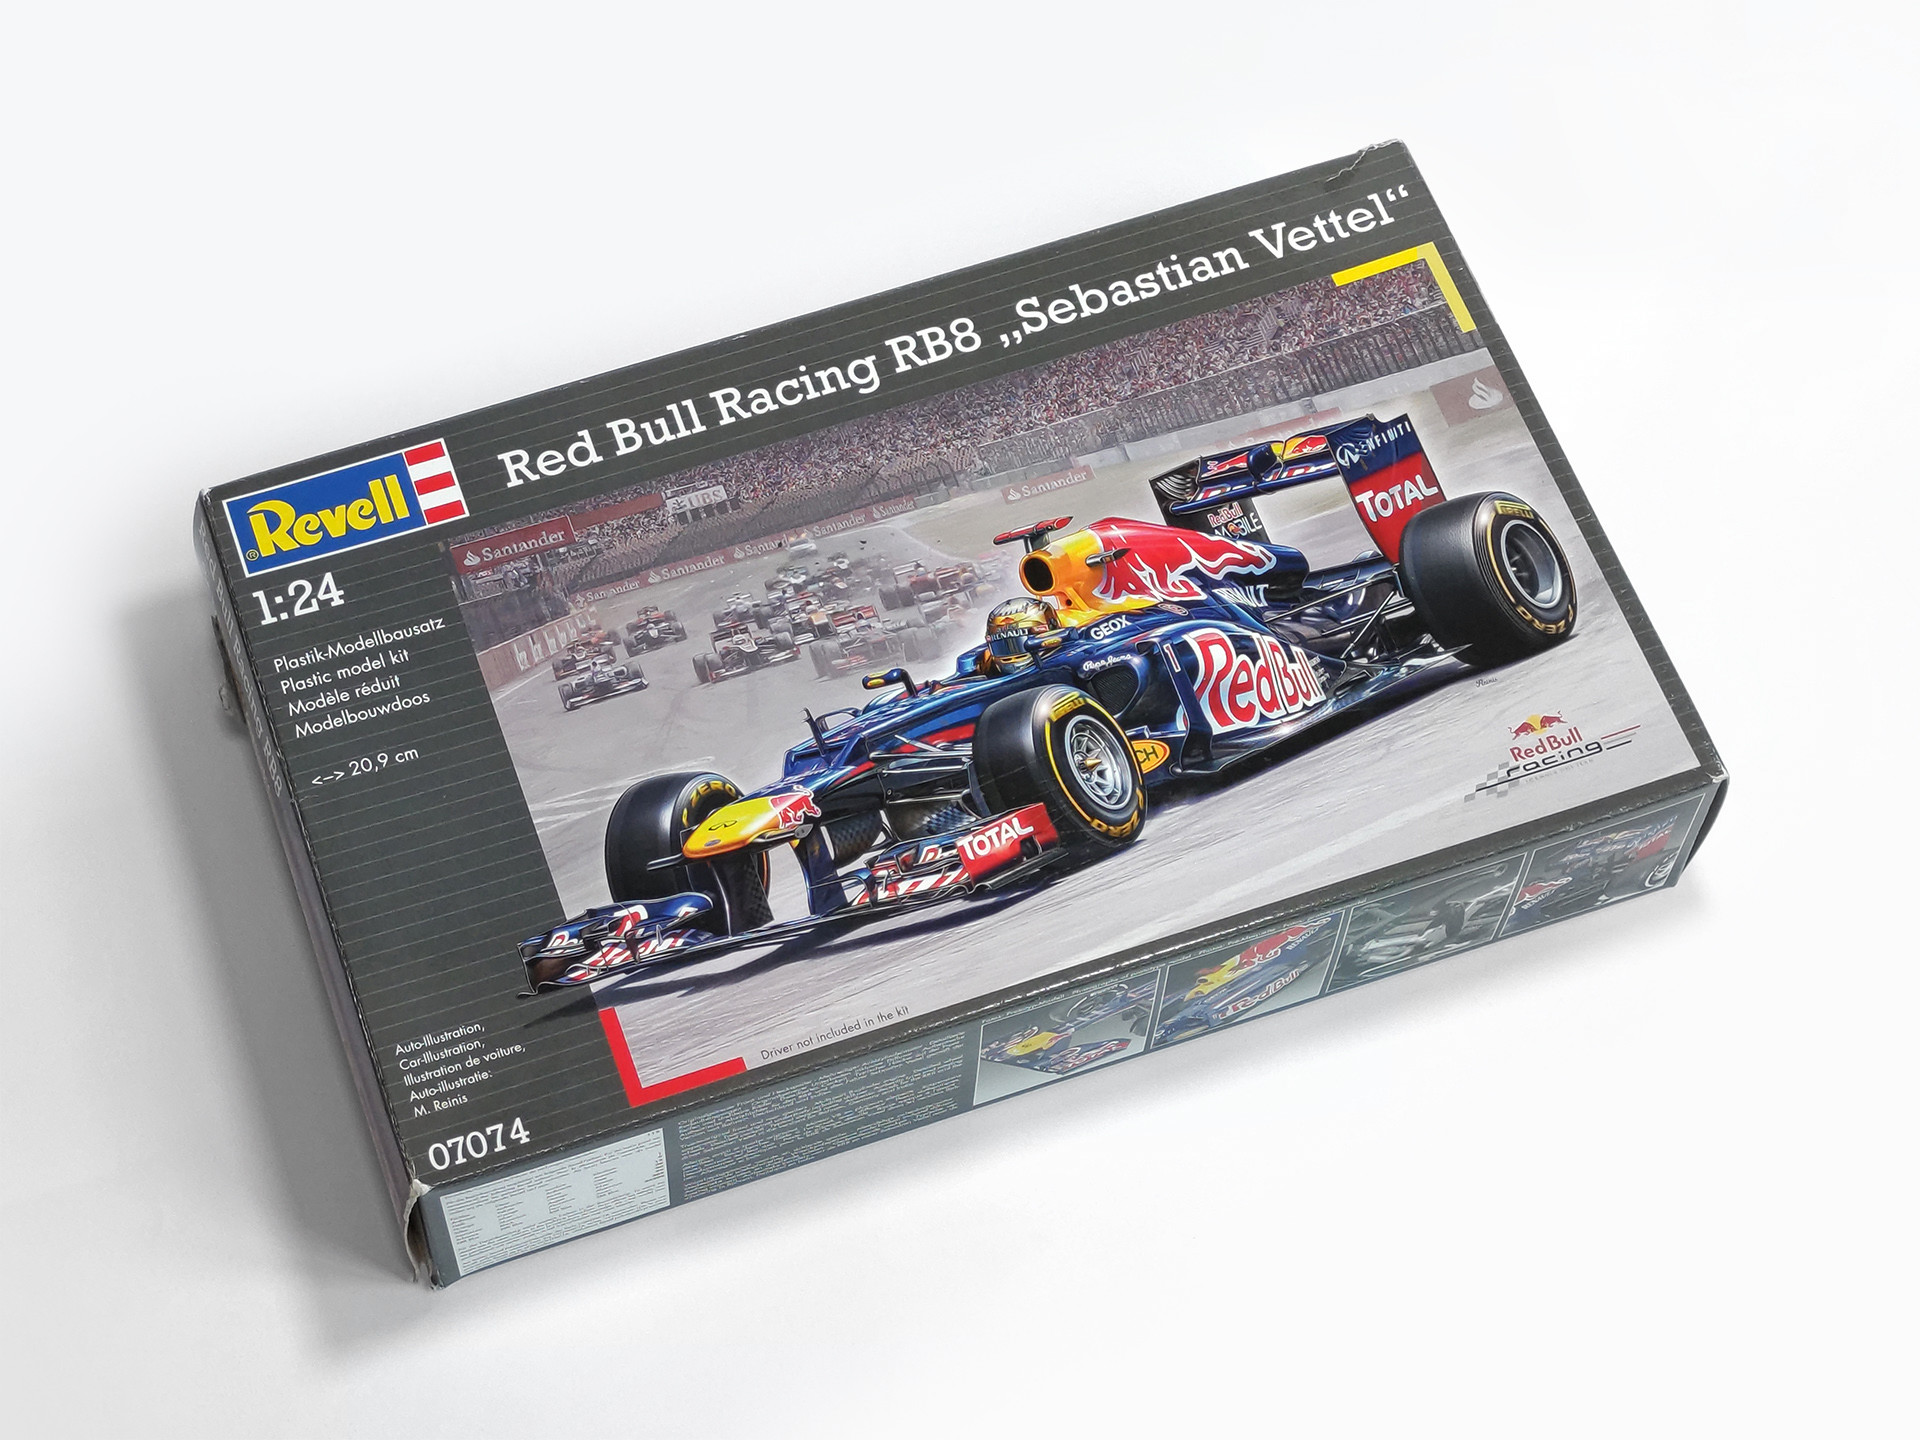
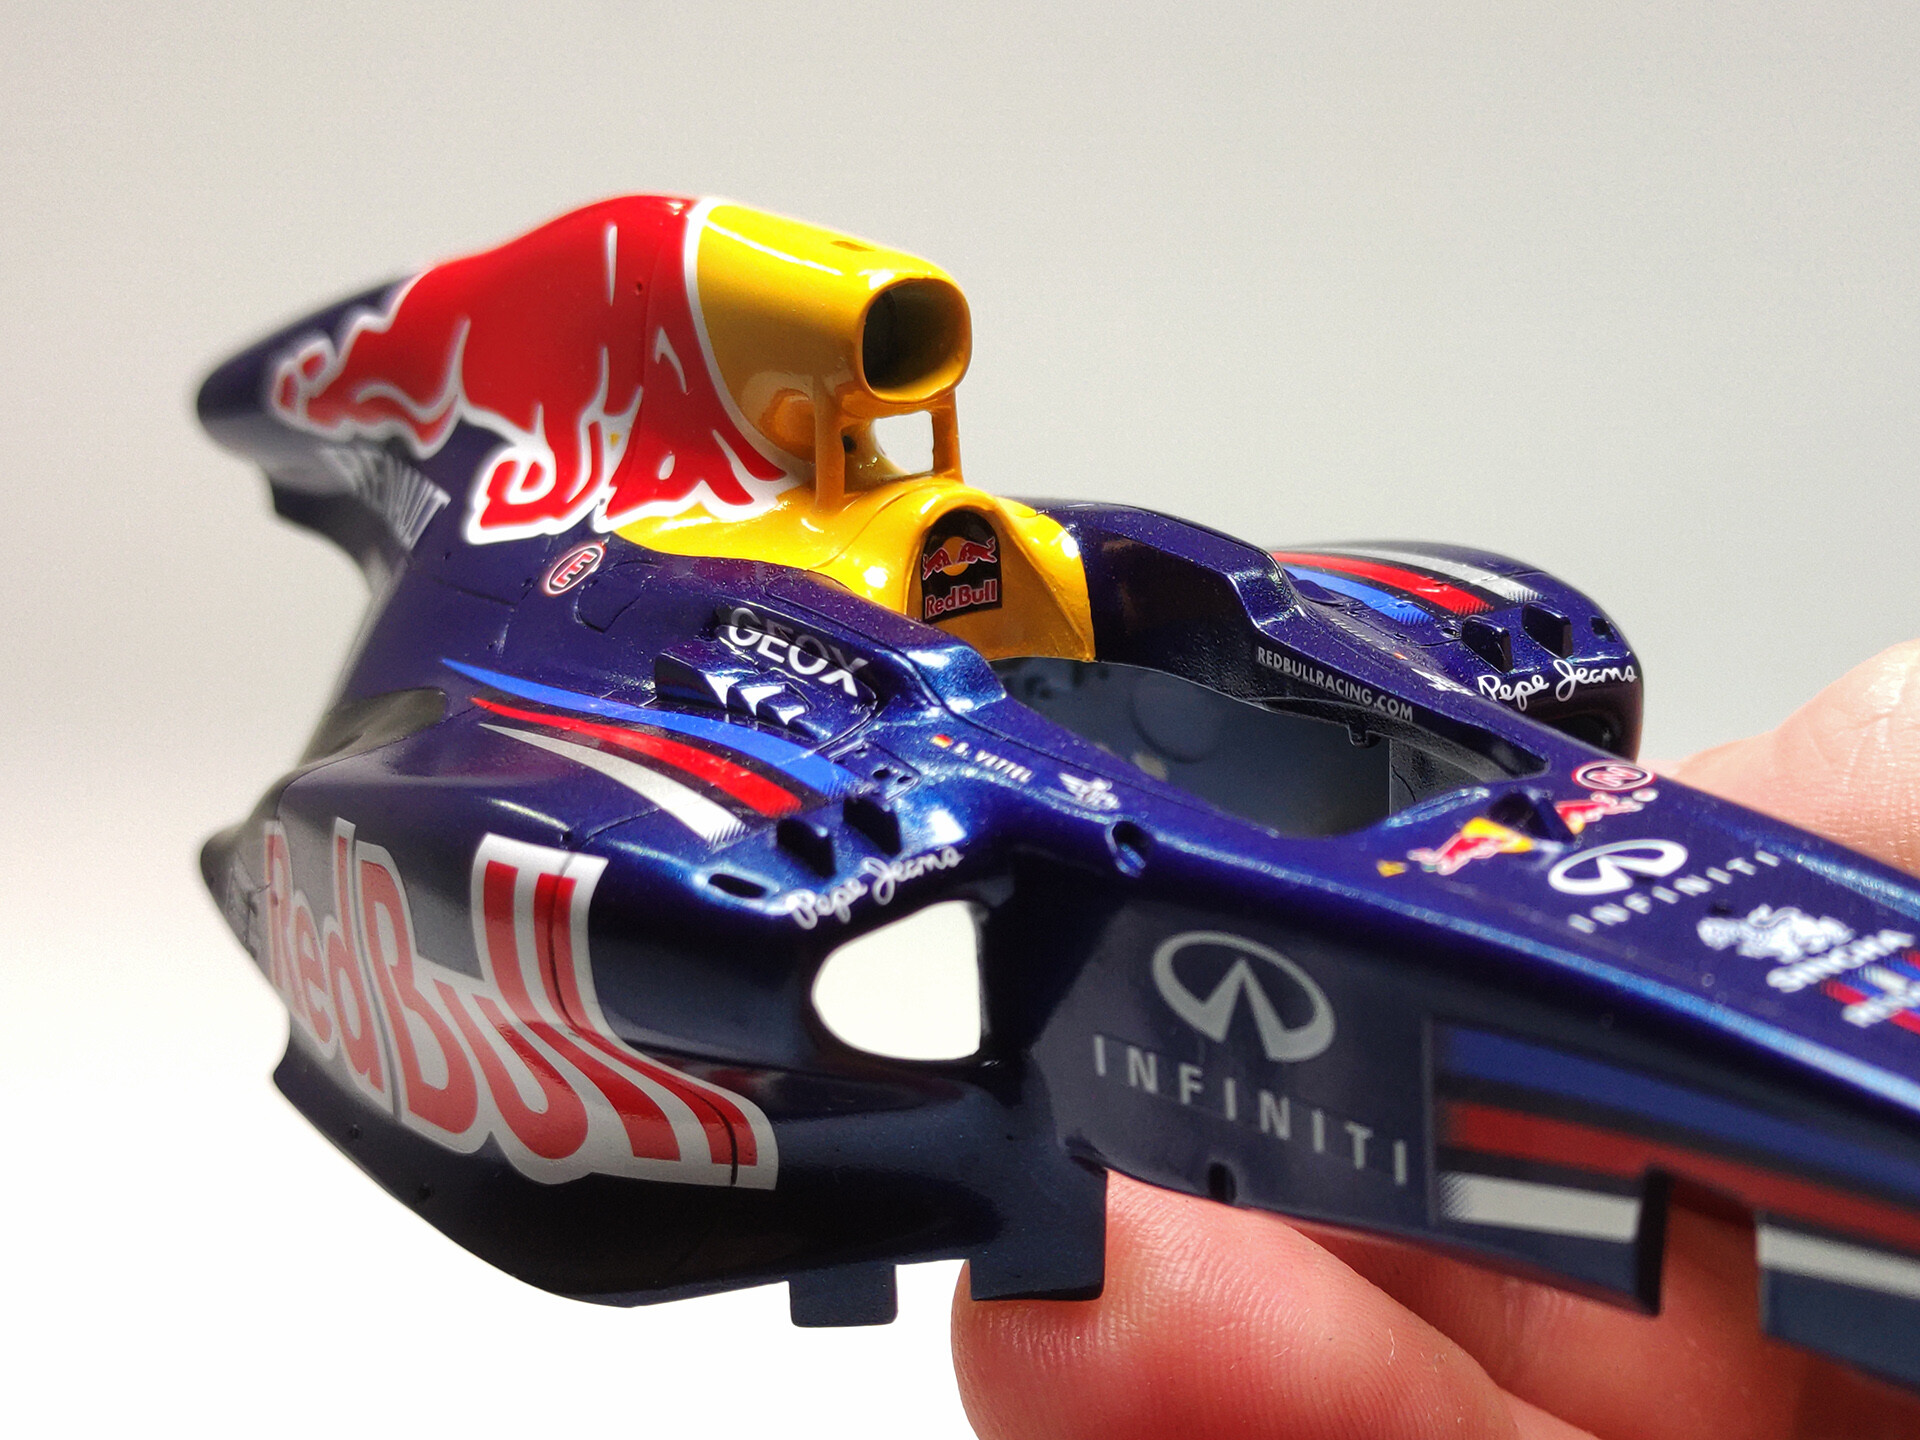
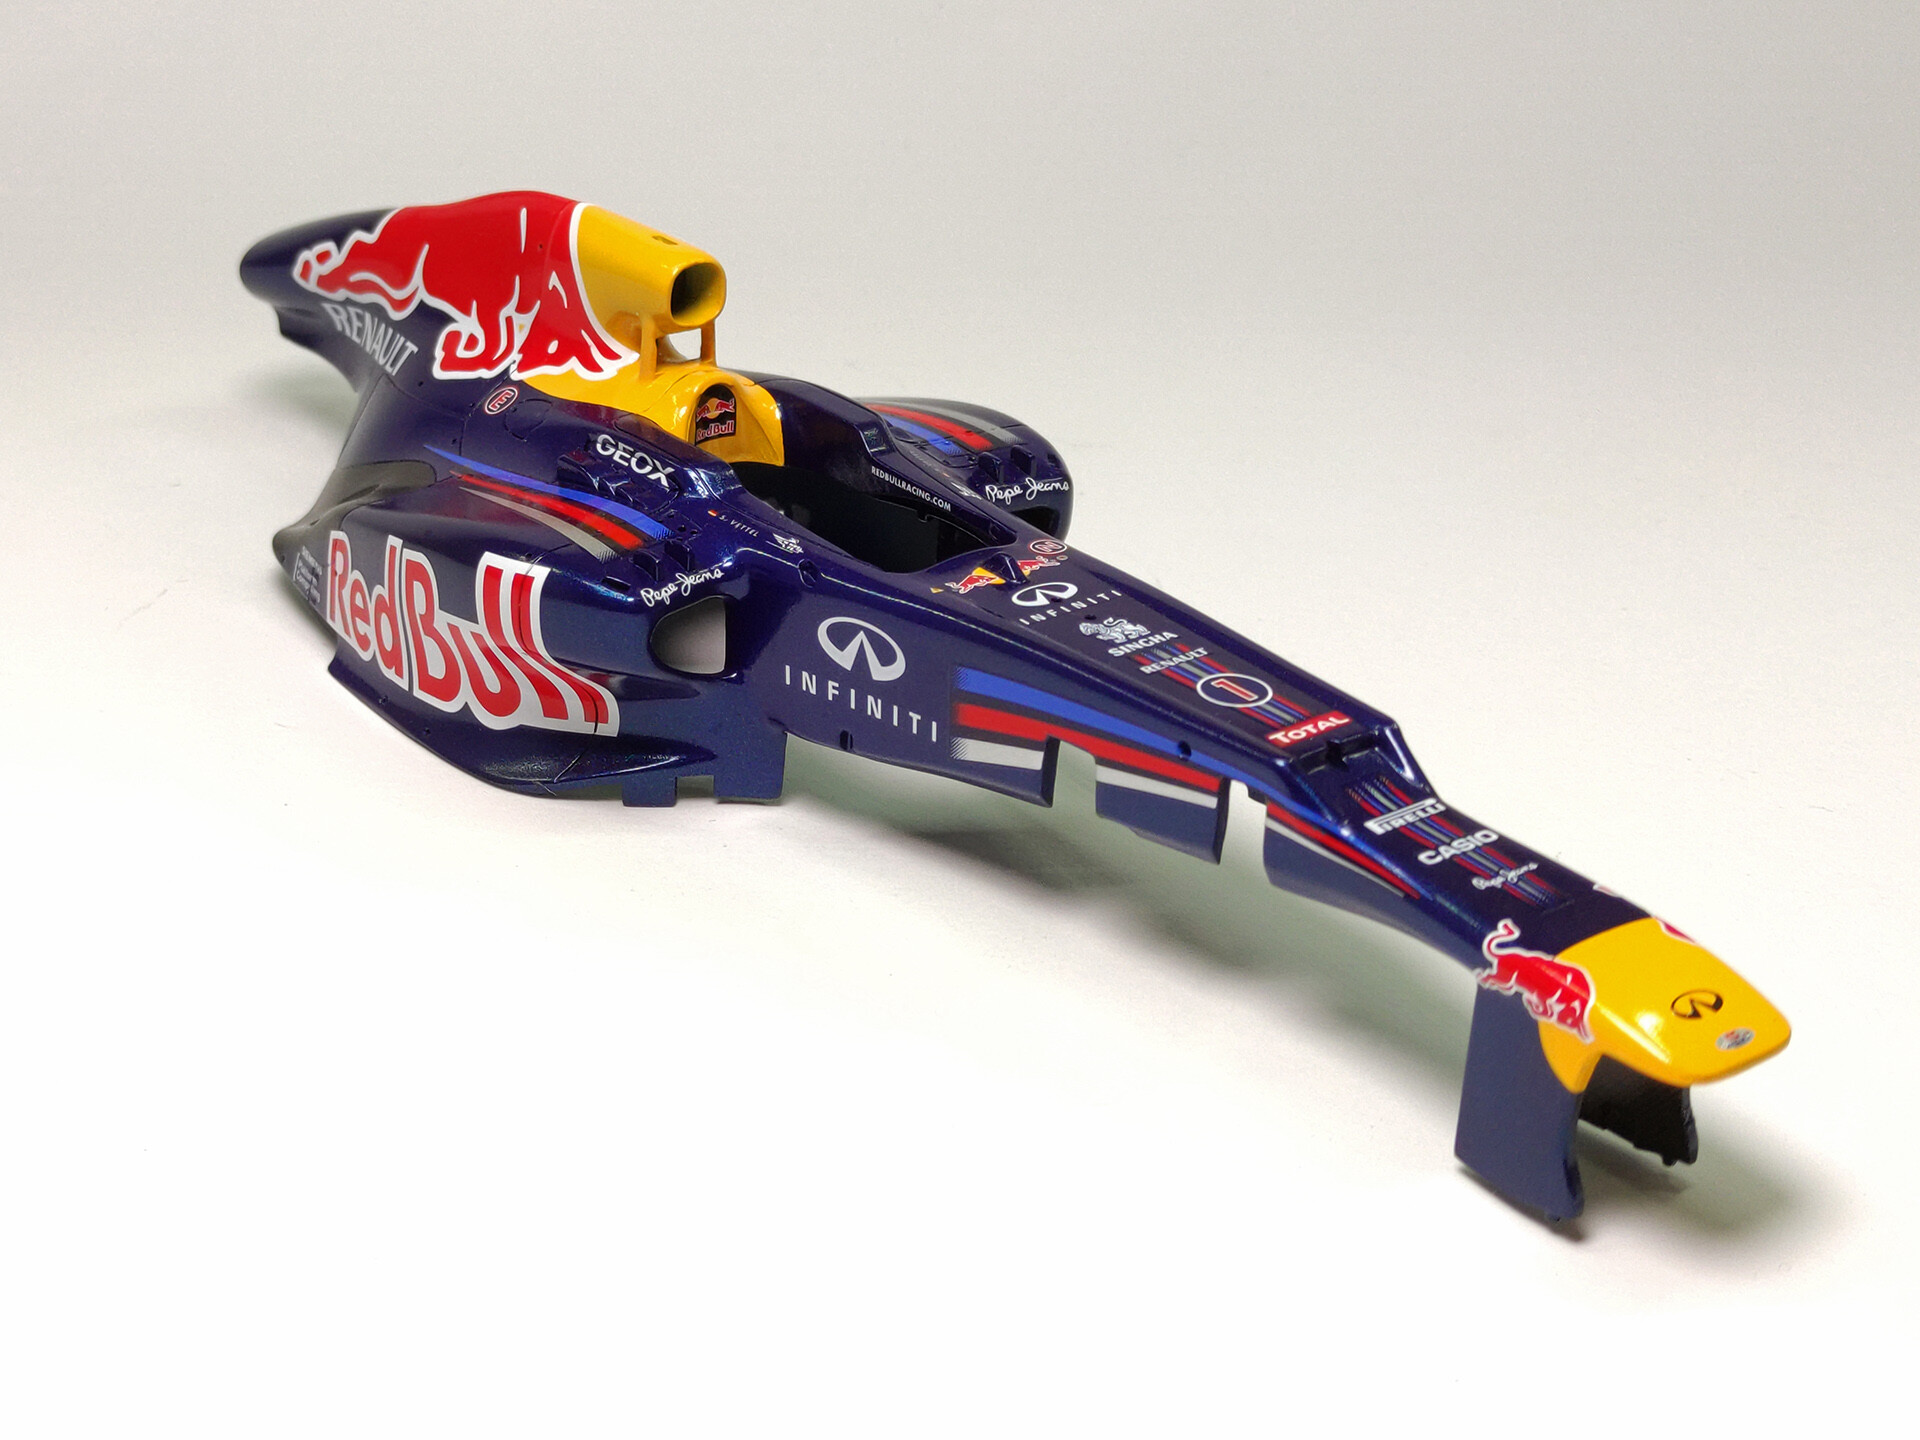
The car is Red Bull Racing marked as RB8, driven by Sebastian Vettel in 2012. The kit was released by Revell in 2013 and unfortunately it is no longer produced. Revell has provided several variants in which the model can be assembled - we can choose the Grand Prix of Germany, India and Bahrain. Variants differ in decals and elements of the rear wing, air intakes and the shape of the nose. Great solution!
Source: wikipedia.org
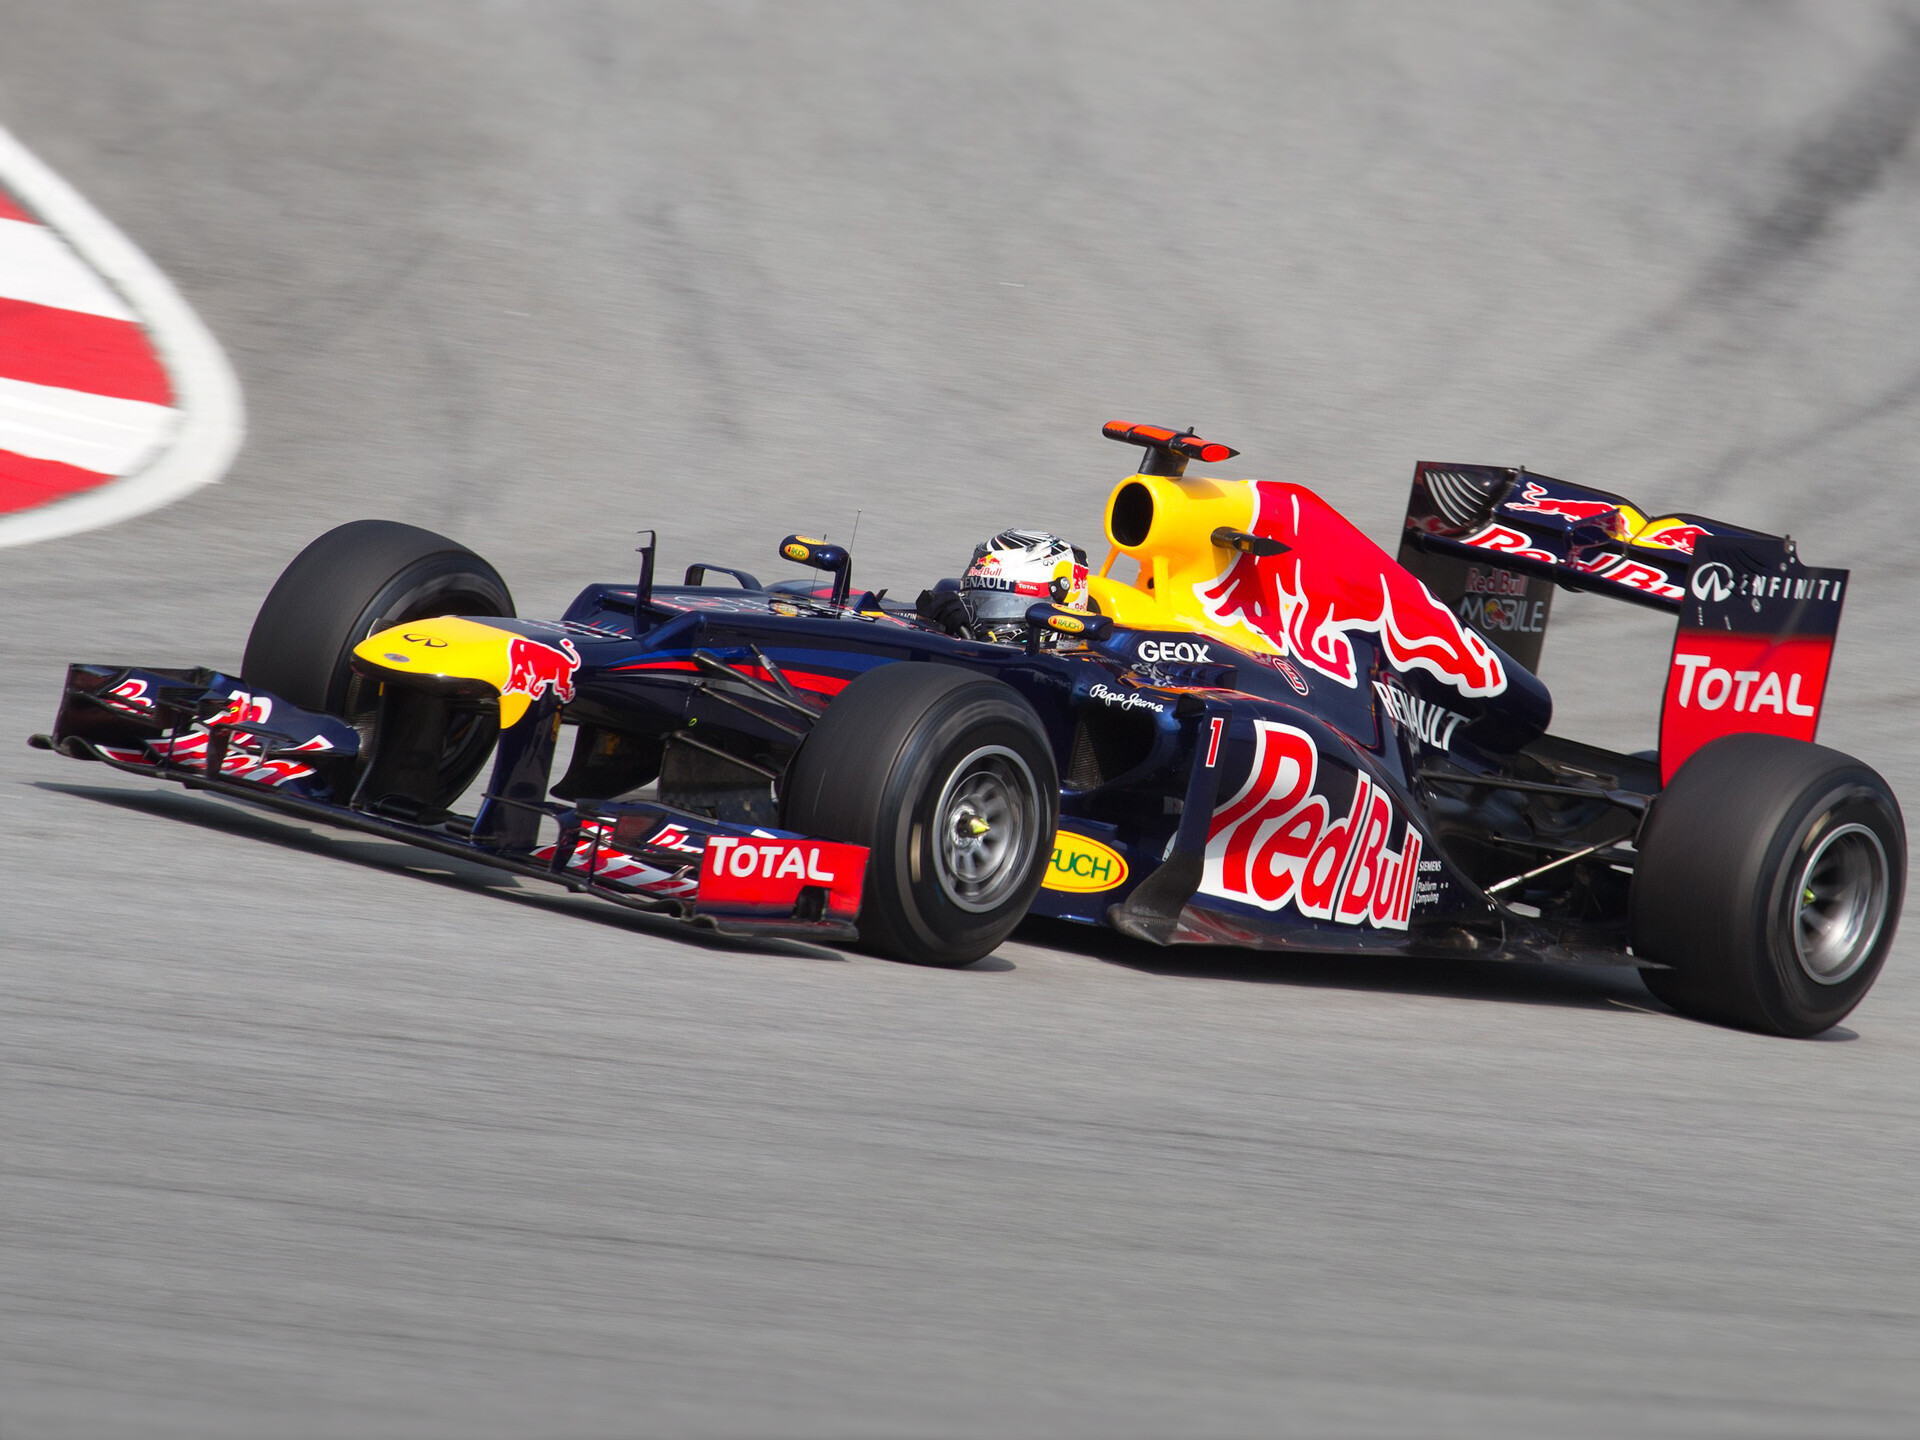
I decided to build the model in the variant from the Bahrain GP. It was first race in this season when Seb won.

Source: motorsportpress.wordpress.com
This is my first Formula 1 car model and with quite a lot of elements it was not so obvious to me 'what, where and how'. That is why I started the work, as always, by analyzing the instructions and initial fittings.


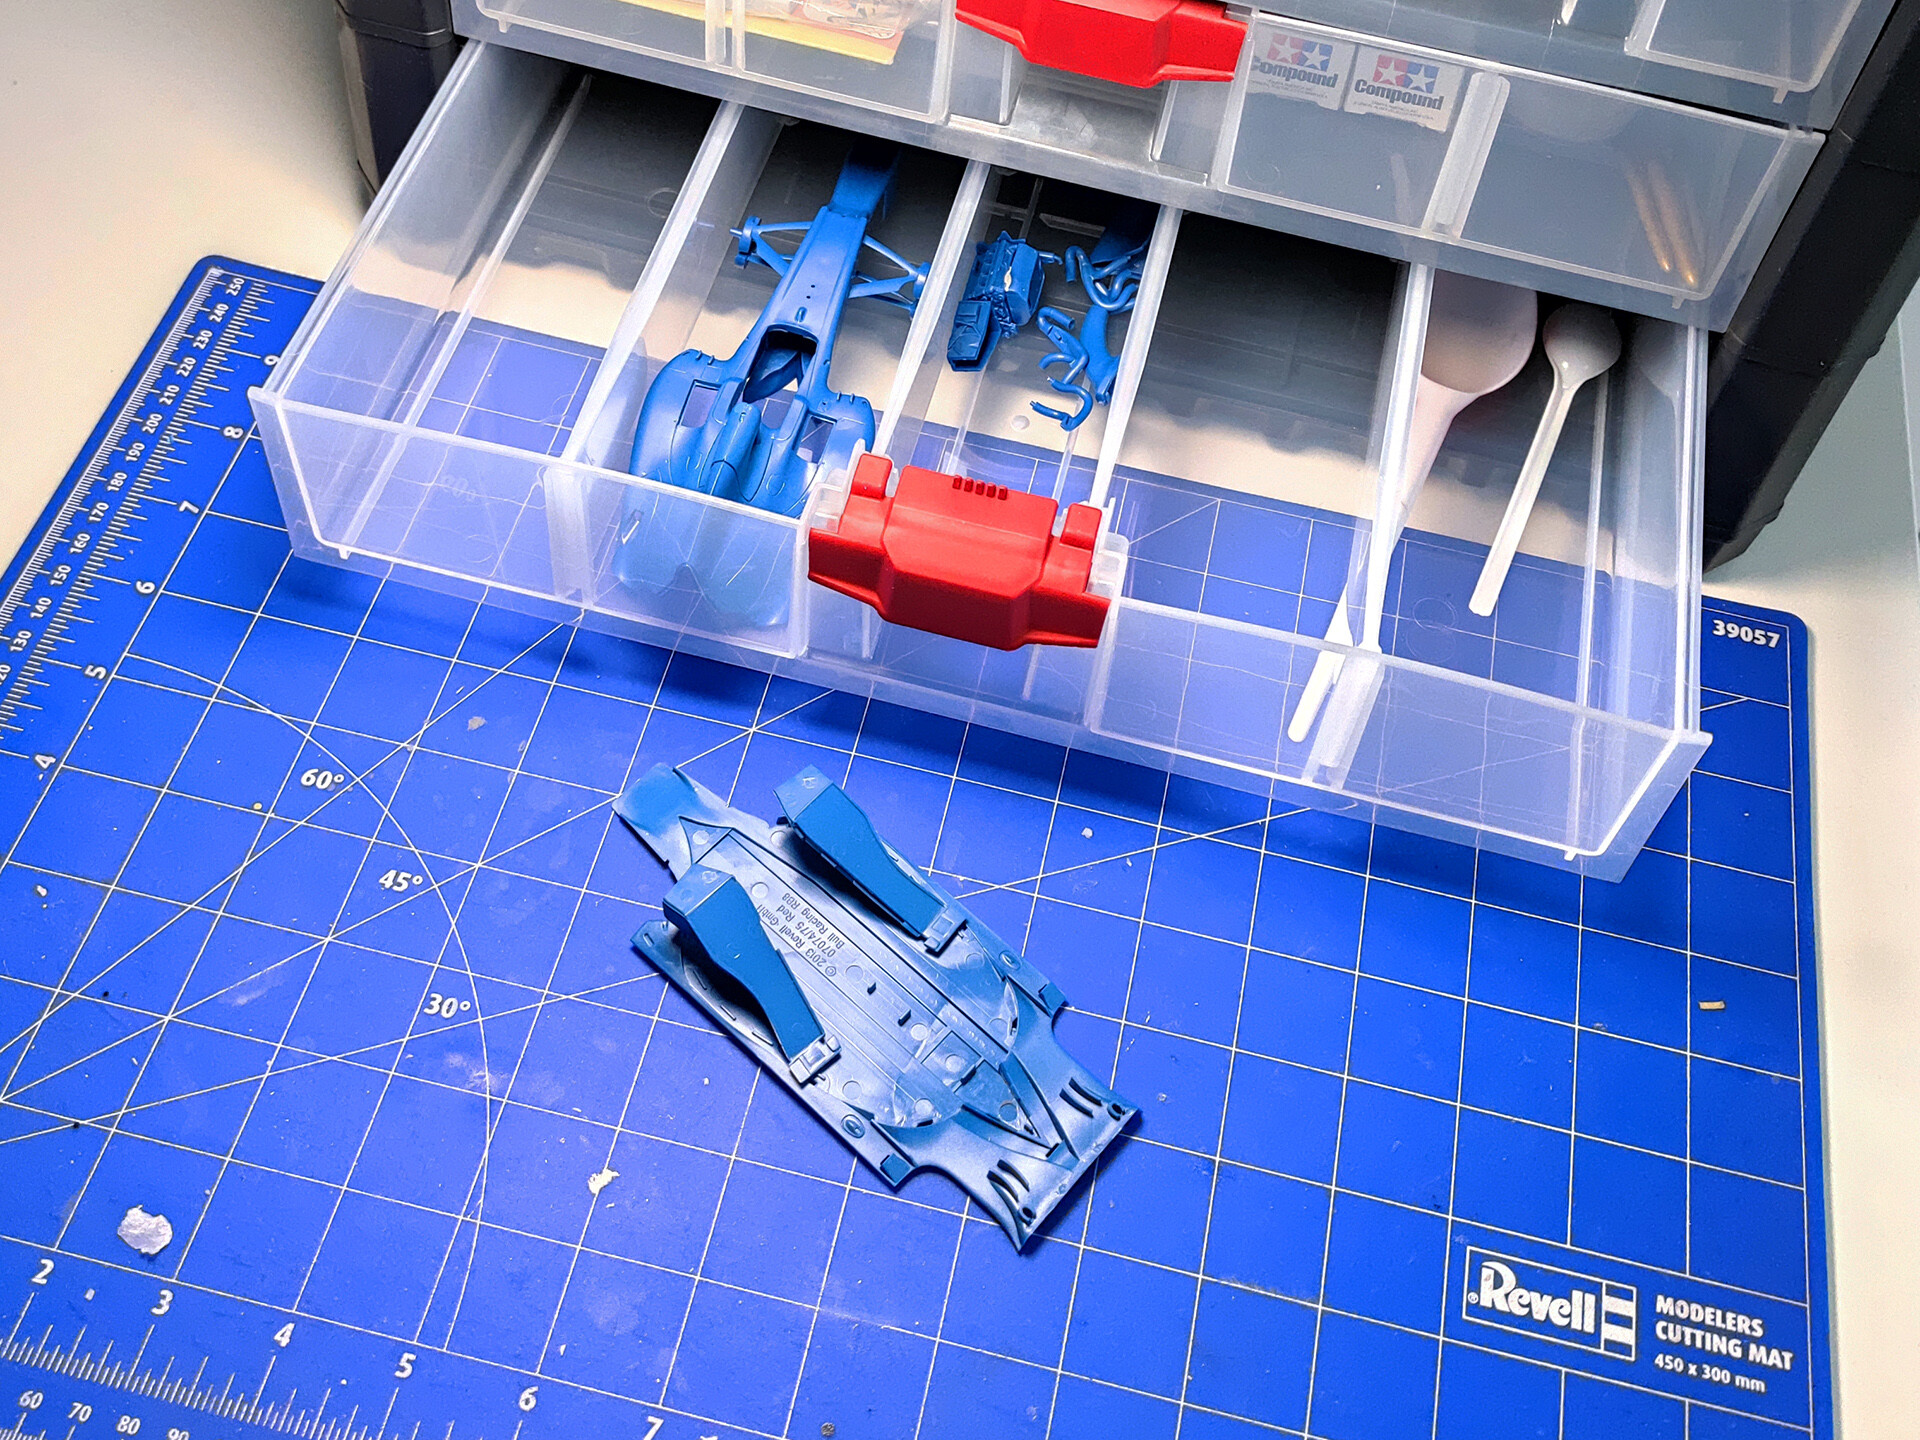
According to Revell's instruction decals should be applied in the same time as assembling the parts. This makes it impossible to properly paint the model, and certainly prevents it from being painted with a clear varnish. I decided to use the manual only as a little support and after a deeper analysis I cemented together all the elements that I could.


The elements have the mold lines here and there, so I removed them with abrasive sponges.


Fitting is far from perfect, so it was necessary to use a putty.

I drilled the dummy rivets to put my own in their place.


I covered the model with white Mr. Hobby Surface Primer 1500. Then I added more putty and sanded the places that still needed to work on them.


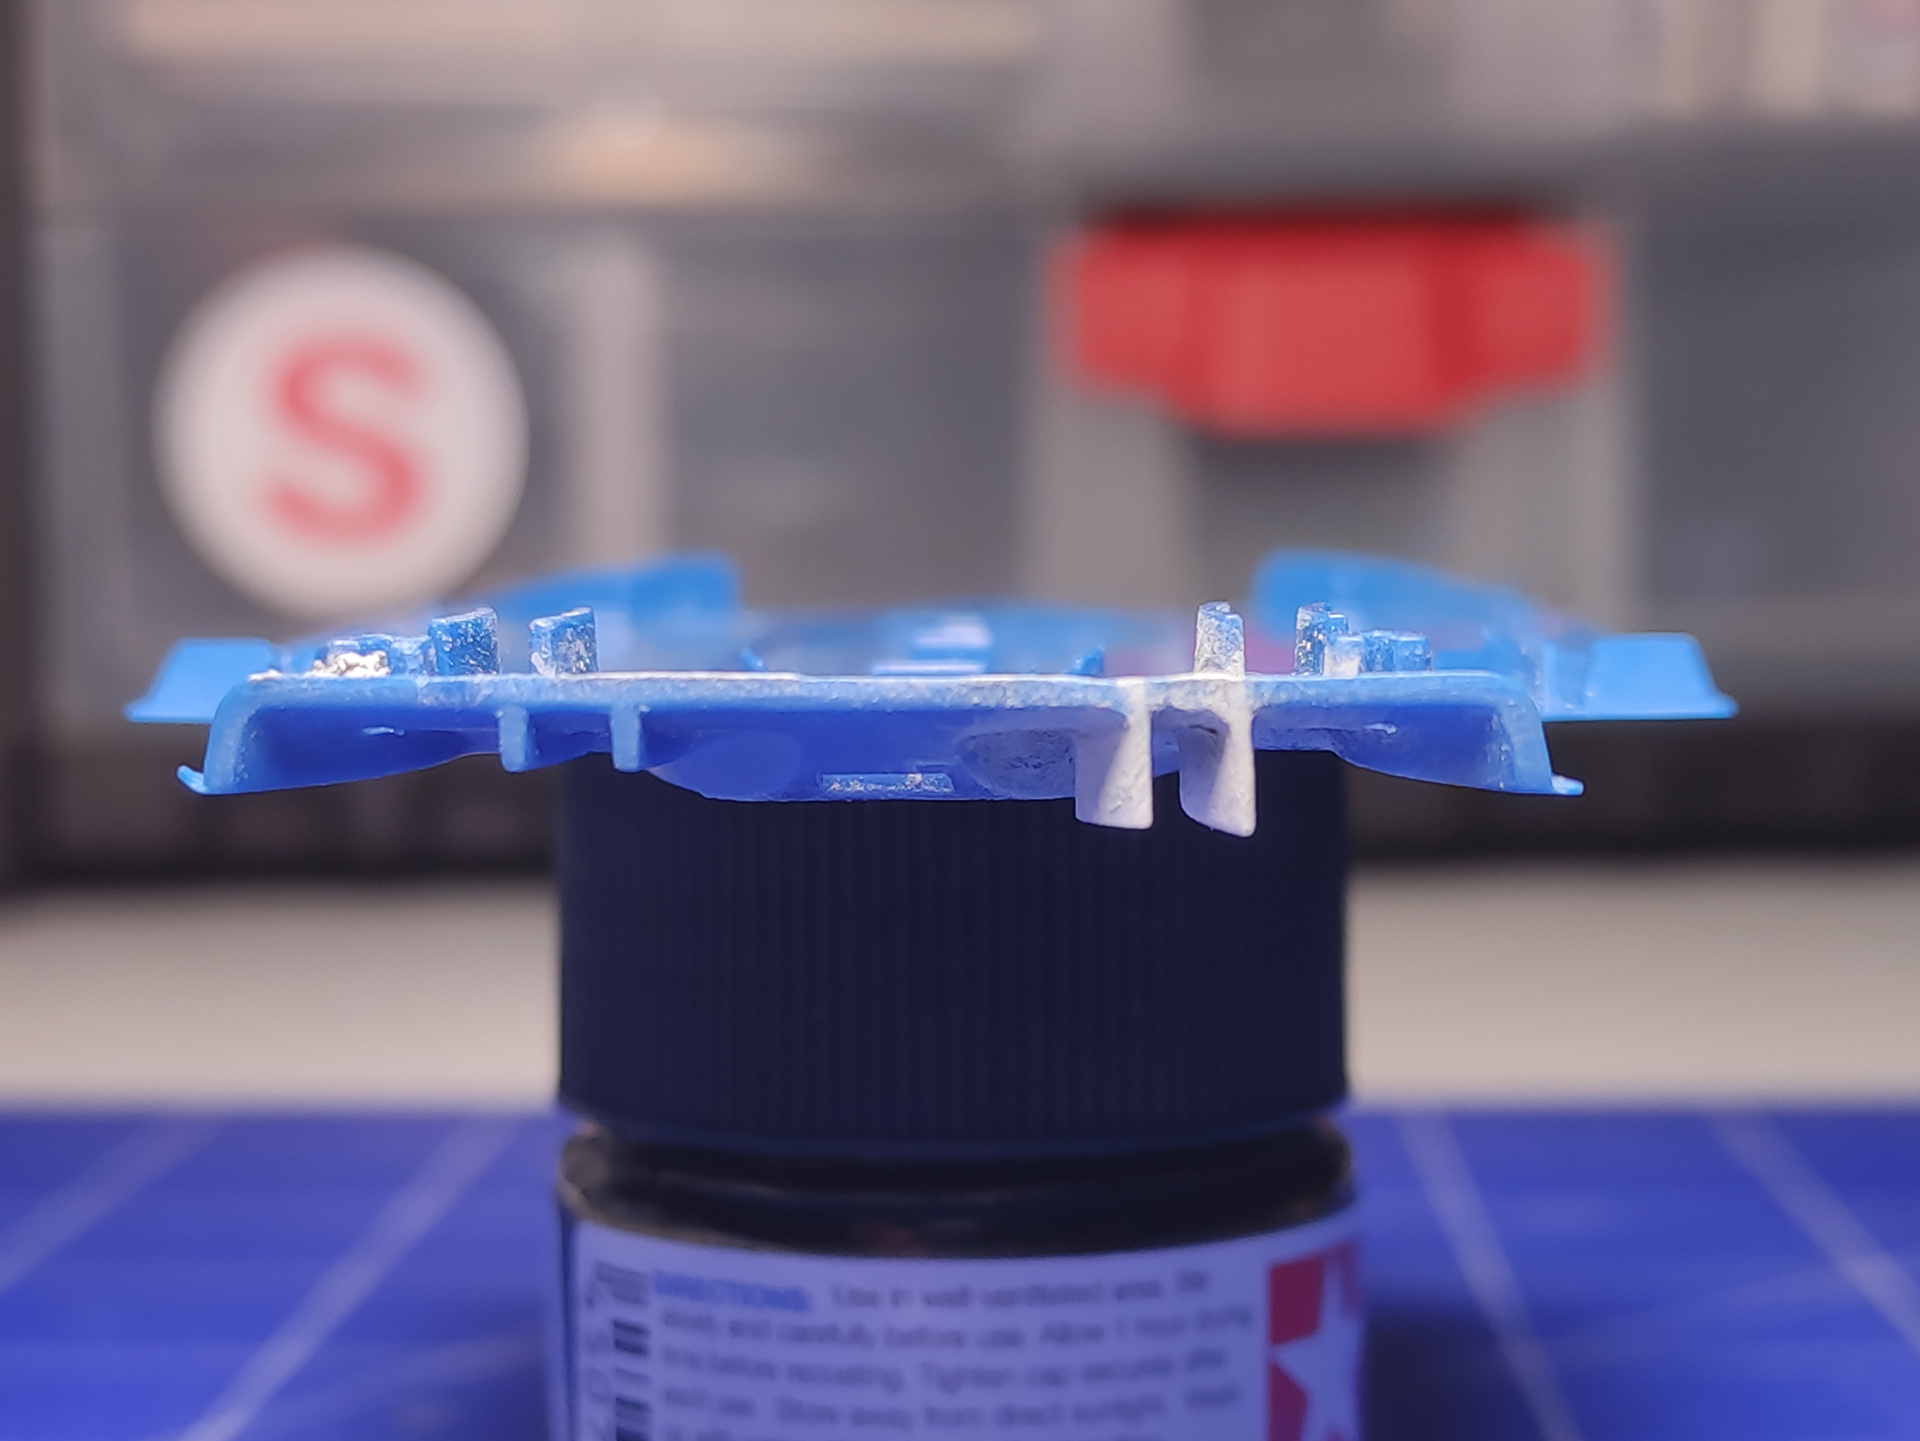
Color test. I chose the LP-47 varnish from Tamiya. The left part of the spoon is the base color placed directly on the white primer, the right part was previously covered with a black gloss. As you can see the difference is huge, of course, in favor of black under the target color. That's why I will work this way.

The model was covered with a thin layer of black gloss.

It was only at this stage that I realized that Revell was too crazy about the panel lines and made more of them than there were in reality.
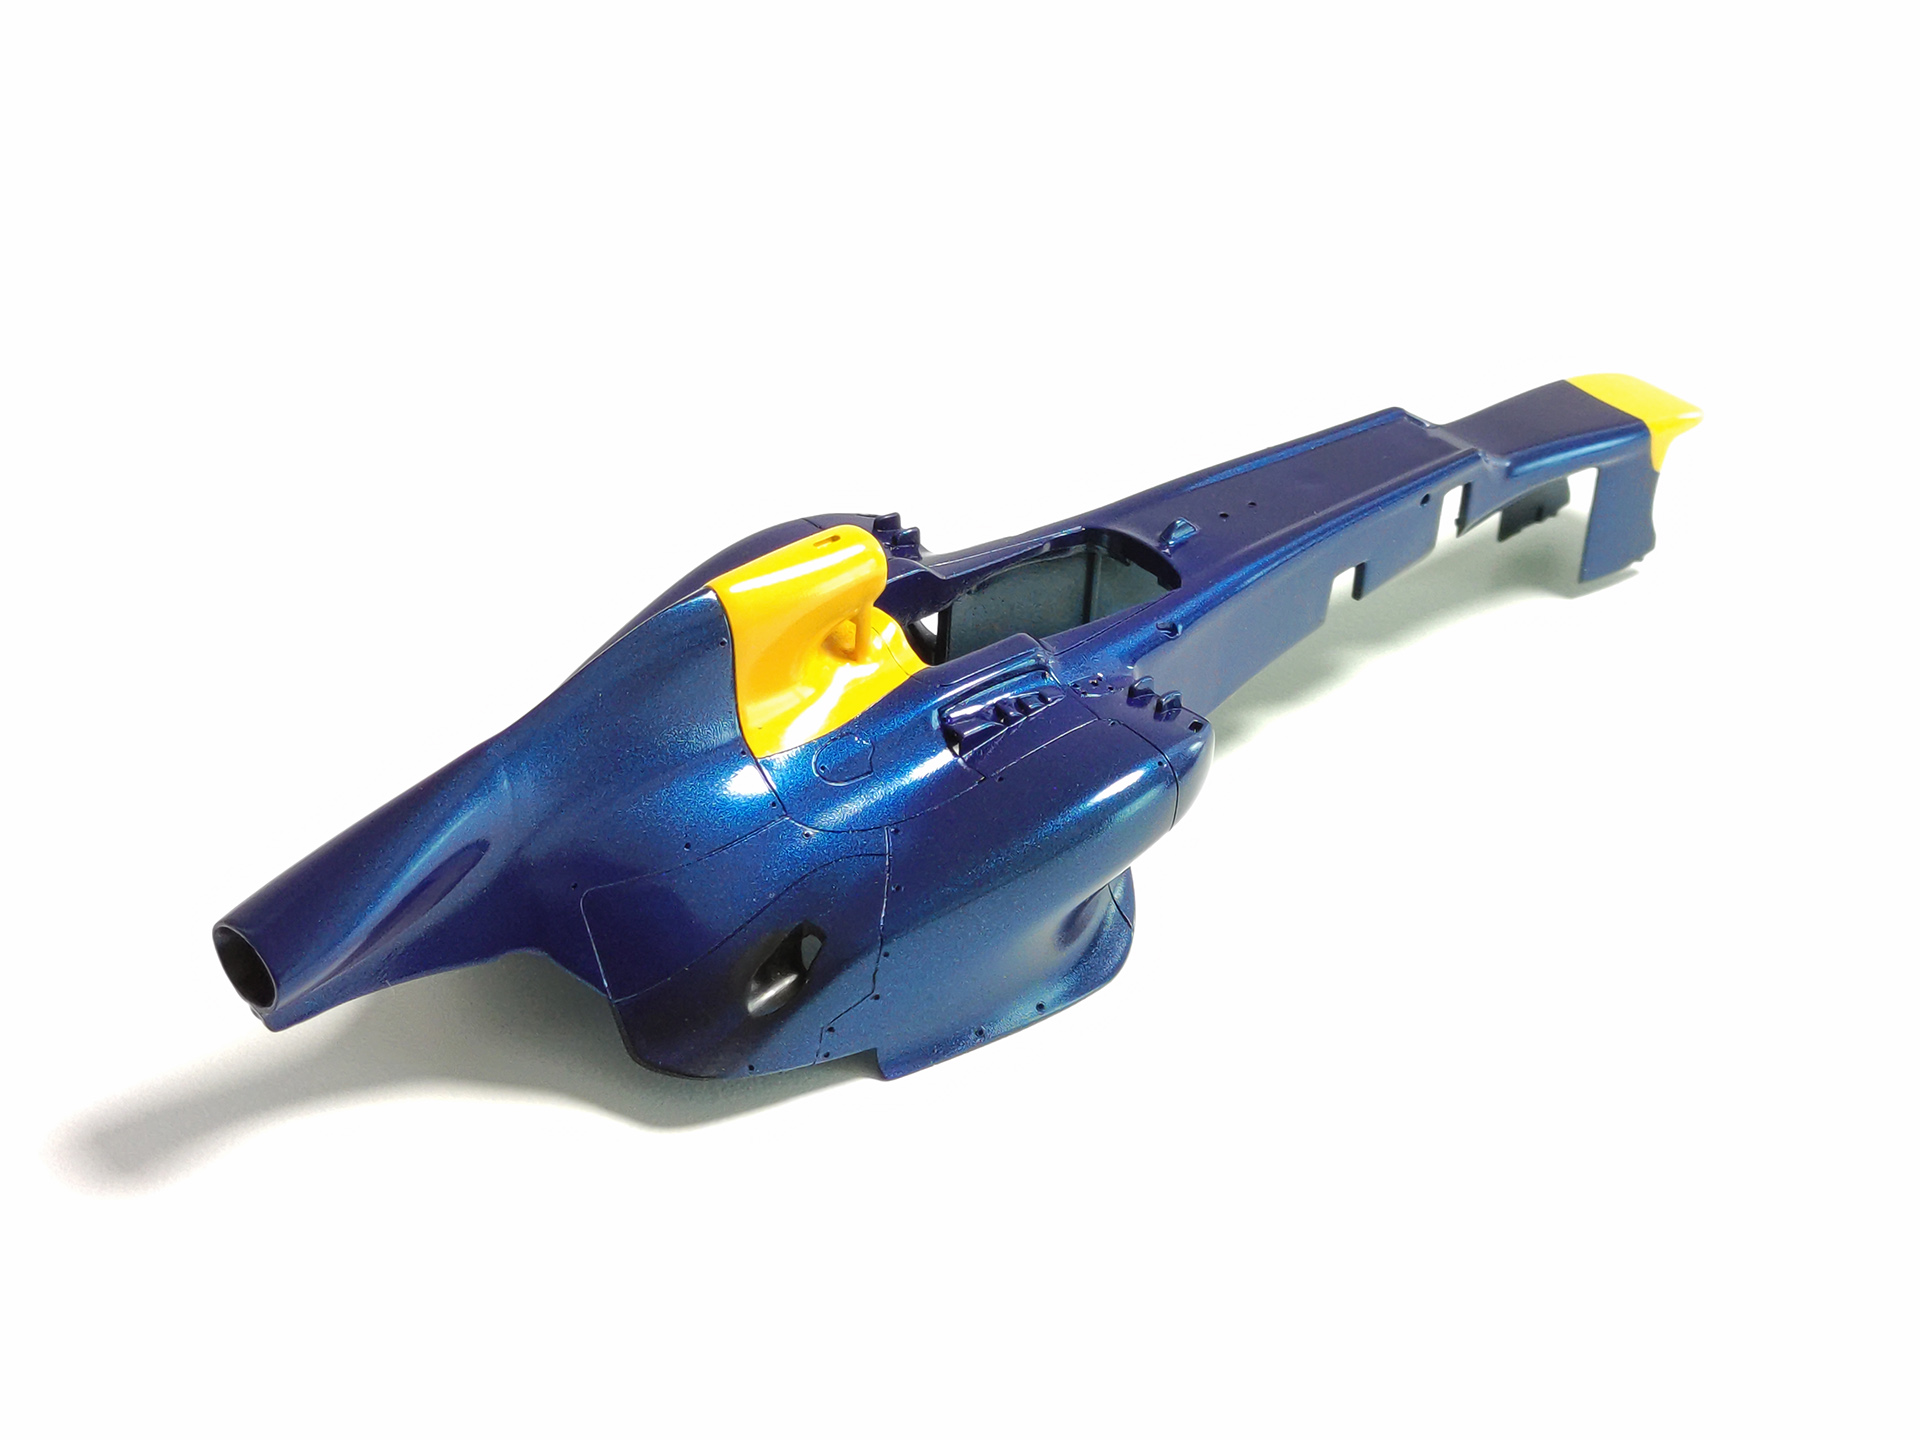
The whole thing was ready to apply the base color, but with pain I started to putty, sand and repaint these parts black again.

After catching up and painting the base color, I started masking the yellow elements. To prevent the yellow LP-8 from falling too much into the blue base color, I put two mists of white LP-2 first.

Unfortunately, I was not satisfied with the result. The yellow color obtained did not correspond to the original, so the entire model went to the paint remover and the fun started again.

This time, however, I decided to follow Revell's instructions, which recommends painting the yellow elements with a mix of yellow and 10% orange. For this purpose, I bought an LP-51 and mixed it with LP-8 according to the instructions.


Sometimes it makes sense to follow to instructions. The obtained color was the one I've had been looking for! Additionally, in this case I decided to do the opposite of the previous try and first painted the yellow elements directly on the white primer, and then, after masking them, put on a black gloss and then the base color of the LP-47.

In some places there was a slight inclusion, so I gently sanded it with Mr Hobby Laplos, 6000 grit.

Update 2 | 03.09.2021
In the next stage, it was time for decals. I started working with the front wing.

In addition, I decided to detail-up the bottom of the front wing with carbon decals. I used Tamiya carbon decal sheet. It is difficult for me to recommend it. The decal is terribly thin, folds are hard to remove, and after a short soak in Micro Sol likes to break.


Fortunately, the decal sheet from the set were supplied by Cartograf. It is in a class of its own. The print quality is great and the patterns cut perfectly, including all undercuts.

Wrapping up the body did not cause any major problems. I used Micro Set and Sol and a hair dryer to apply and adjust the decals. They all fit together nicely and none of the decals broke.


Update 3 | 04.07.2022
Front wing is completed.


I started working on the floor from modifying the diffuser. In the Revell model, the ribs were too low and too thick compared to the original ones, so I cut them out and replaced them with new ones, printed on a 3D printer.
The remained gaps were filled with gray Tamiya putty. It is not a perfect product for such an application as it collapses after curing, so I had to repeat the filling several times.

After finishing the diffuser modification, the entire floor was painted black and then I put carbon decal over the whole thing. It was not included in the kit, so I used carbon sheet from Tamiya. Then I applied LP9 clear coat. After drying, I masked the whole thing and started painting the plank.

After painting, the plank looked too sterile, so I dirtied it with Tamiya Panel Line Accent Color.

In addition, the carbon fibre also went the underside of the nose.


In the seat, Revell casted stripes on which, according to the instructions, decals should be applied. I really don't like this solution, so I sanded it down with a dremel, and then putty it so that there was no trace of it.

I used scalecars.online SCO-R020 racing seat belt buckles and Sabelt decals from Scale Production kit.


Update 4 | 25.07.2022
The chassis with the engine is finally finished and ready to be assembled with the body. I have concerns whether I will be able to assemble them without any problems. The instruction says that the front part of the monocoque would be glued to the chassis first, then the engine would be inserted and only then the whole thing would be closed with the rear part of the body.


Update 5 | 15.08.2022
Monocoque got 0.6mm rivets (scalecars.online SCO-R008). In total about 50 pieces.


A TV camera mount has been mounted above the air intake.

The driver's seat was glued into place.


Mounted front arms and bottom part of the nose.


The brake discs and calipers are ready.
Brembo decals come from the Revell set. Additionally, I drilled the disc mounts and inserted SCO-R008 rivets there.

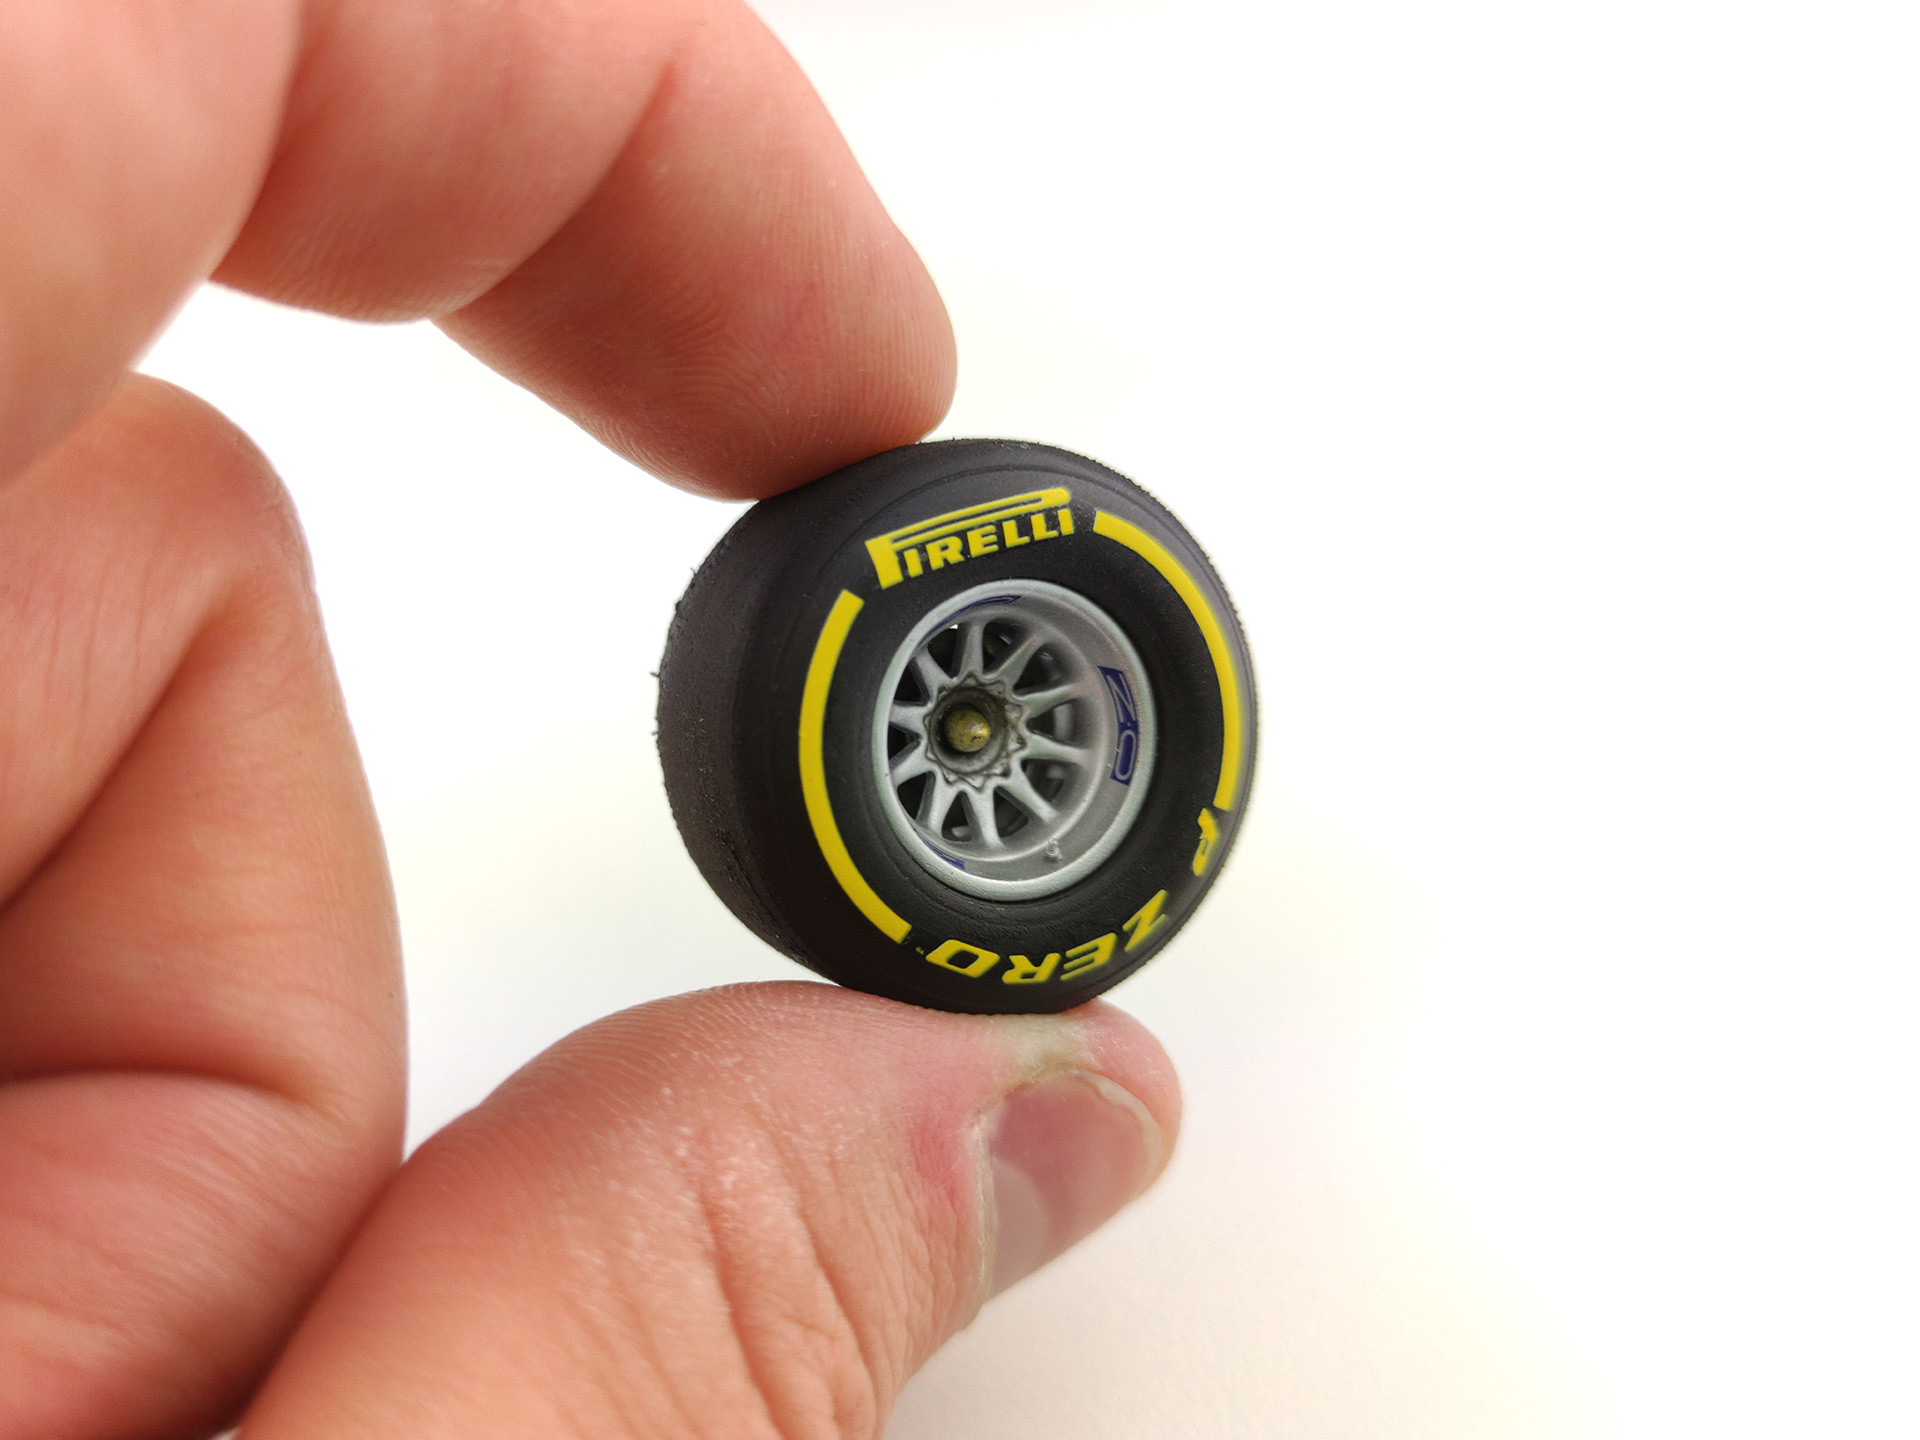
The time has come for the wheels. The tires landed on a dremel and were sanded to give them a partial wear effect and to remove residuals from the molds. OZ racing and Pirelli decals come from the Revell set. In addition, I drilled the rims and installed SCO-R019 air valves.


Update 6 | 17.05.2023
It's time to put all the pieces together.
The front wing went first.

Then I had to deal with putting the monocoque on the chassis. It was not easy due to the fact that the engine was fully assembled and glued to the chassis, and the monocoque was a monoblock. In the instructions, Revell assumed that the two parts of the monocoque would be glued together only at the time of assembly on the chassis. Finally managed to stuff it without any damage.
Once the chassis was in its place, I went to assemble and glue the rear wing.


Now it was time to move on to more delicate details. I started with the mirrors. The mirror imitation is a decal from the Revell set.

The kit antennas were incredibly thick and completely out of scale, so I replaced them with a 3D print.
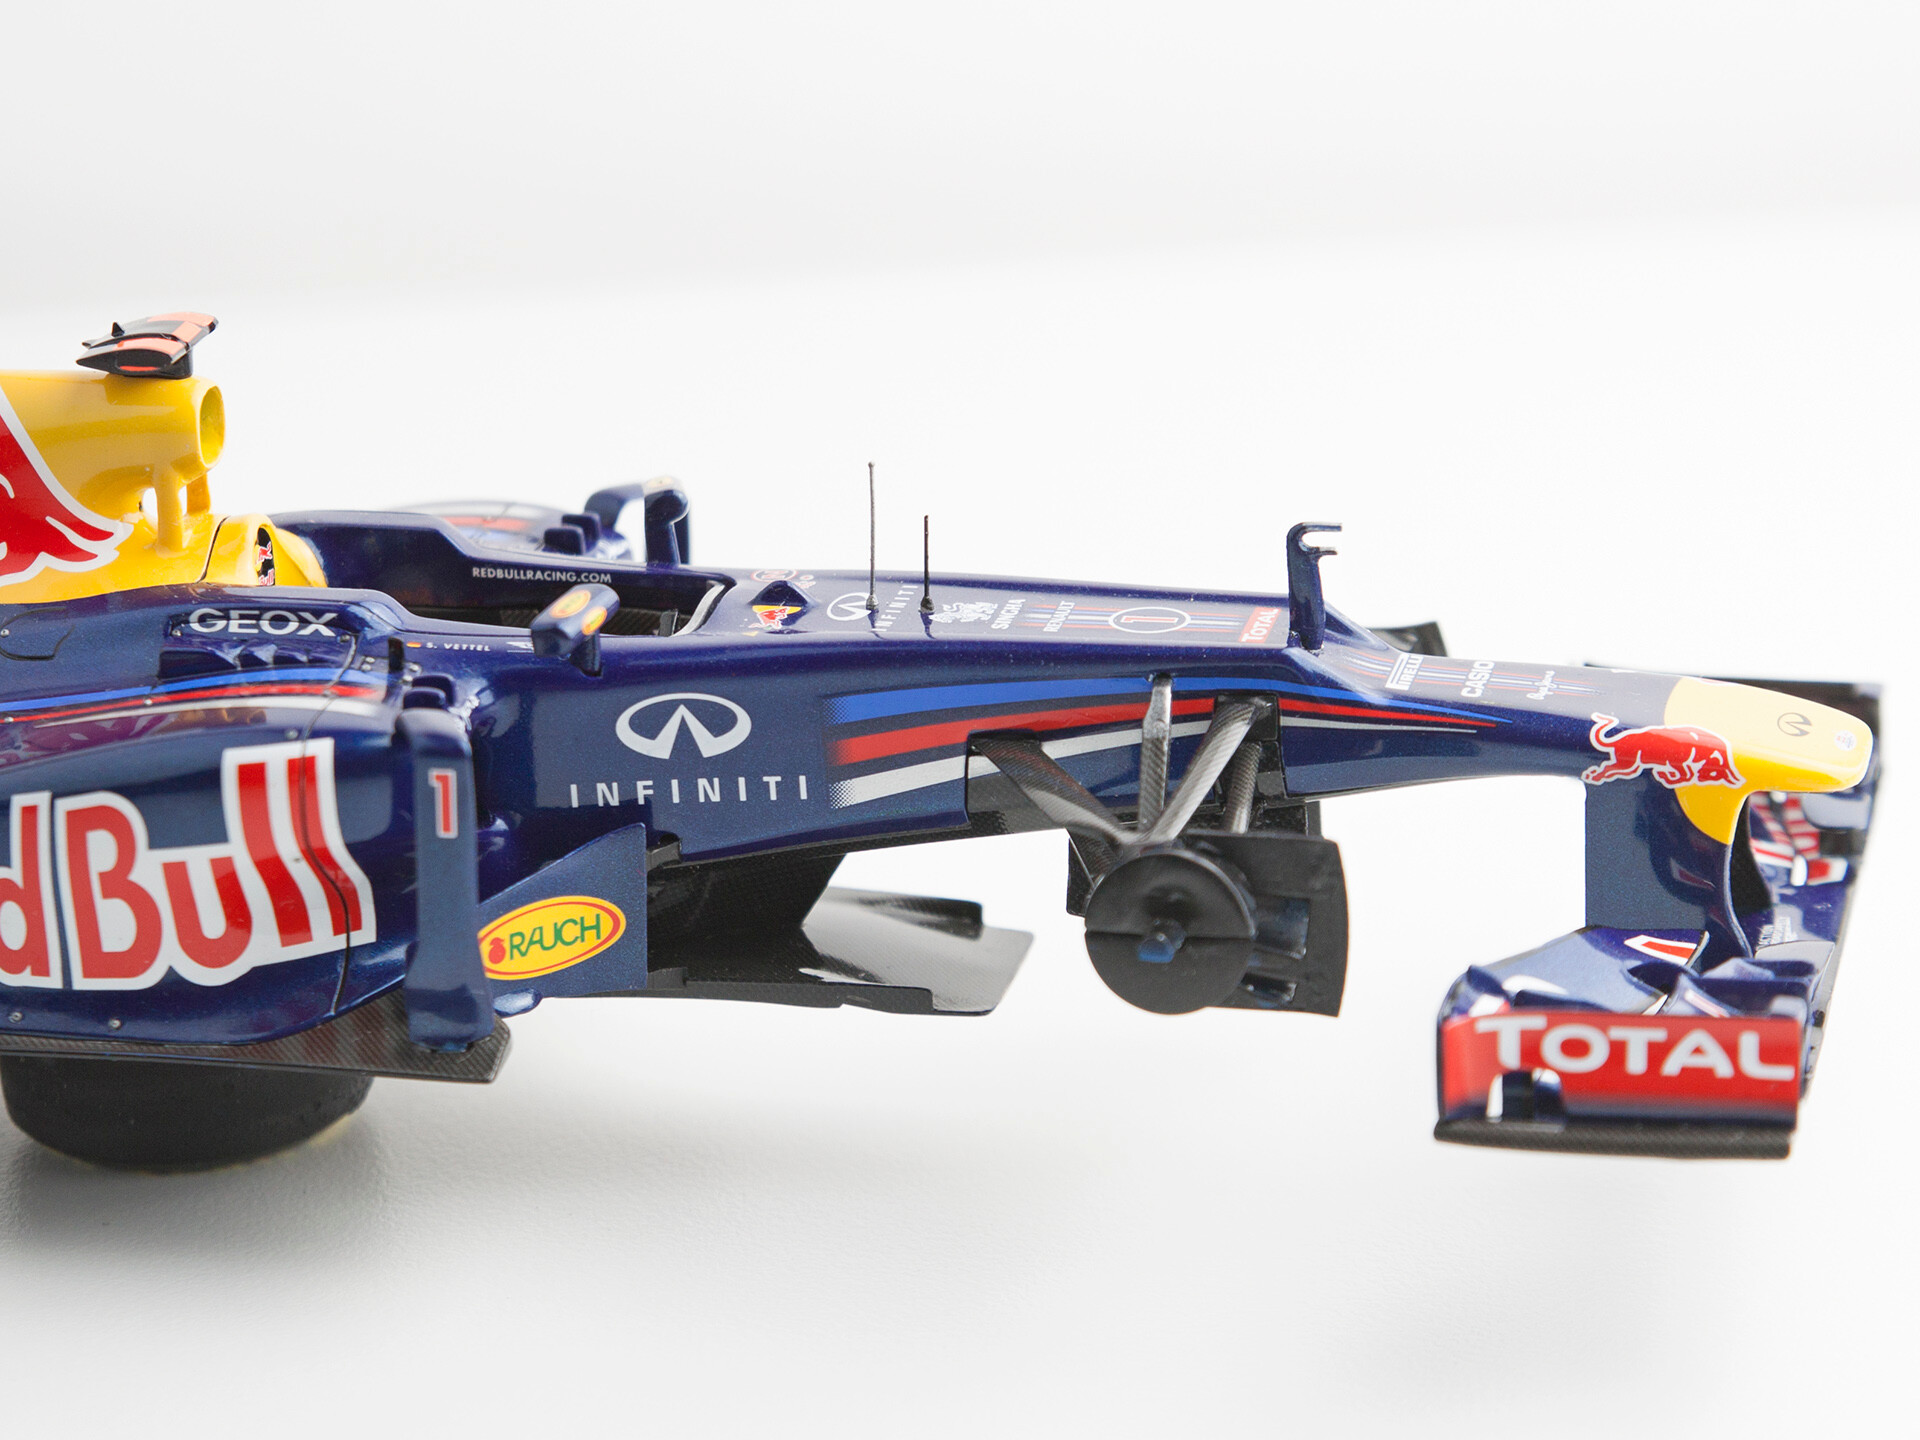

All the elements are ready, only the wheels have to be put on. The final effect will be seen in the final gallery of the model!

Update 7 | 02.05.2023
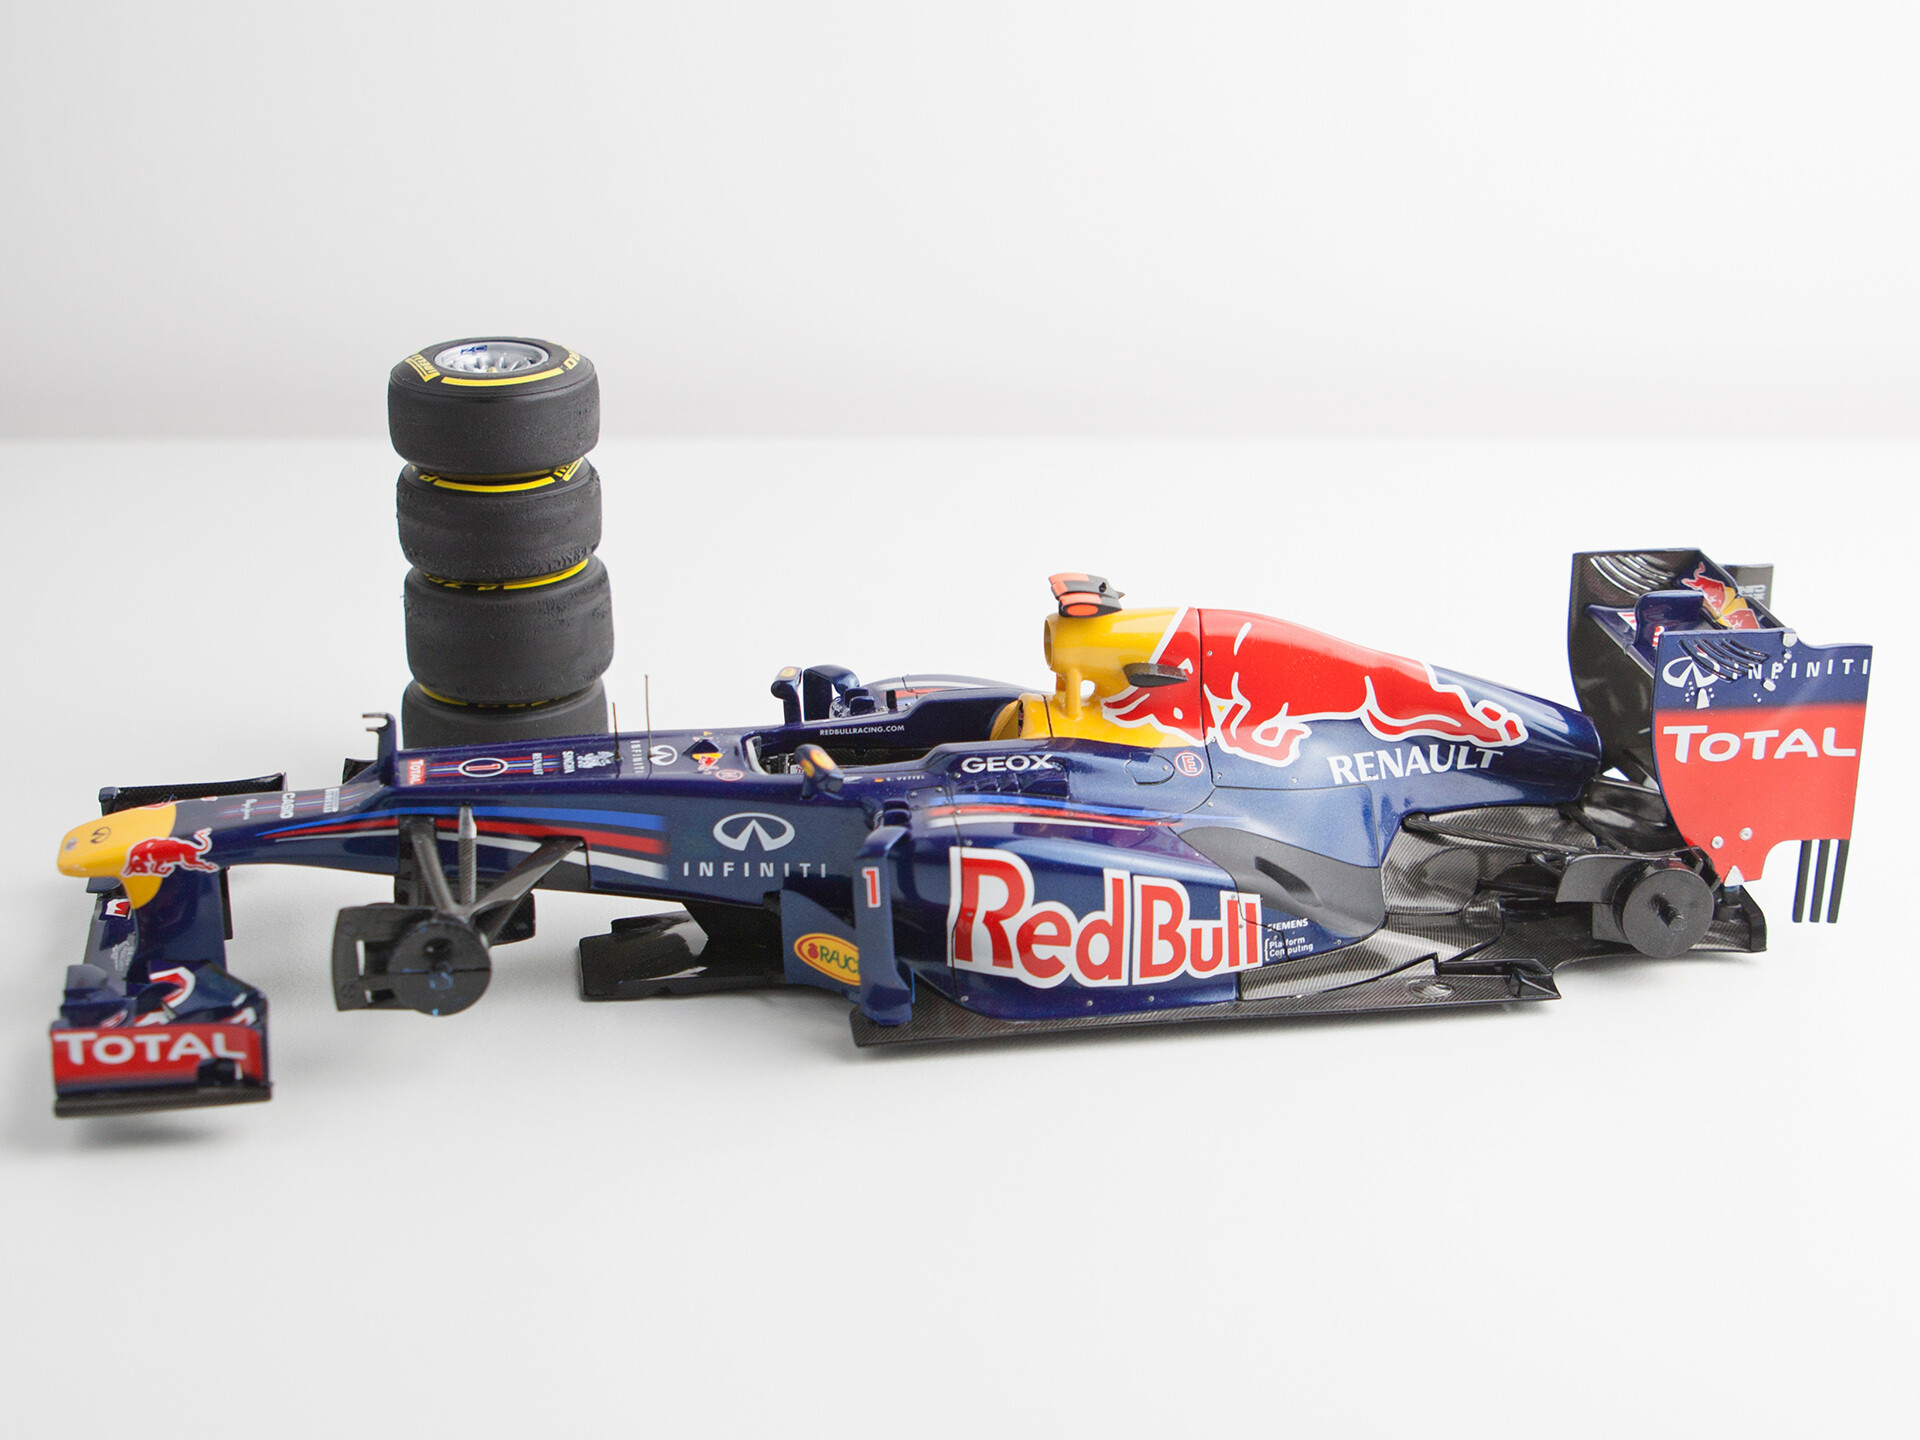
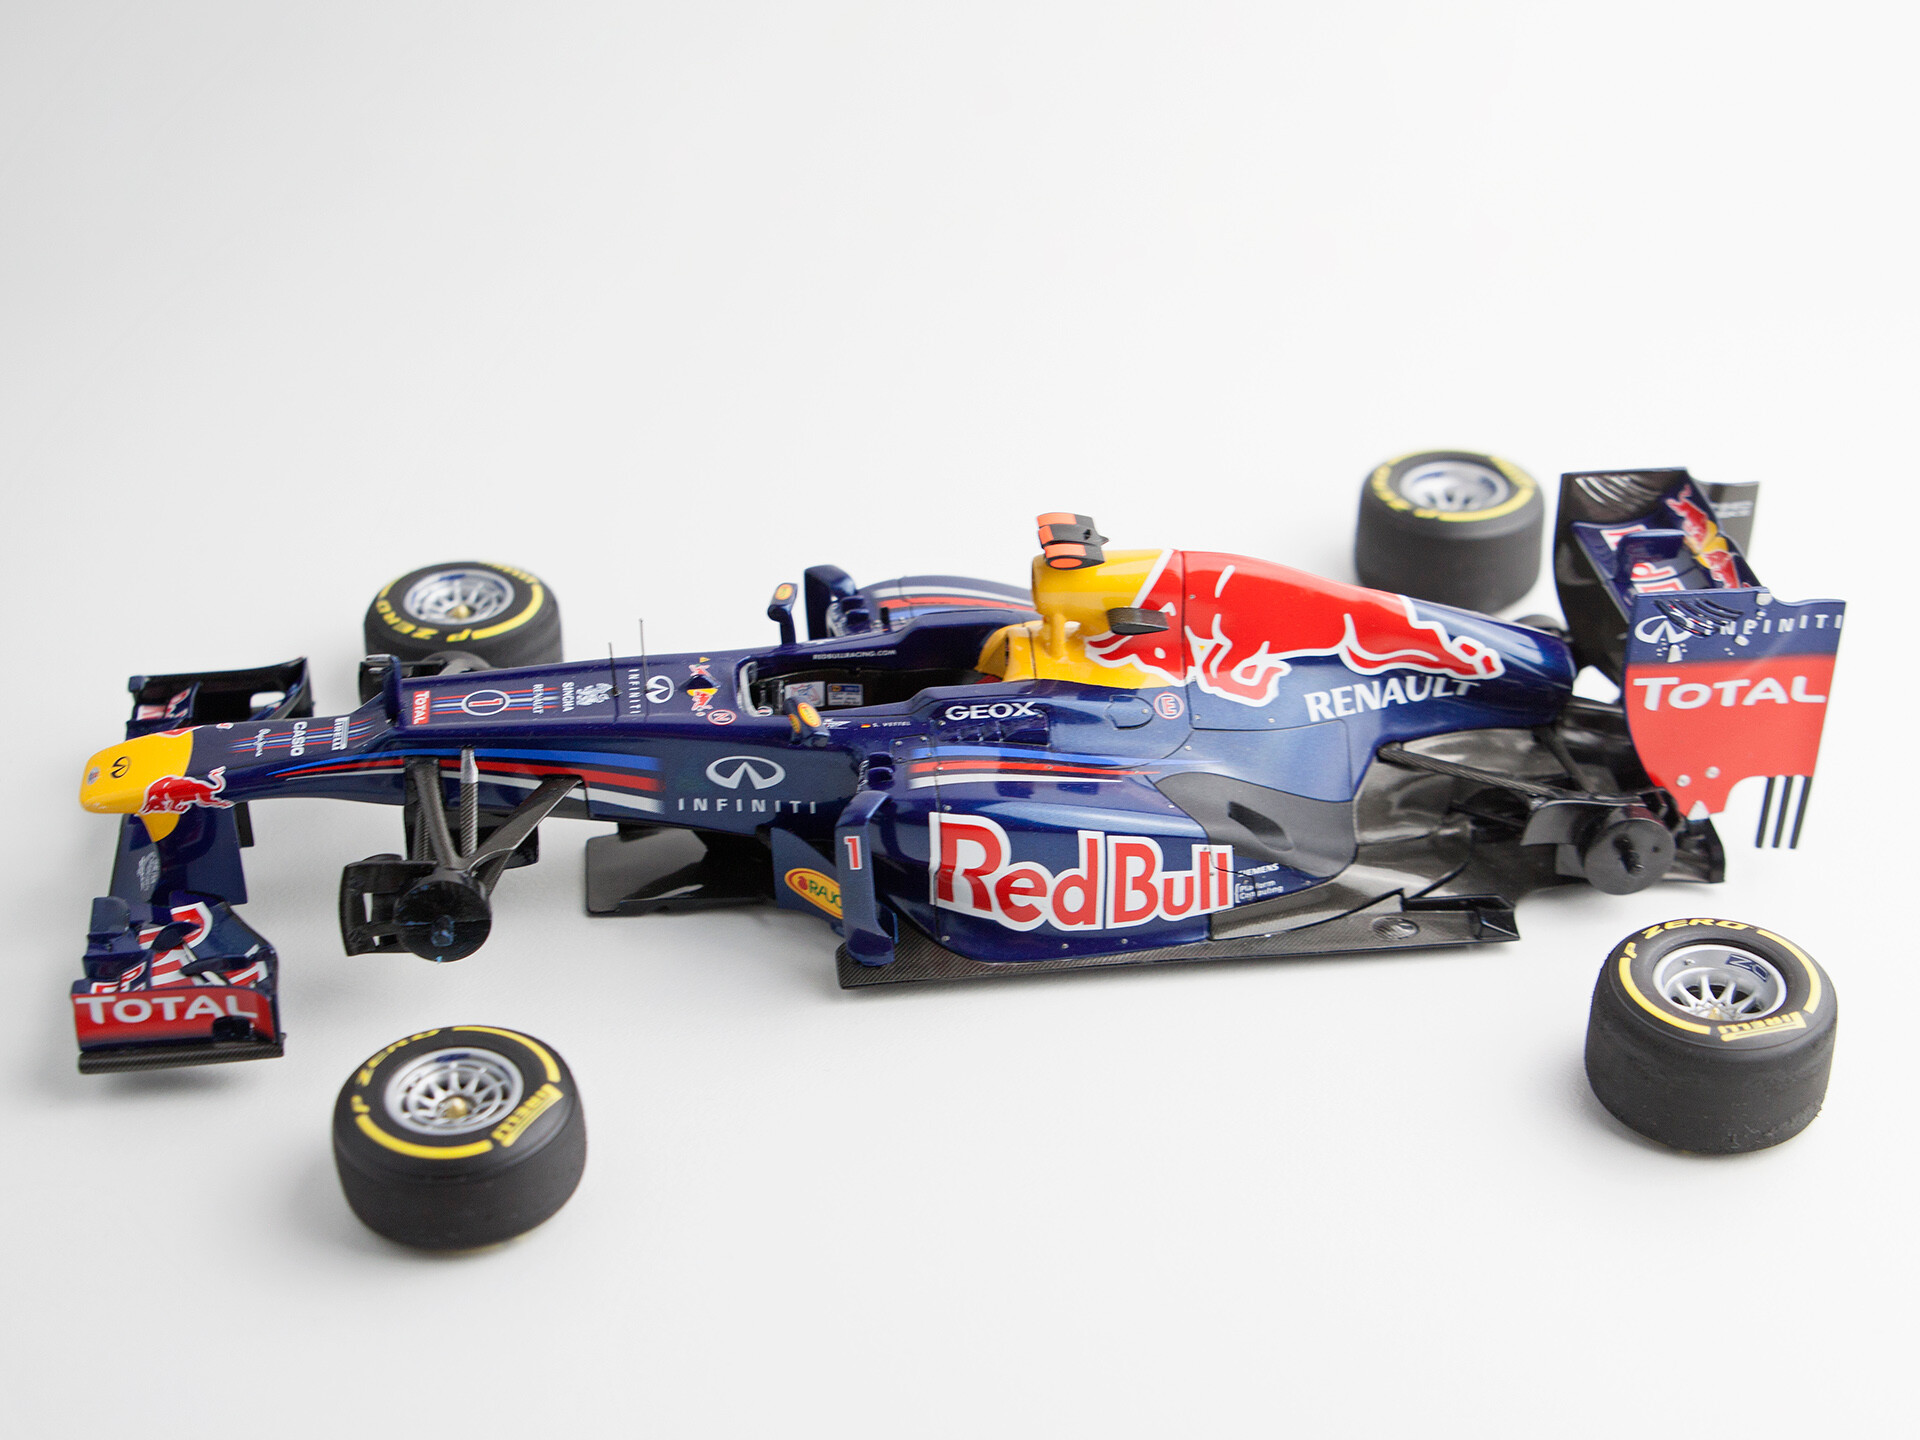
The model is finally finished. You can see the result in the Gallery.

Author | Mateusz Uścinowicz
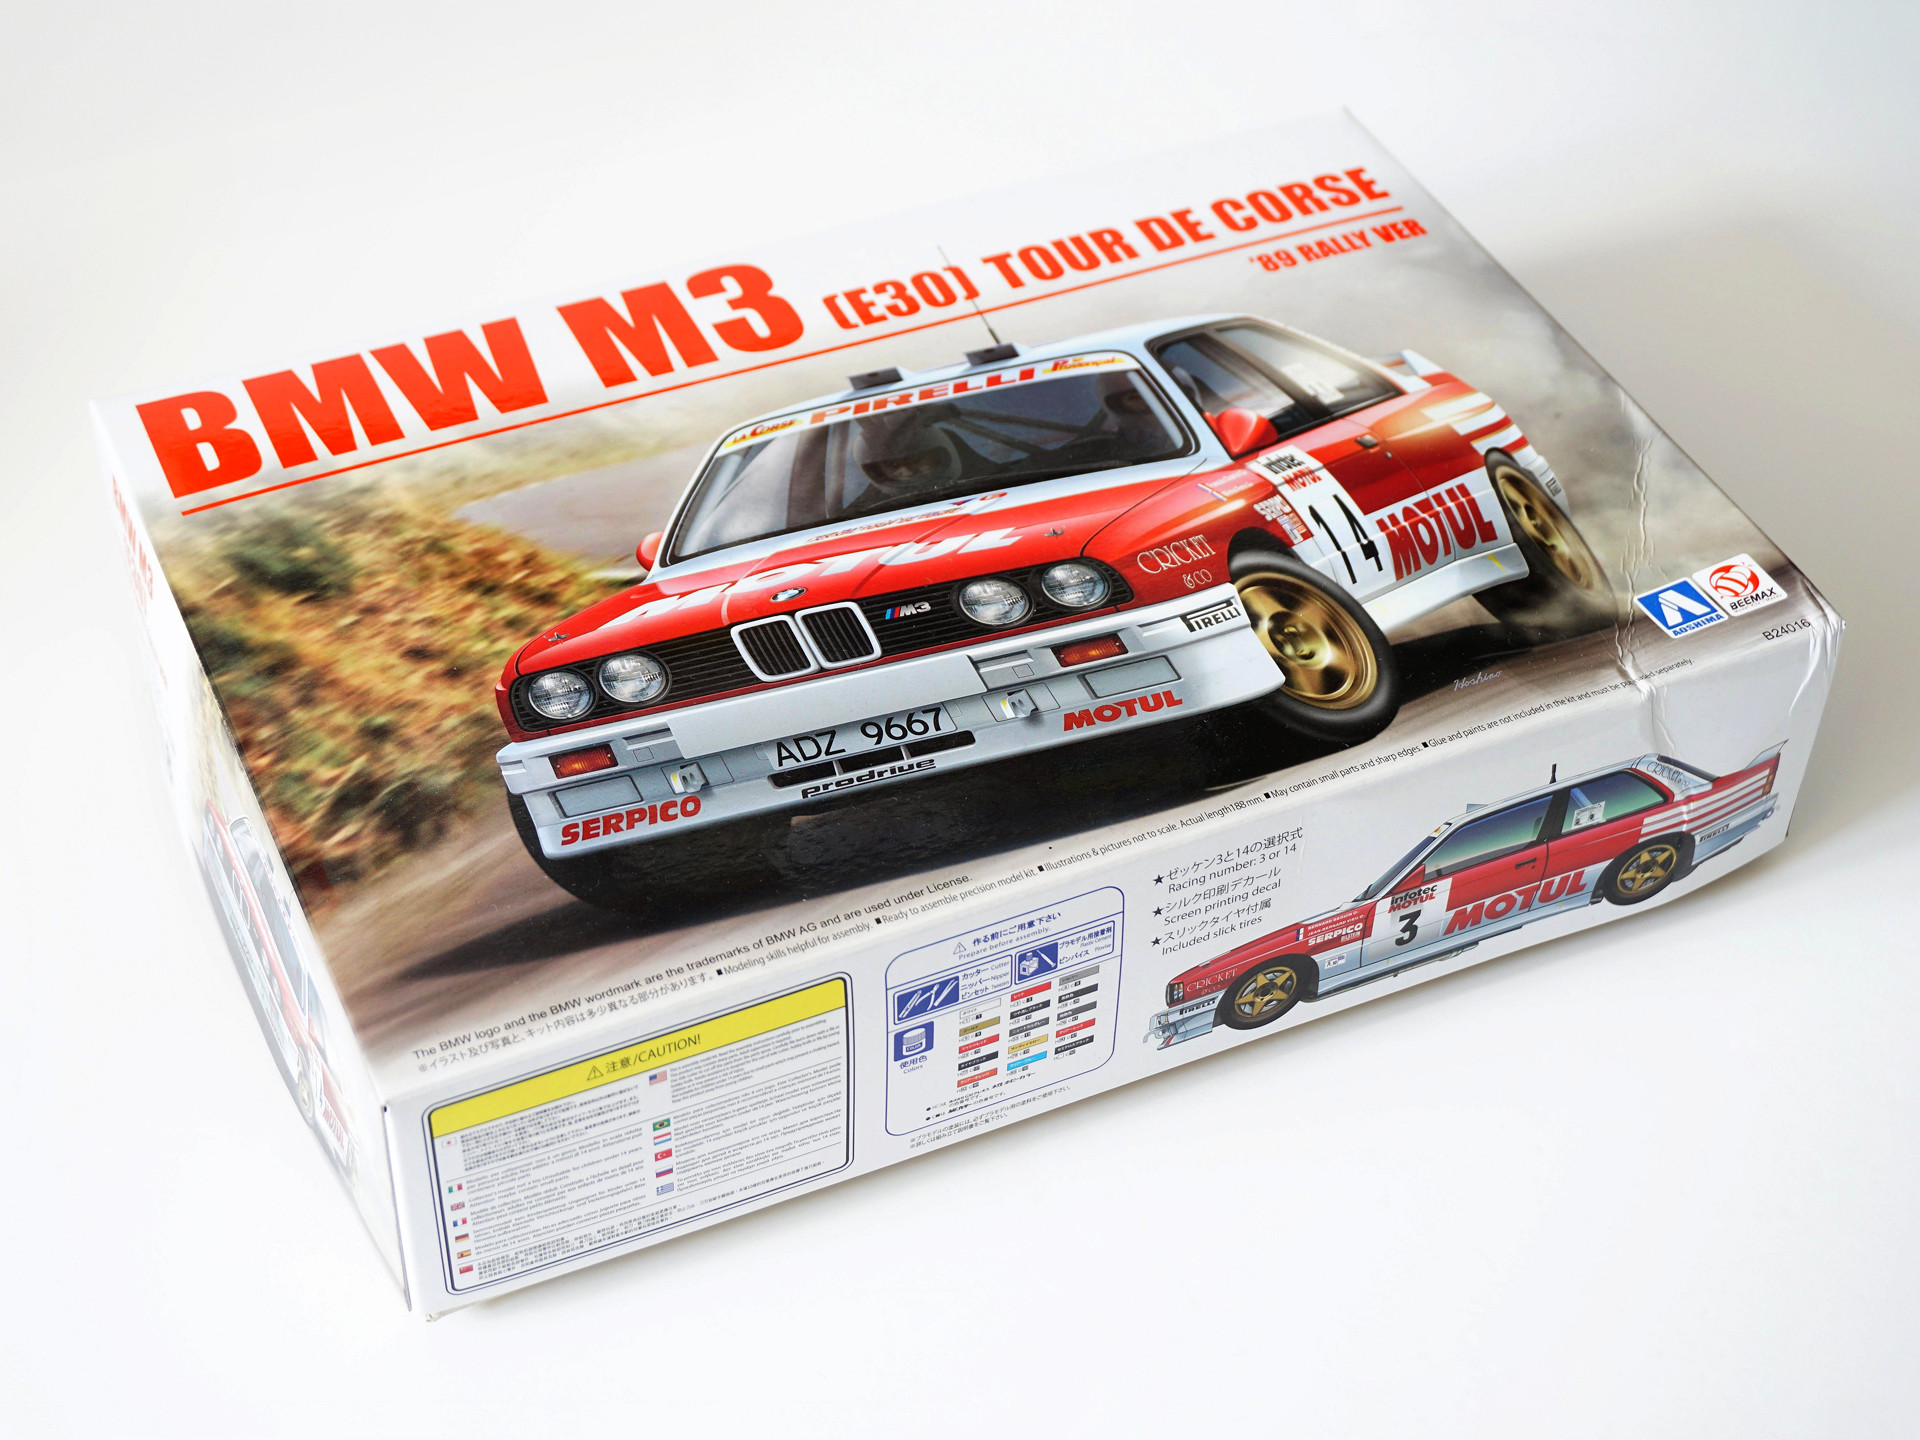
Next workbench | BMW M3 (Tour de Corse '89)
© 2025 | Cookies Policy | Terms & Conditions