
Opel Manta 400 (Group B) | Belkits 1:24
Author | Krzysztof Szpakowski
Preparations for the next project have started.
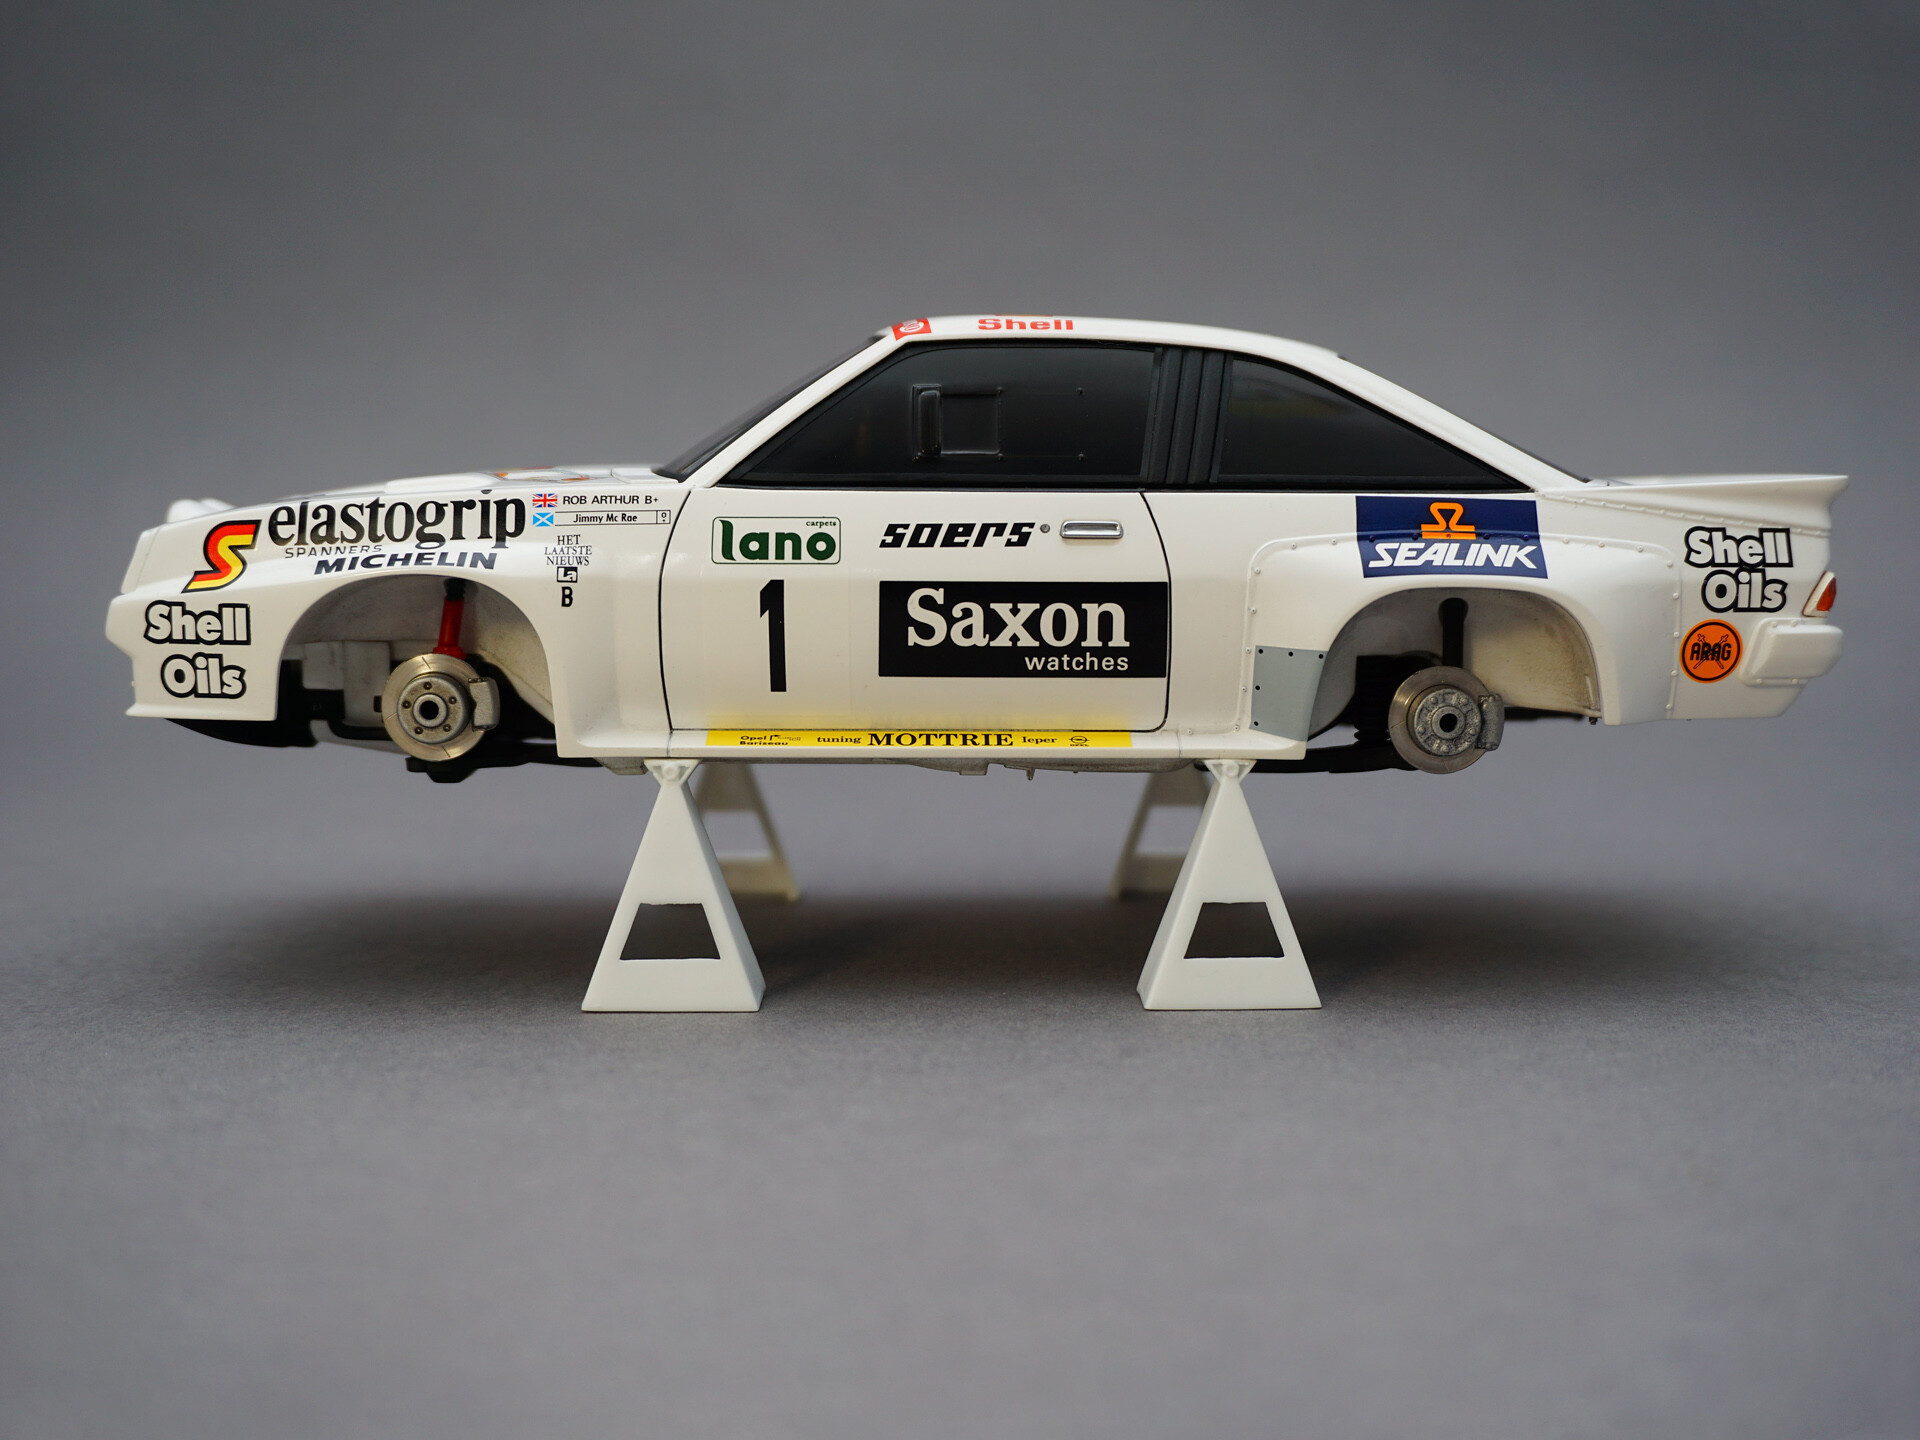
This time it will be Opel Manta 400 (Group B) from Ypres 24 rally driven by Jimmy McRae / Rob Arthur crew.
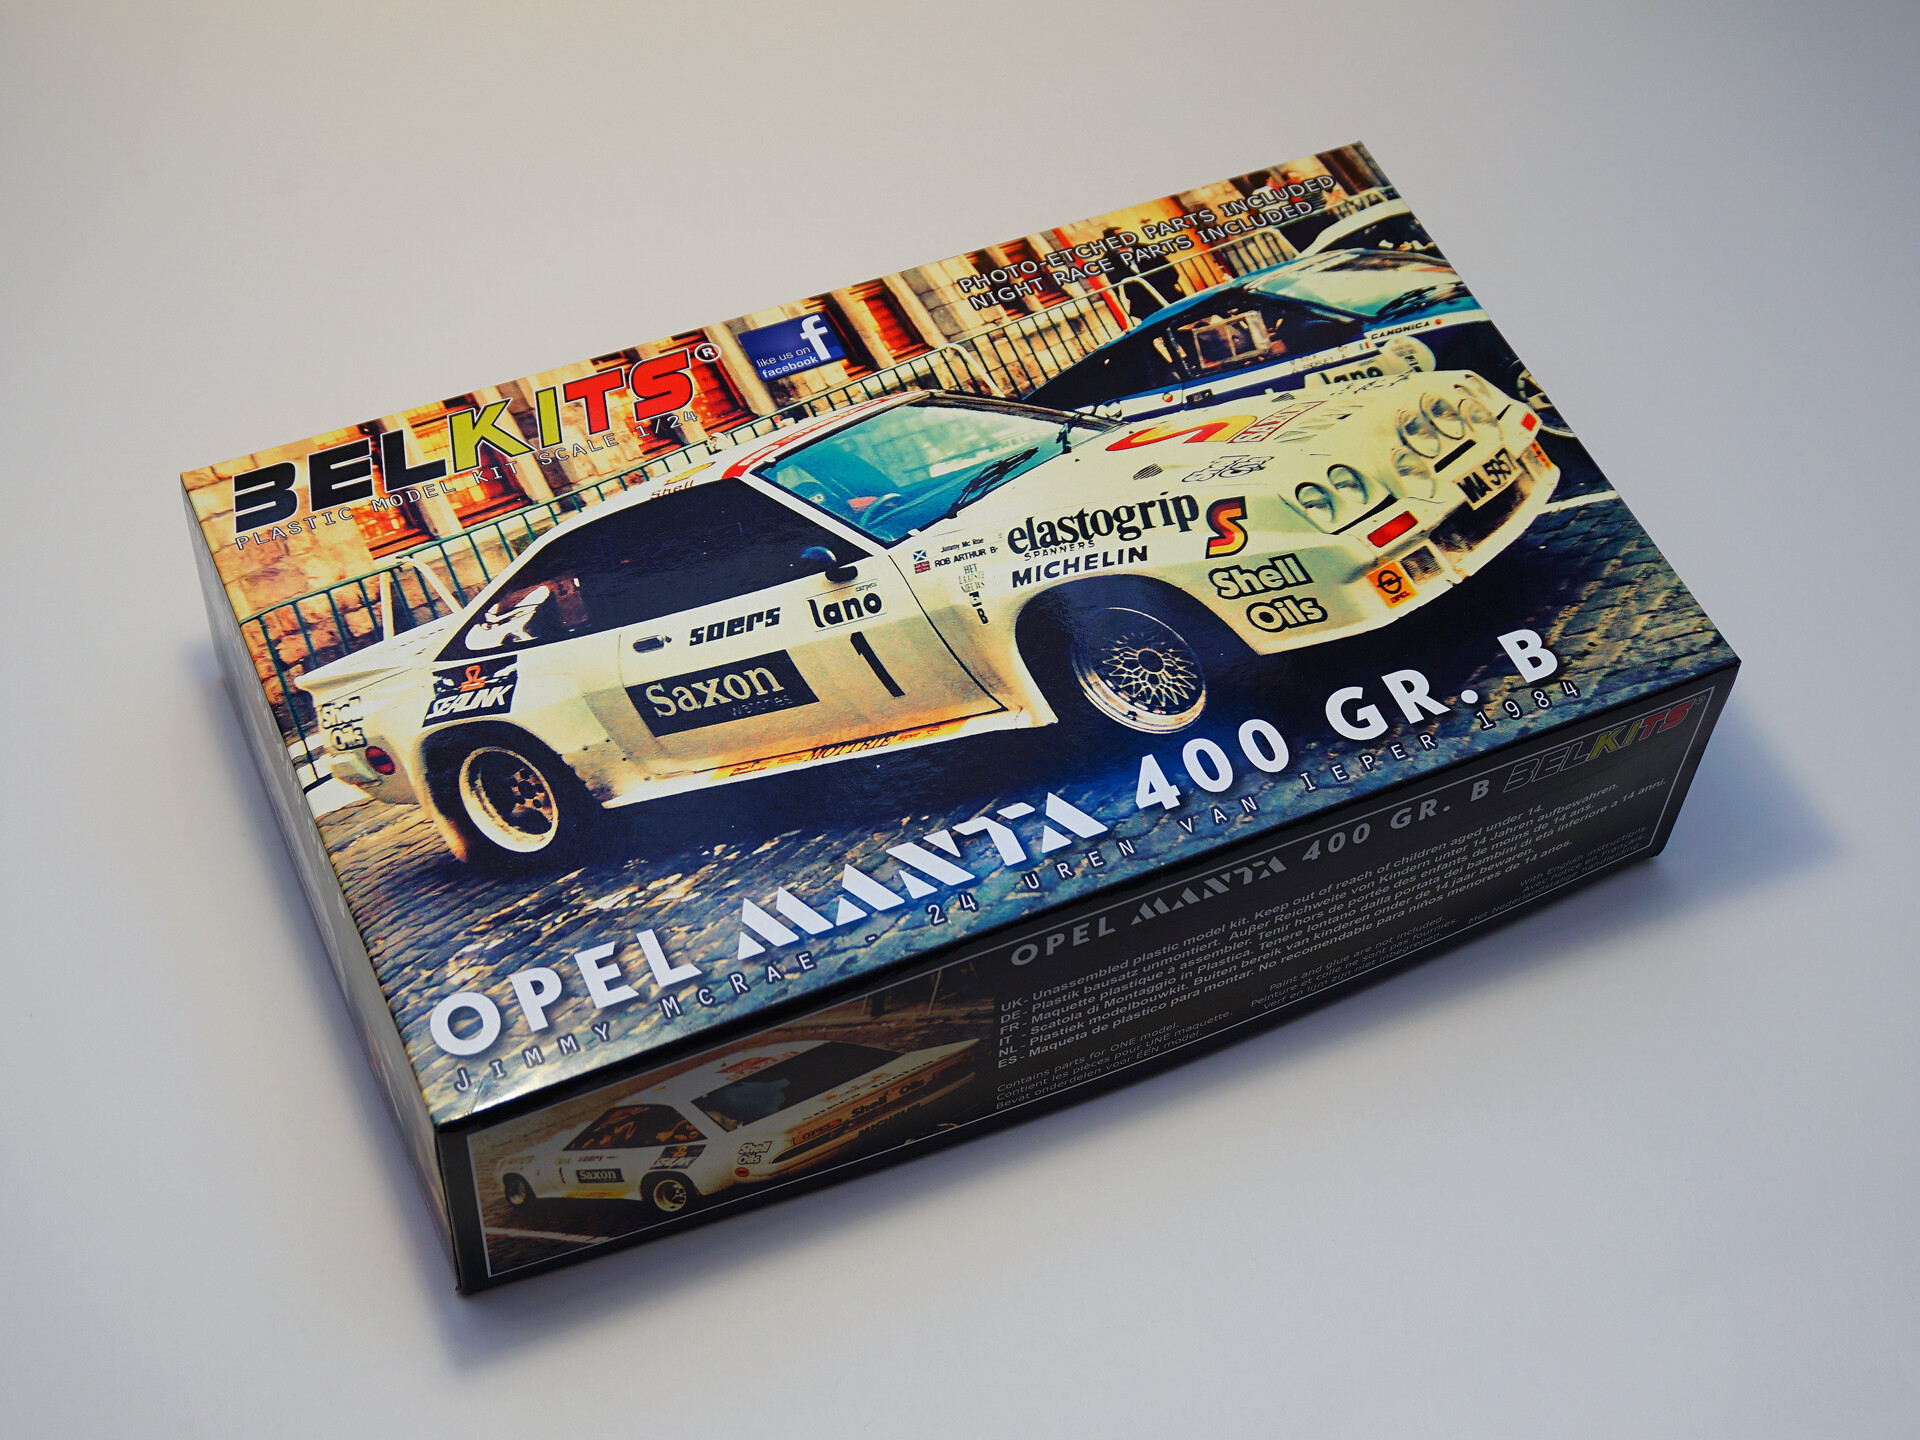
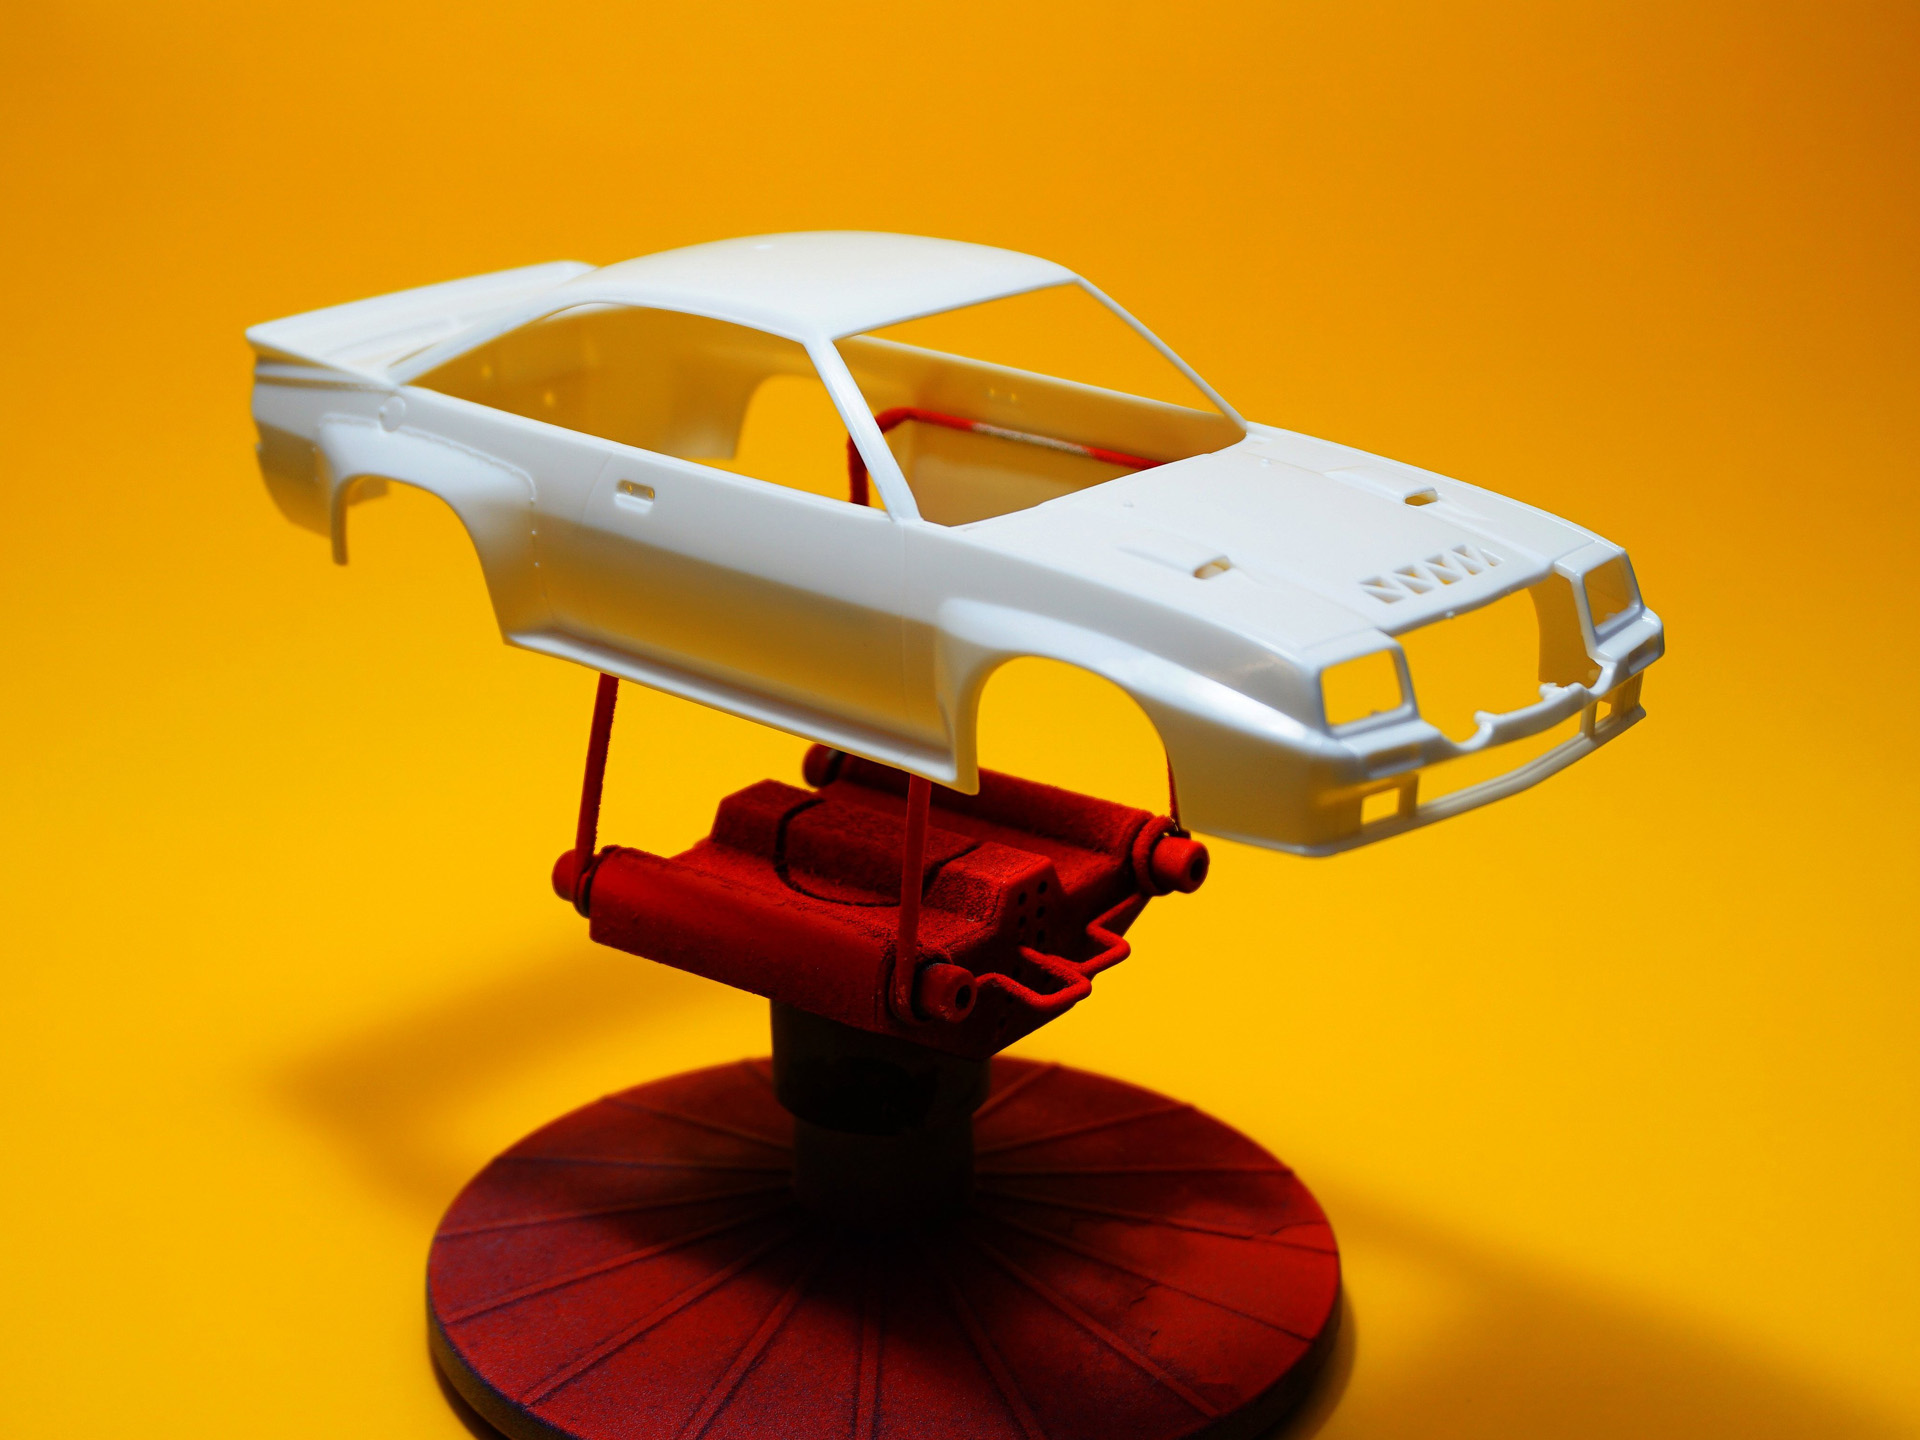
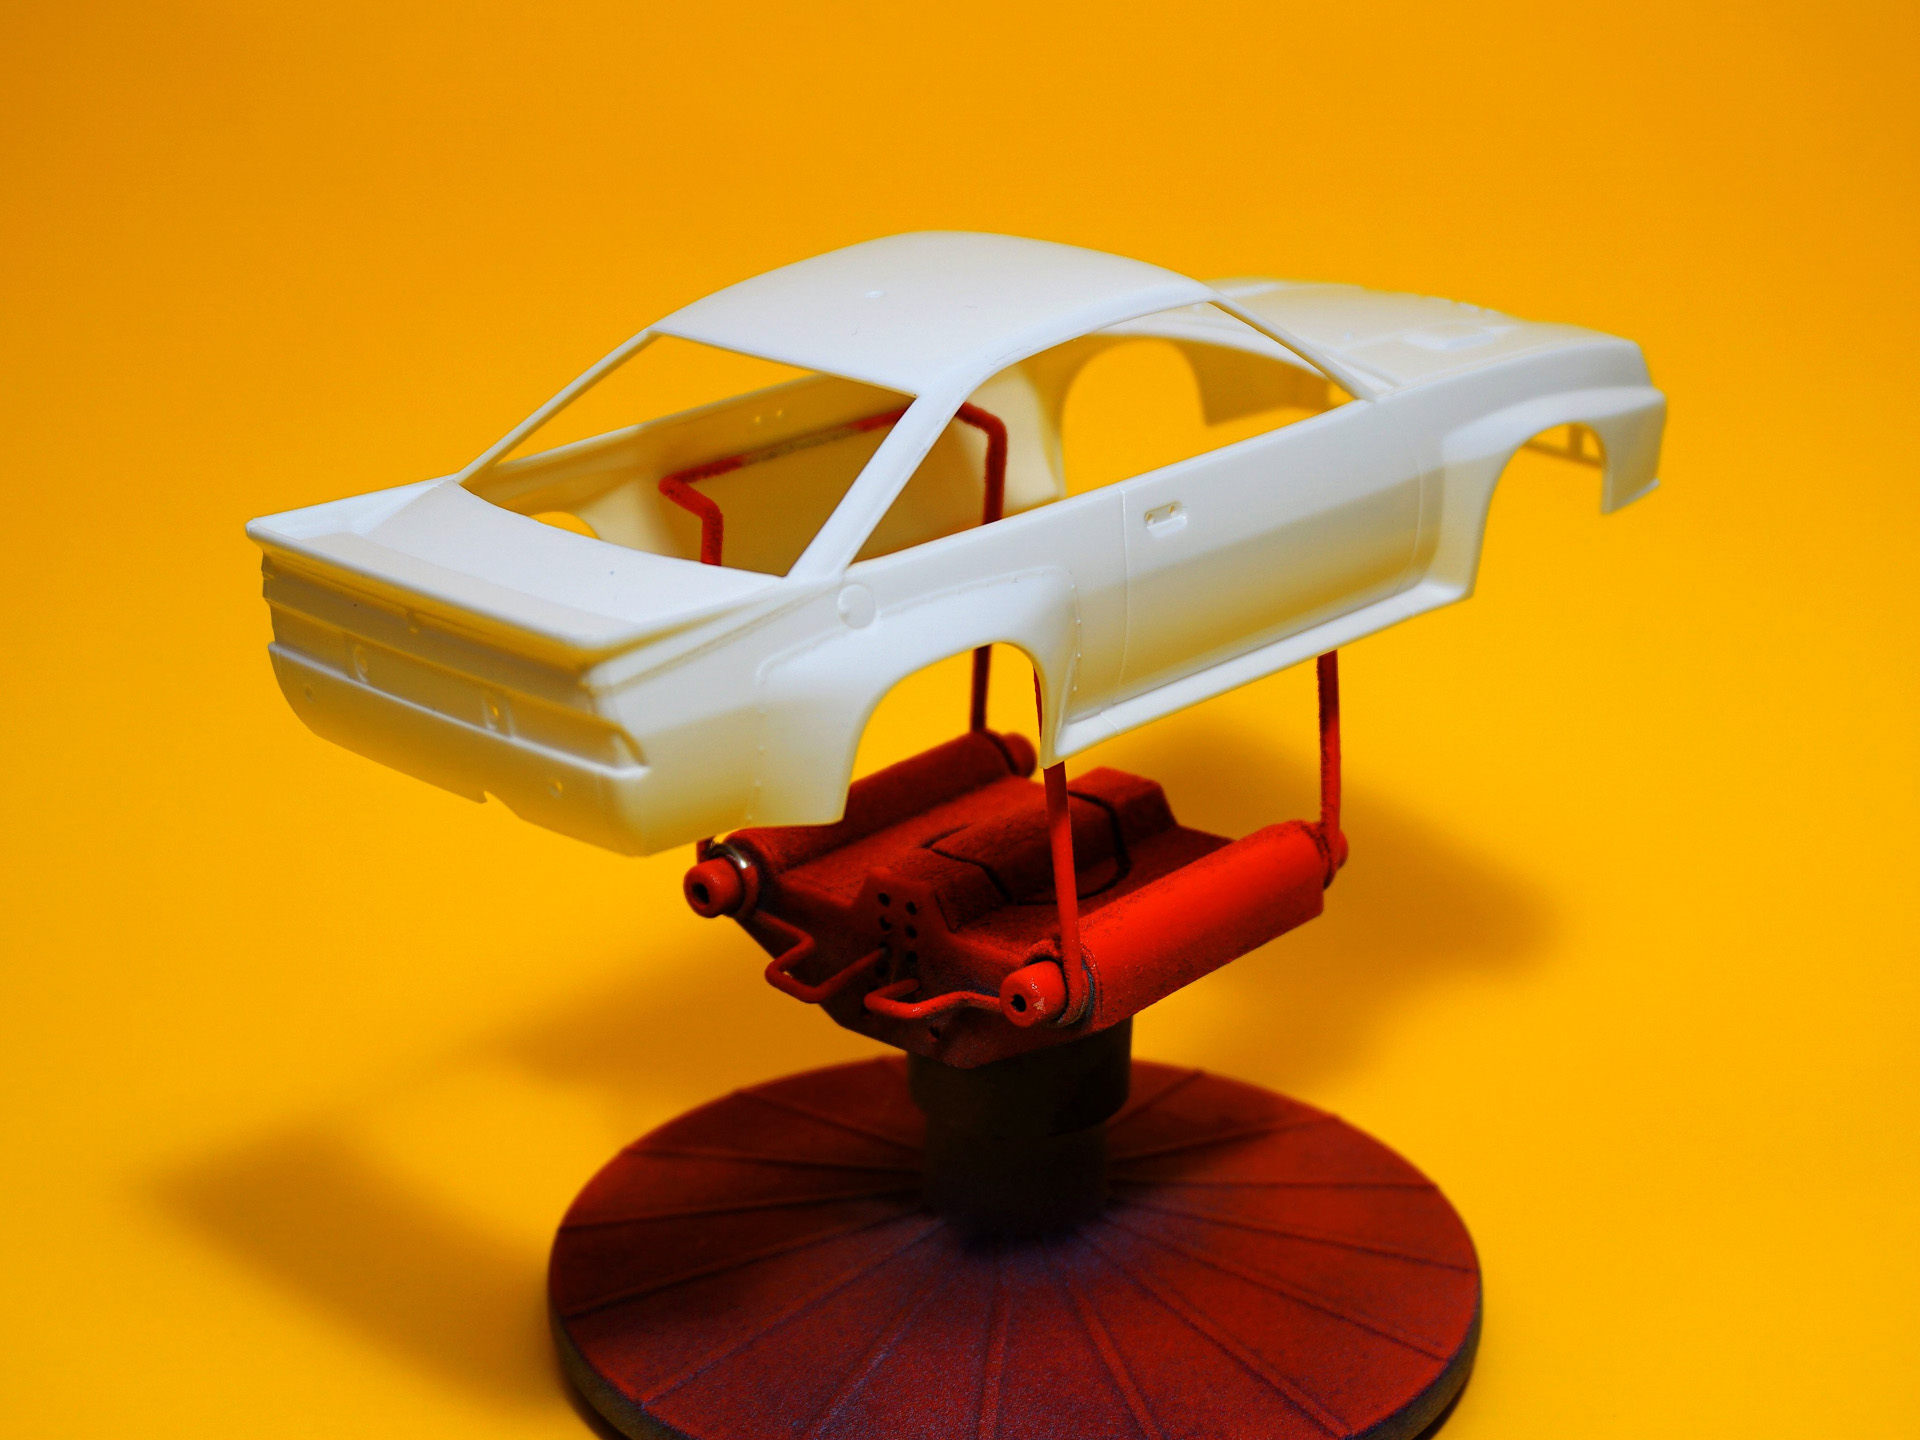
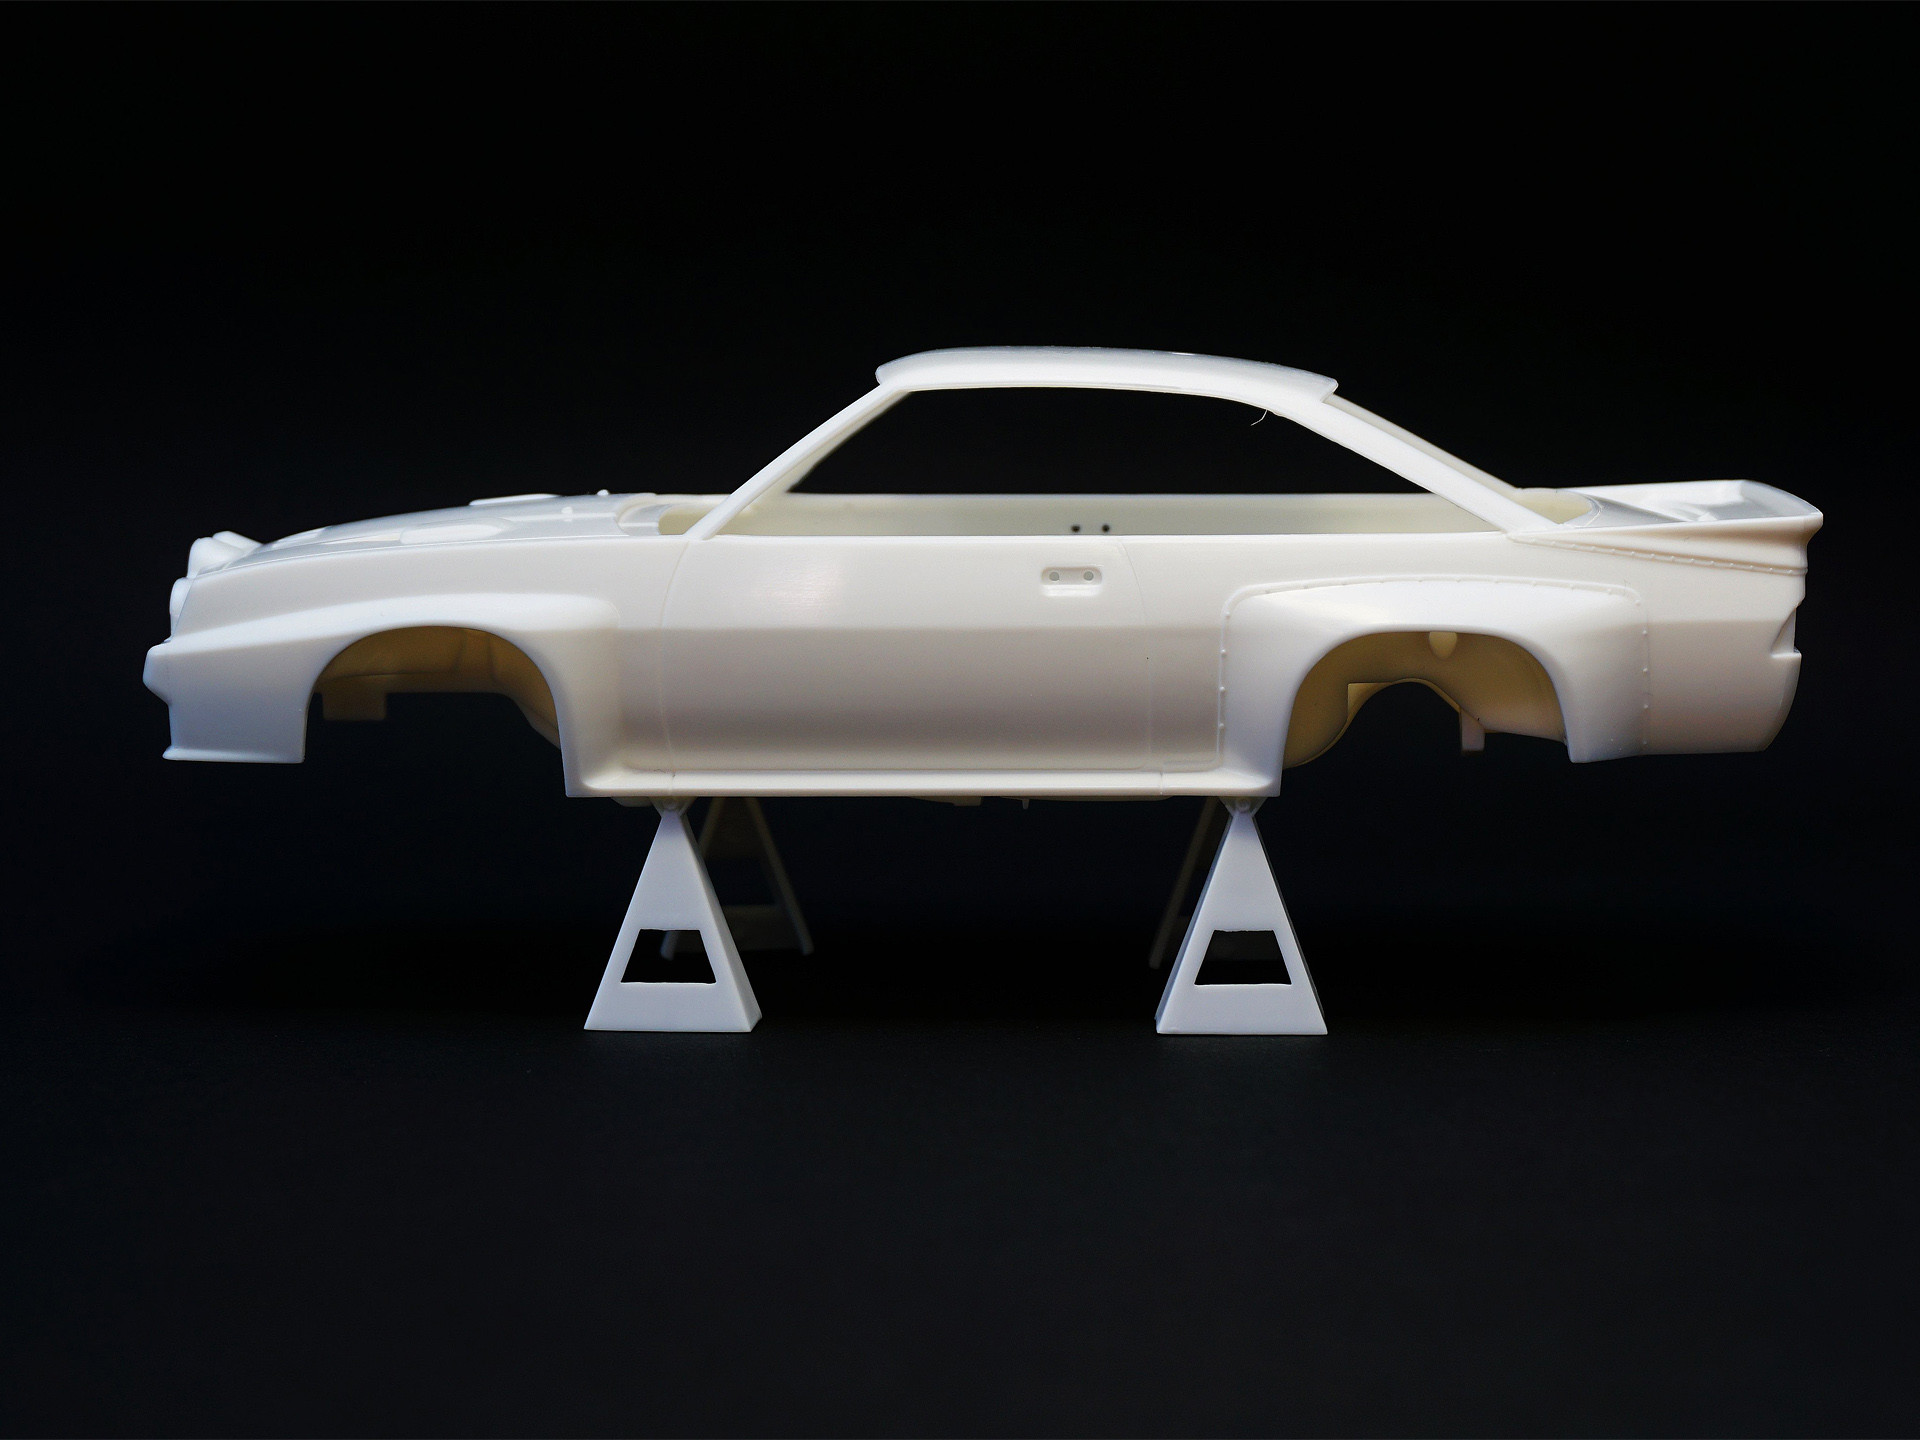
This is the first of at least four planned Mantas and the first Belkits model I will ever make. Here it is model in-box as well as add-ons presentation that I will use to build this model. At the beginning, Opel's body.
The set includes photo-etched plates and fabric seat belts as well as windows masks. In my opinion, a very good solution, because you do not have to buy additional add-ons as is the case with, for example, Beemax.

Lamp reflectors are already nickel-plated. The set offers several types of headlamps, thanks to which it is easy to modify them for other rallies configurations.

Quality of the decals looks very good. Whether it really is, it will turn out during the build.


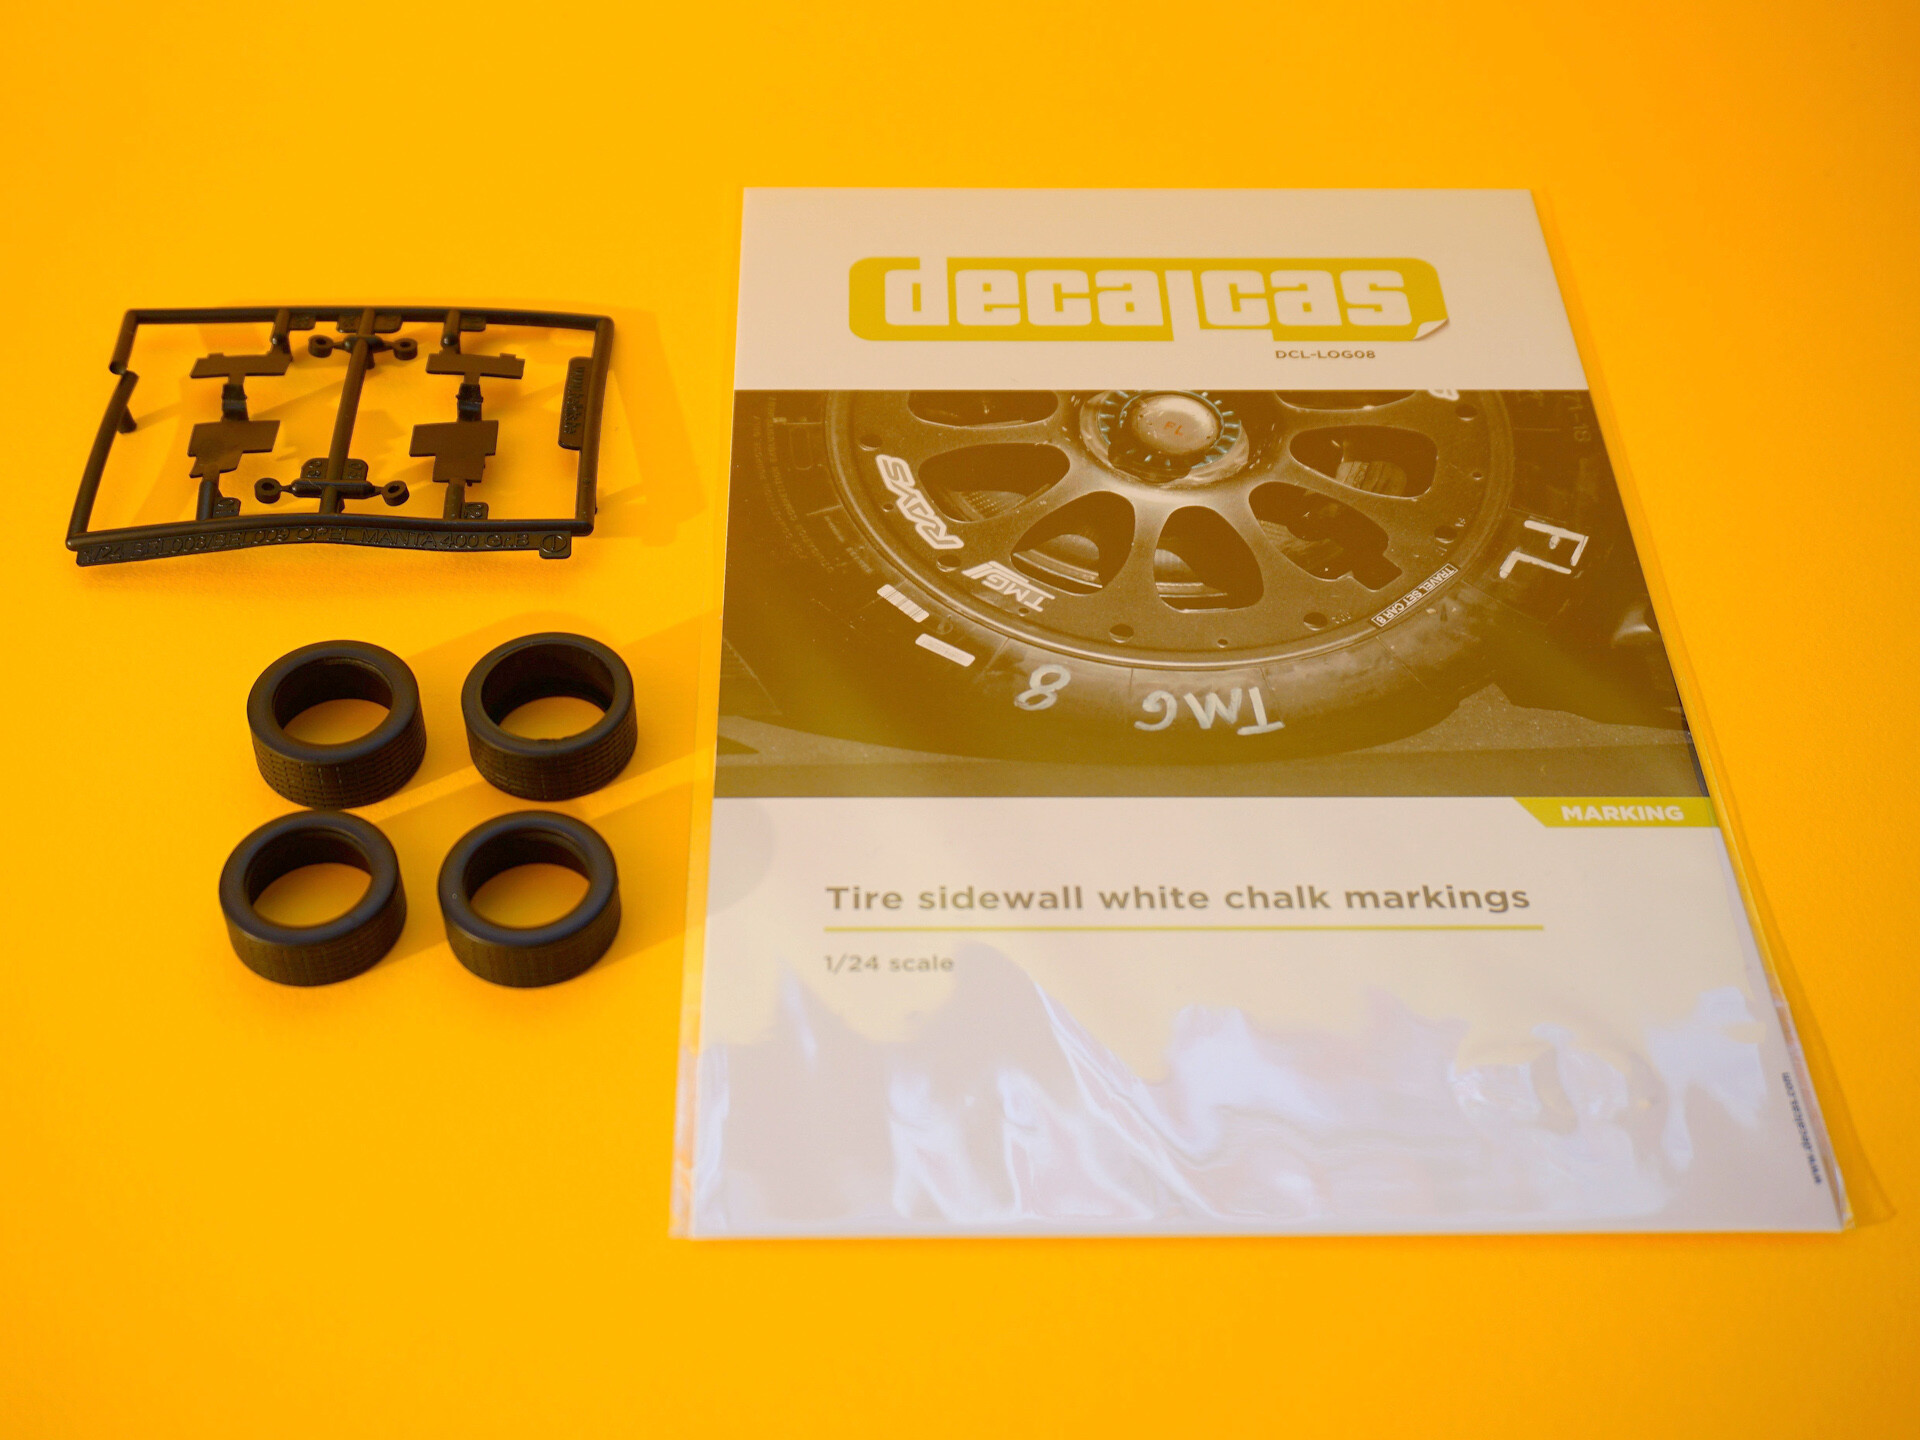
In addition to rubber tires, the set also includes rubber mud flaps. Additionally, I am going to detail up the tires with Decalcas markers.
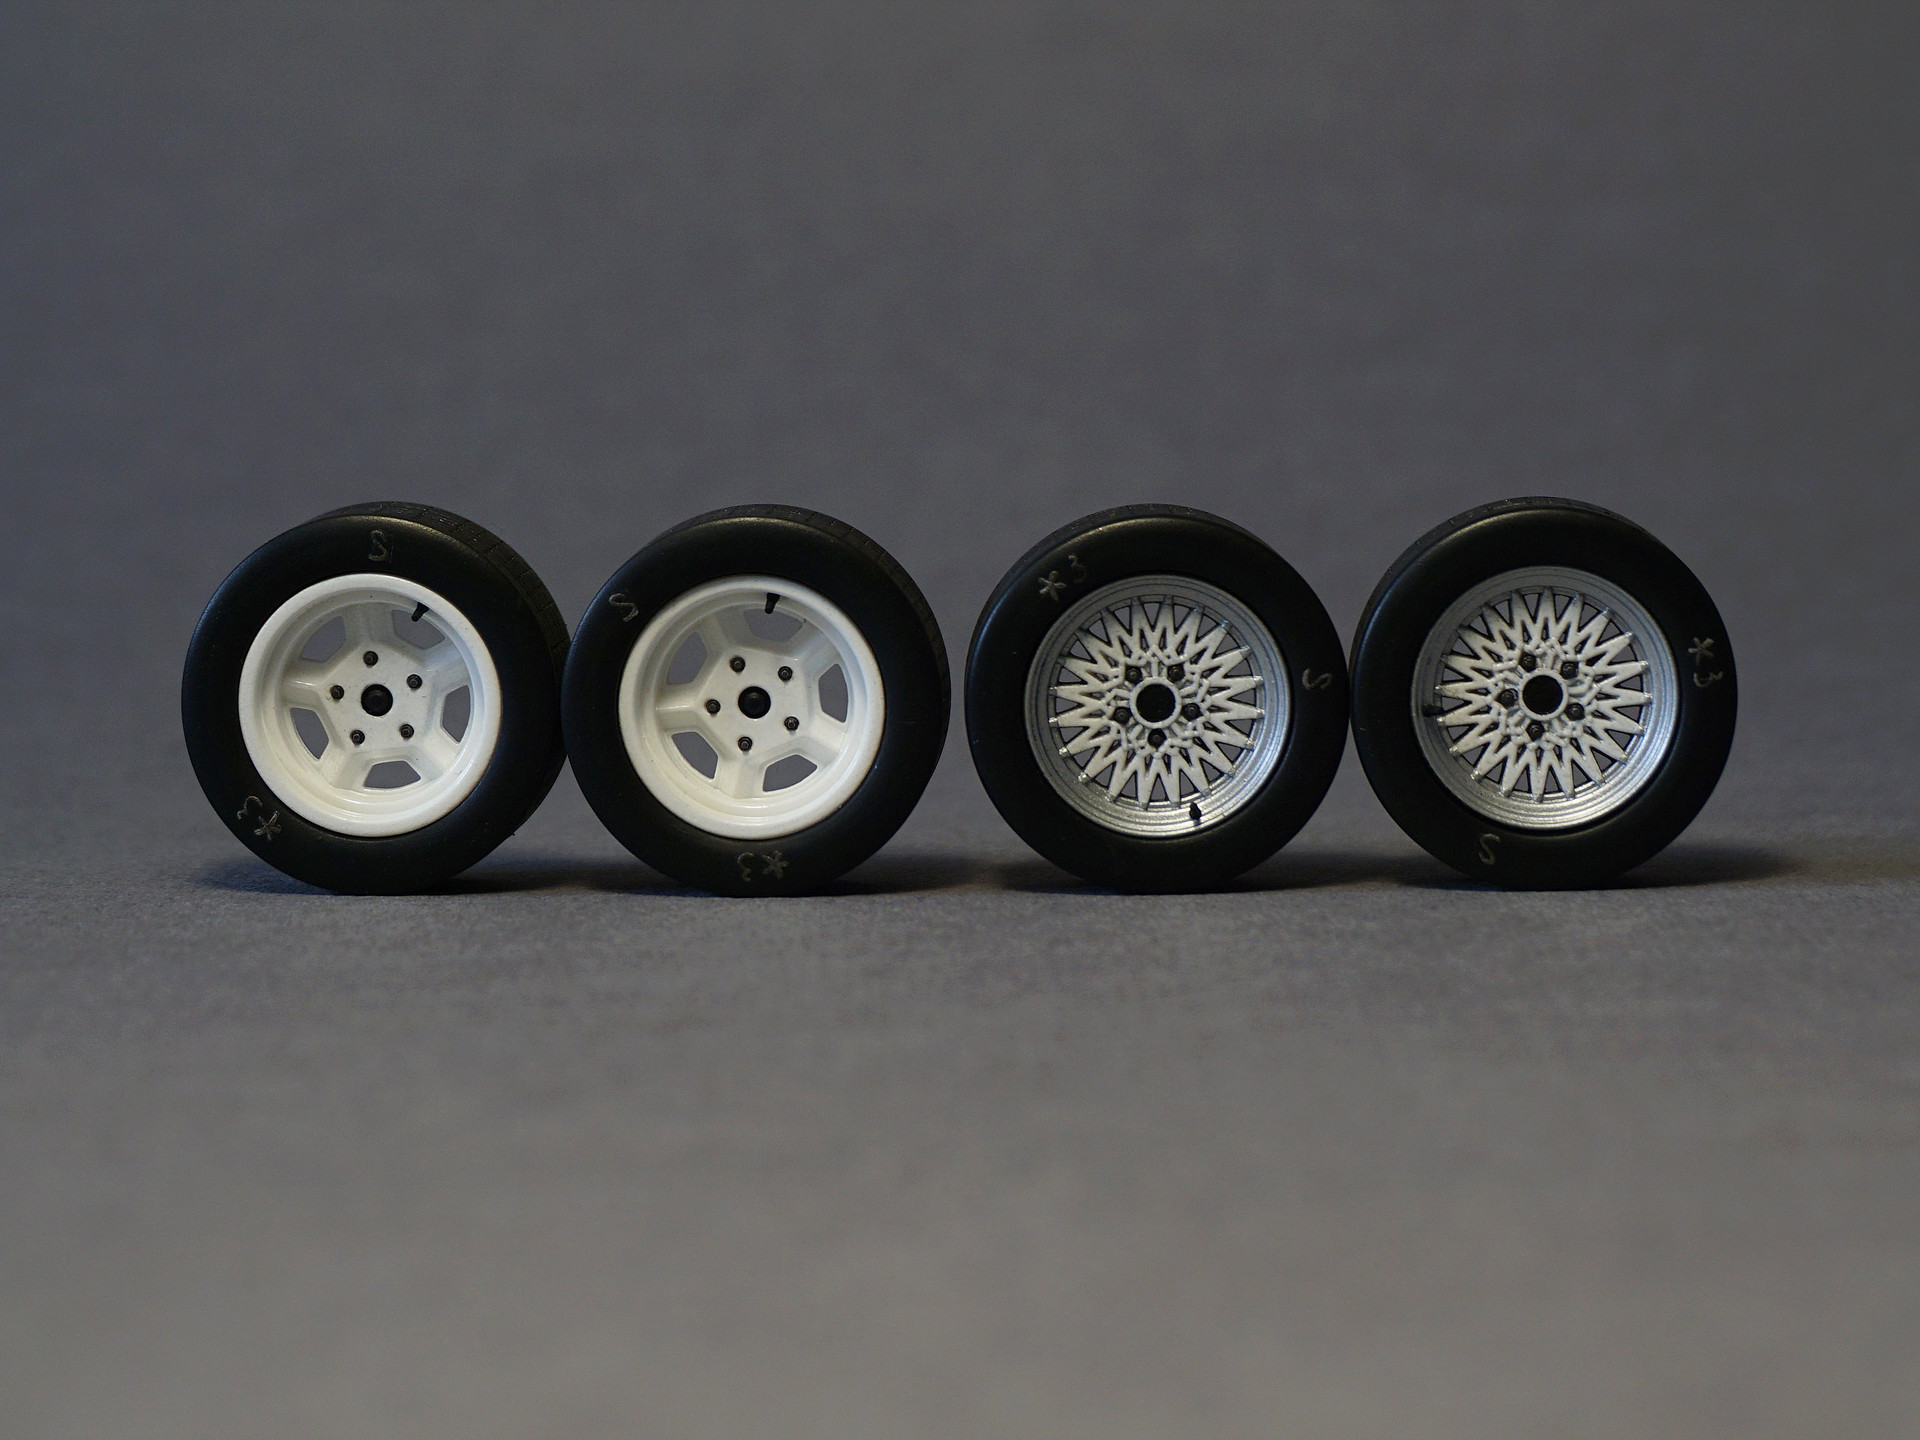
As with lamps, the set offers two types of rims - another convenience if someone decides to choose a model in alternative livery.
The disadvantages, however, are the lack of valves in the rims and the slightly visible screws. That's why, I will detail up the wheels with scalecars.online accessories: hex bolts V.3 (SCO-R015) and tire valves V.1 (SCO-R002).

The manufacturer forgot to mention in the manual that the rear and side windows should be tinted.
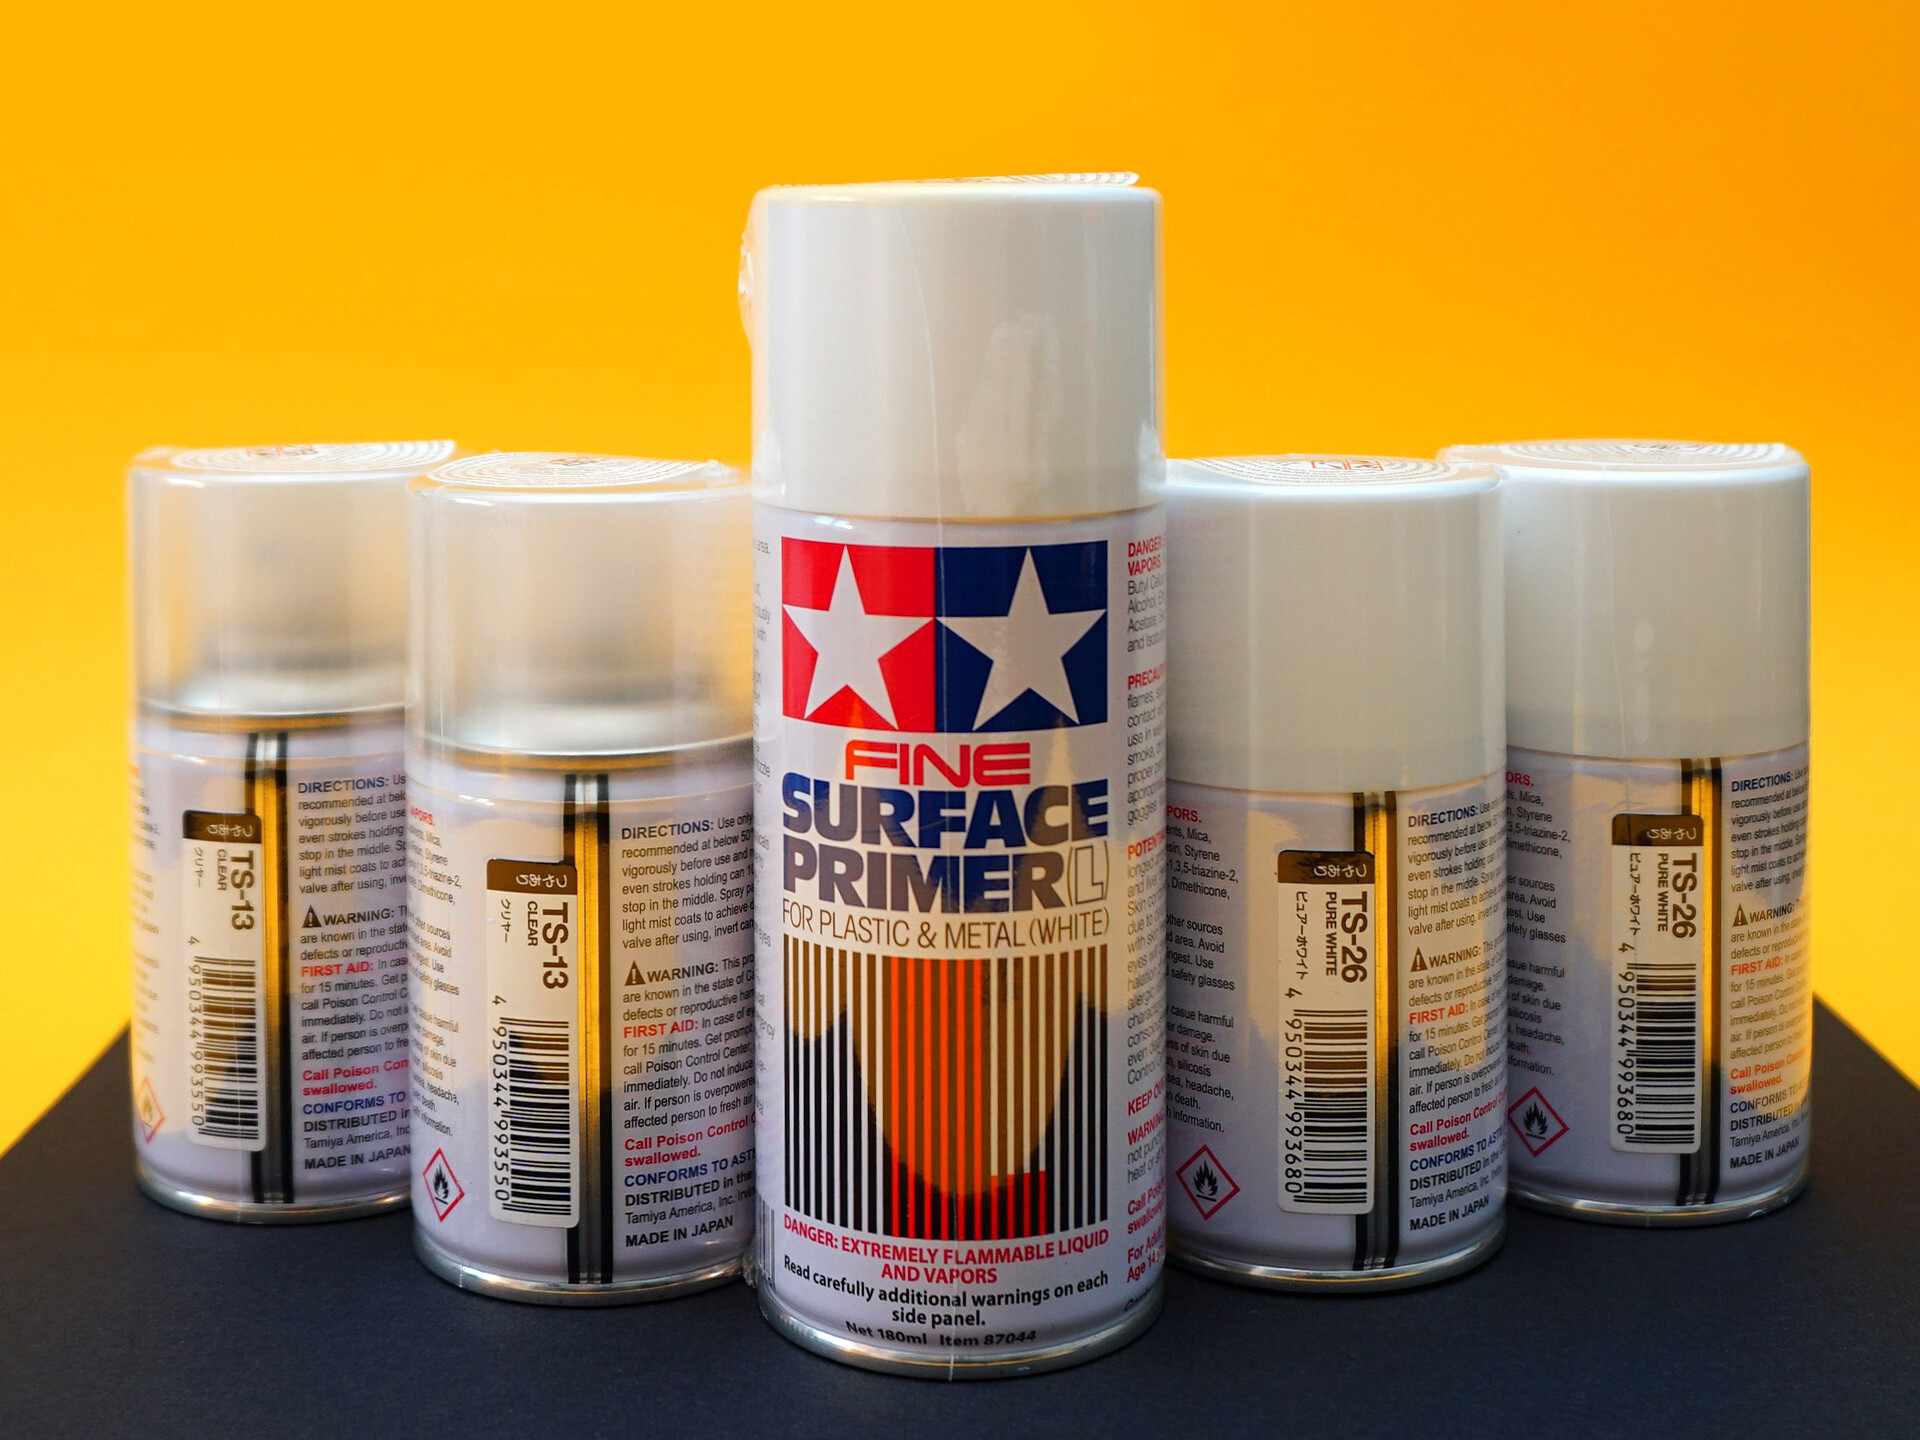
I am going to tint the windows with Tamiya TS-71 Smoke paint.

Below are photos of the rest of sprues with parts, which are really a lot, which I personally enjoy.
I like that many parts such as the gearbox, drive shaft and exhaust are separate, which makes painting easier during the building process. You don't have to spend hours on masking.


One of the modifications that I planned is to put the switches on the dashboard. I will use scalecars.online product (SCO-R001).

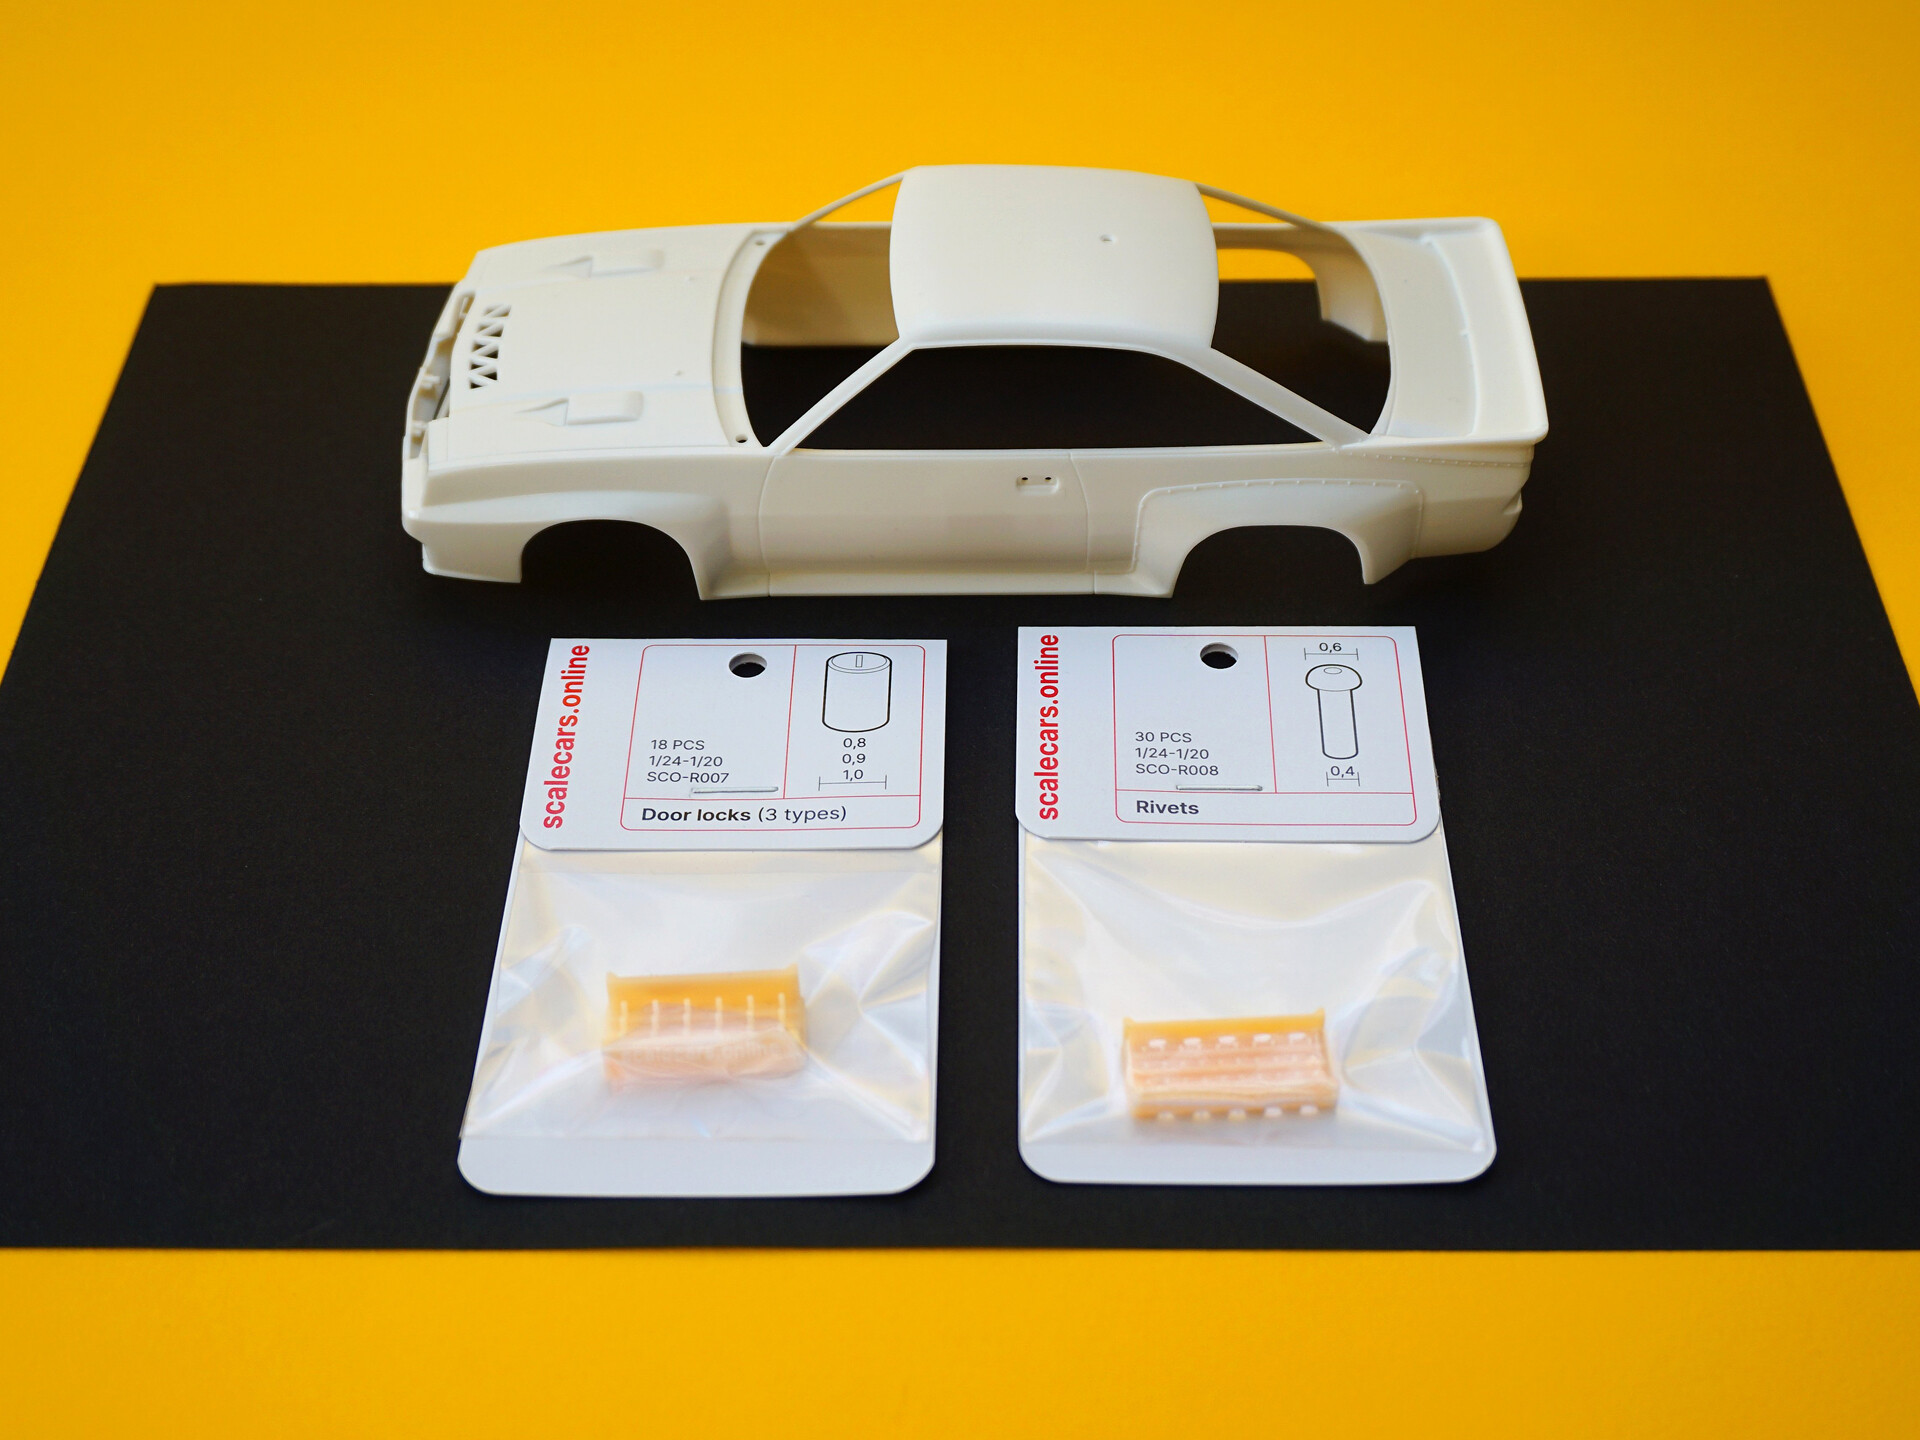
I'm going to remove the rivets fixing the rear wheel arches. In their place will be installed scalecars.online rivets (SCO-R008).
Another add-on will be door locks, also produced by scalecars.online (SCO-R007).
The rear part of the seats will be covered with Scale Motorsport Kevlar.

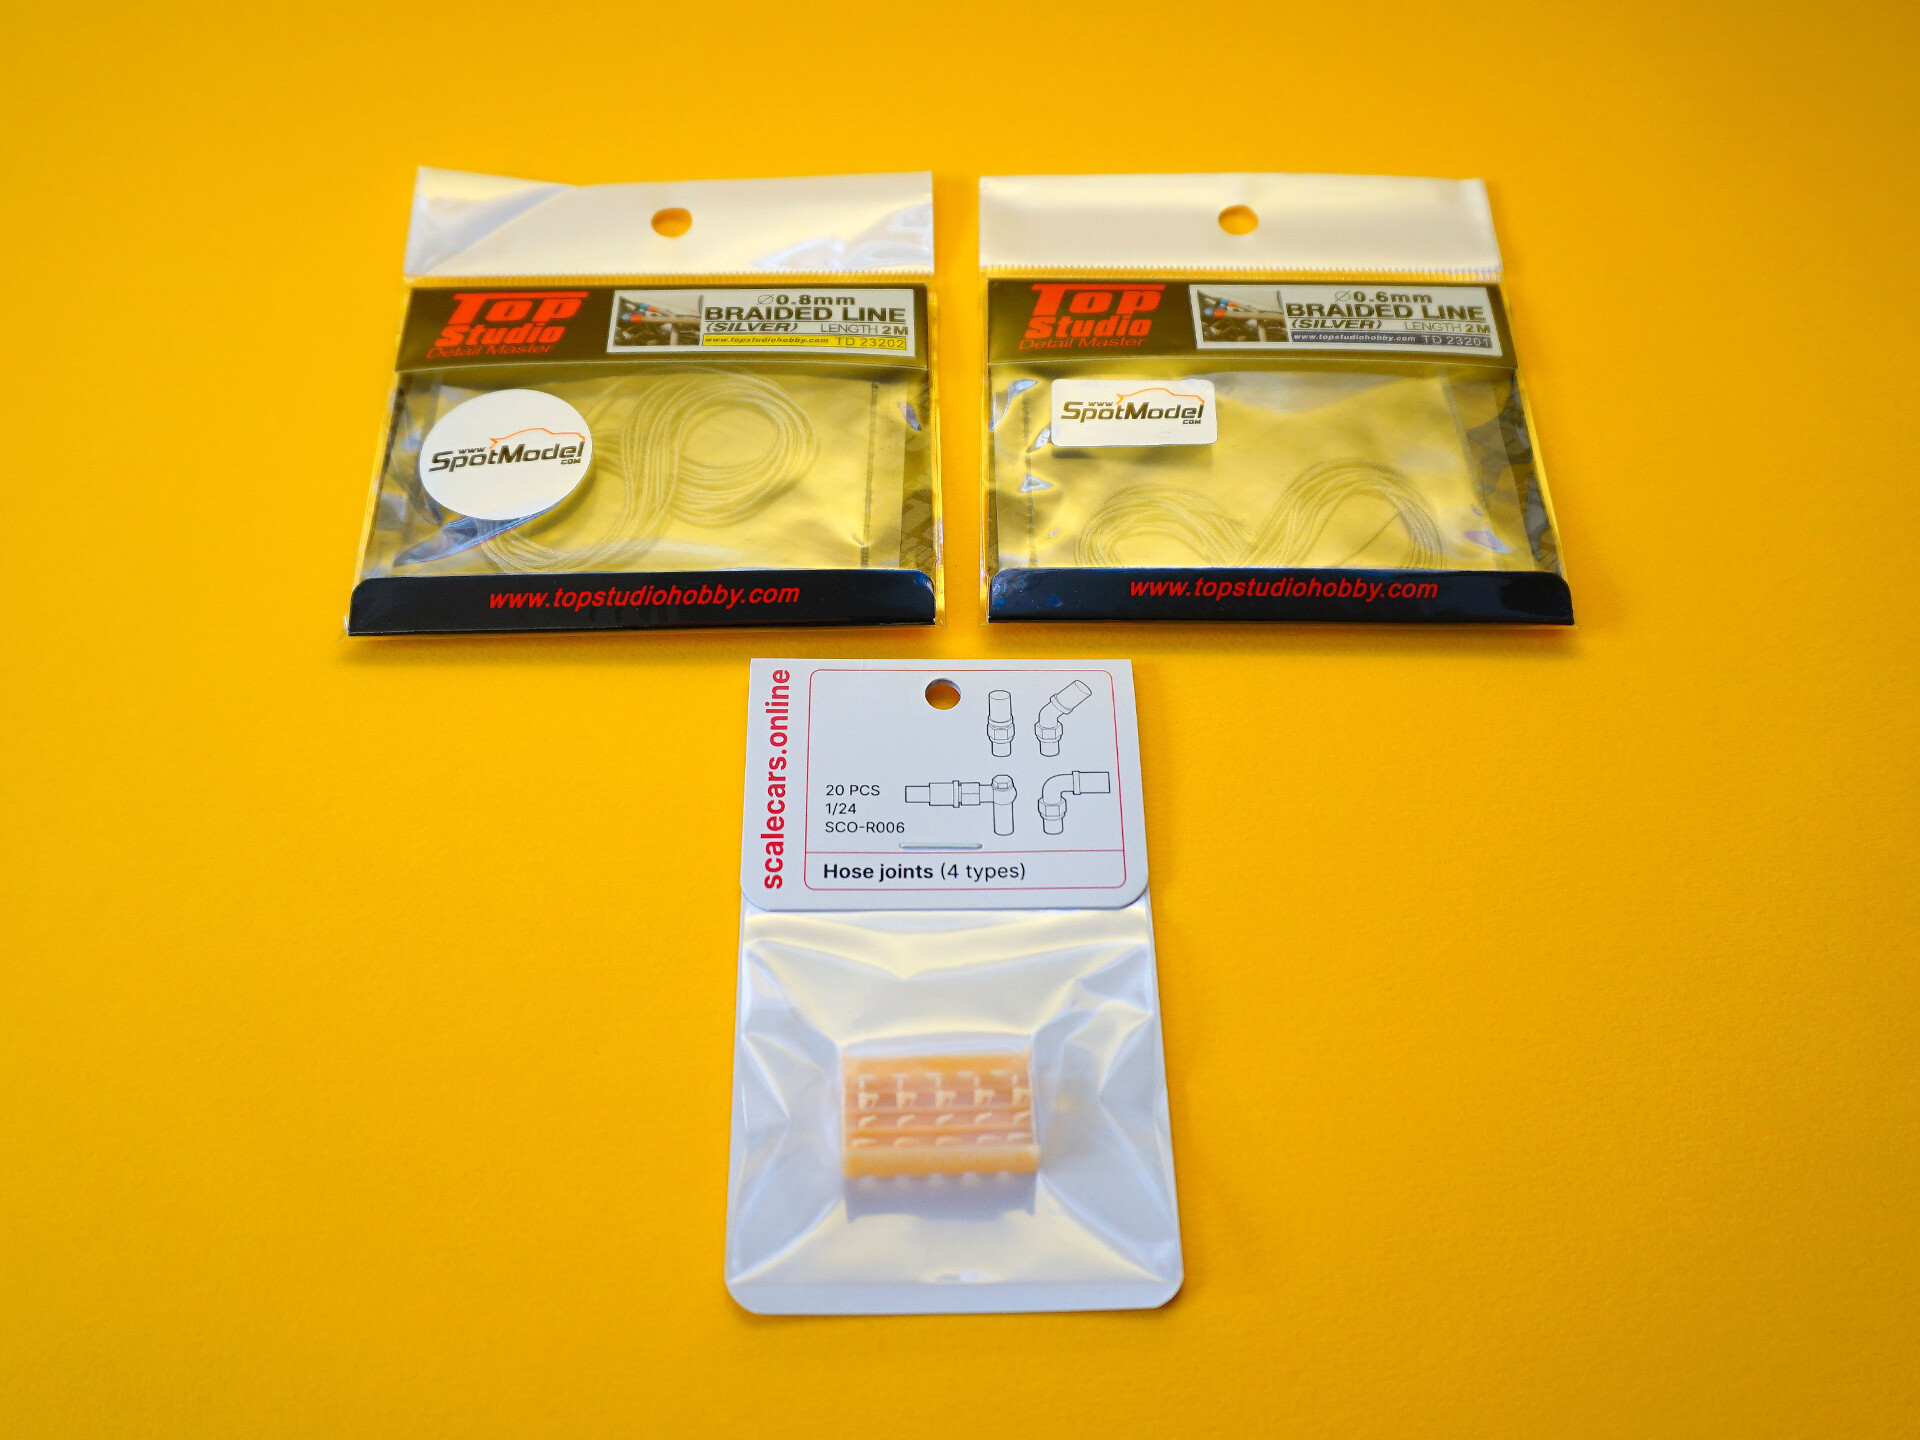
Cables will be installed in the interior. I will use Top Studio products (TD 23201 and TD 23202) and scalecars.online joints (SCO-R006).
I will use standard Tamiya products for weathering - Set B,C,D.

And finally, the basic color palette for the Opel Manta 400.
As usual, I start to work on the model by fitting parts.

Drilling the car body for mounting screws, rivets, mirrors and door locks.


Rims drilled for bolts (SCO-R015) and valves (SCO-R002) supplied by scalecars.online. Before the first painting, the rims were washed with Tamiya Panel Line Accent Color.

Rims painted with TS-26 and TS-13.

Front rims masking.


Painting the rims edges with TS-17.

The Hexagonal bolts V.3 (SCO-R015) were painted with TS-42, then washed Tamiya with Panel Line Accent Color and painted again with a matt Humbrol clear coat.
Below is the final effect of work on the rims.


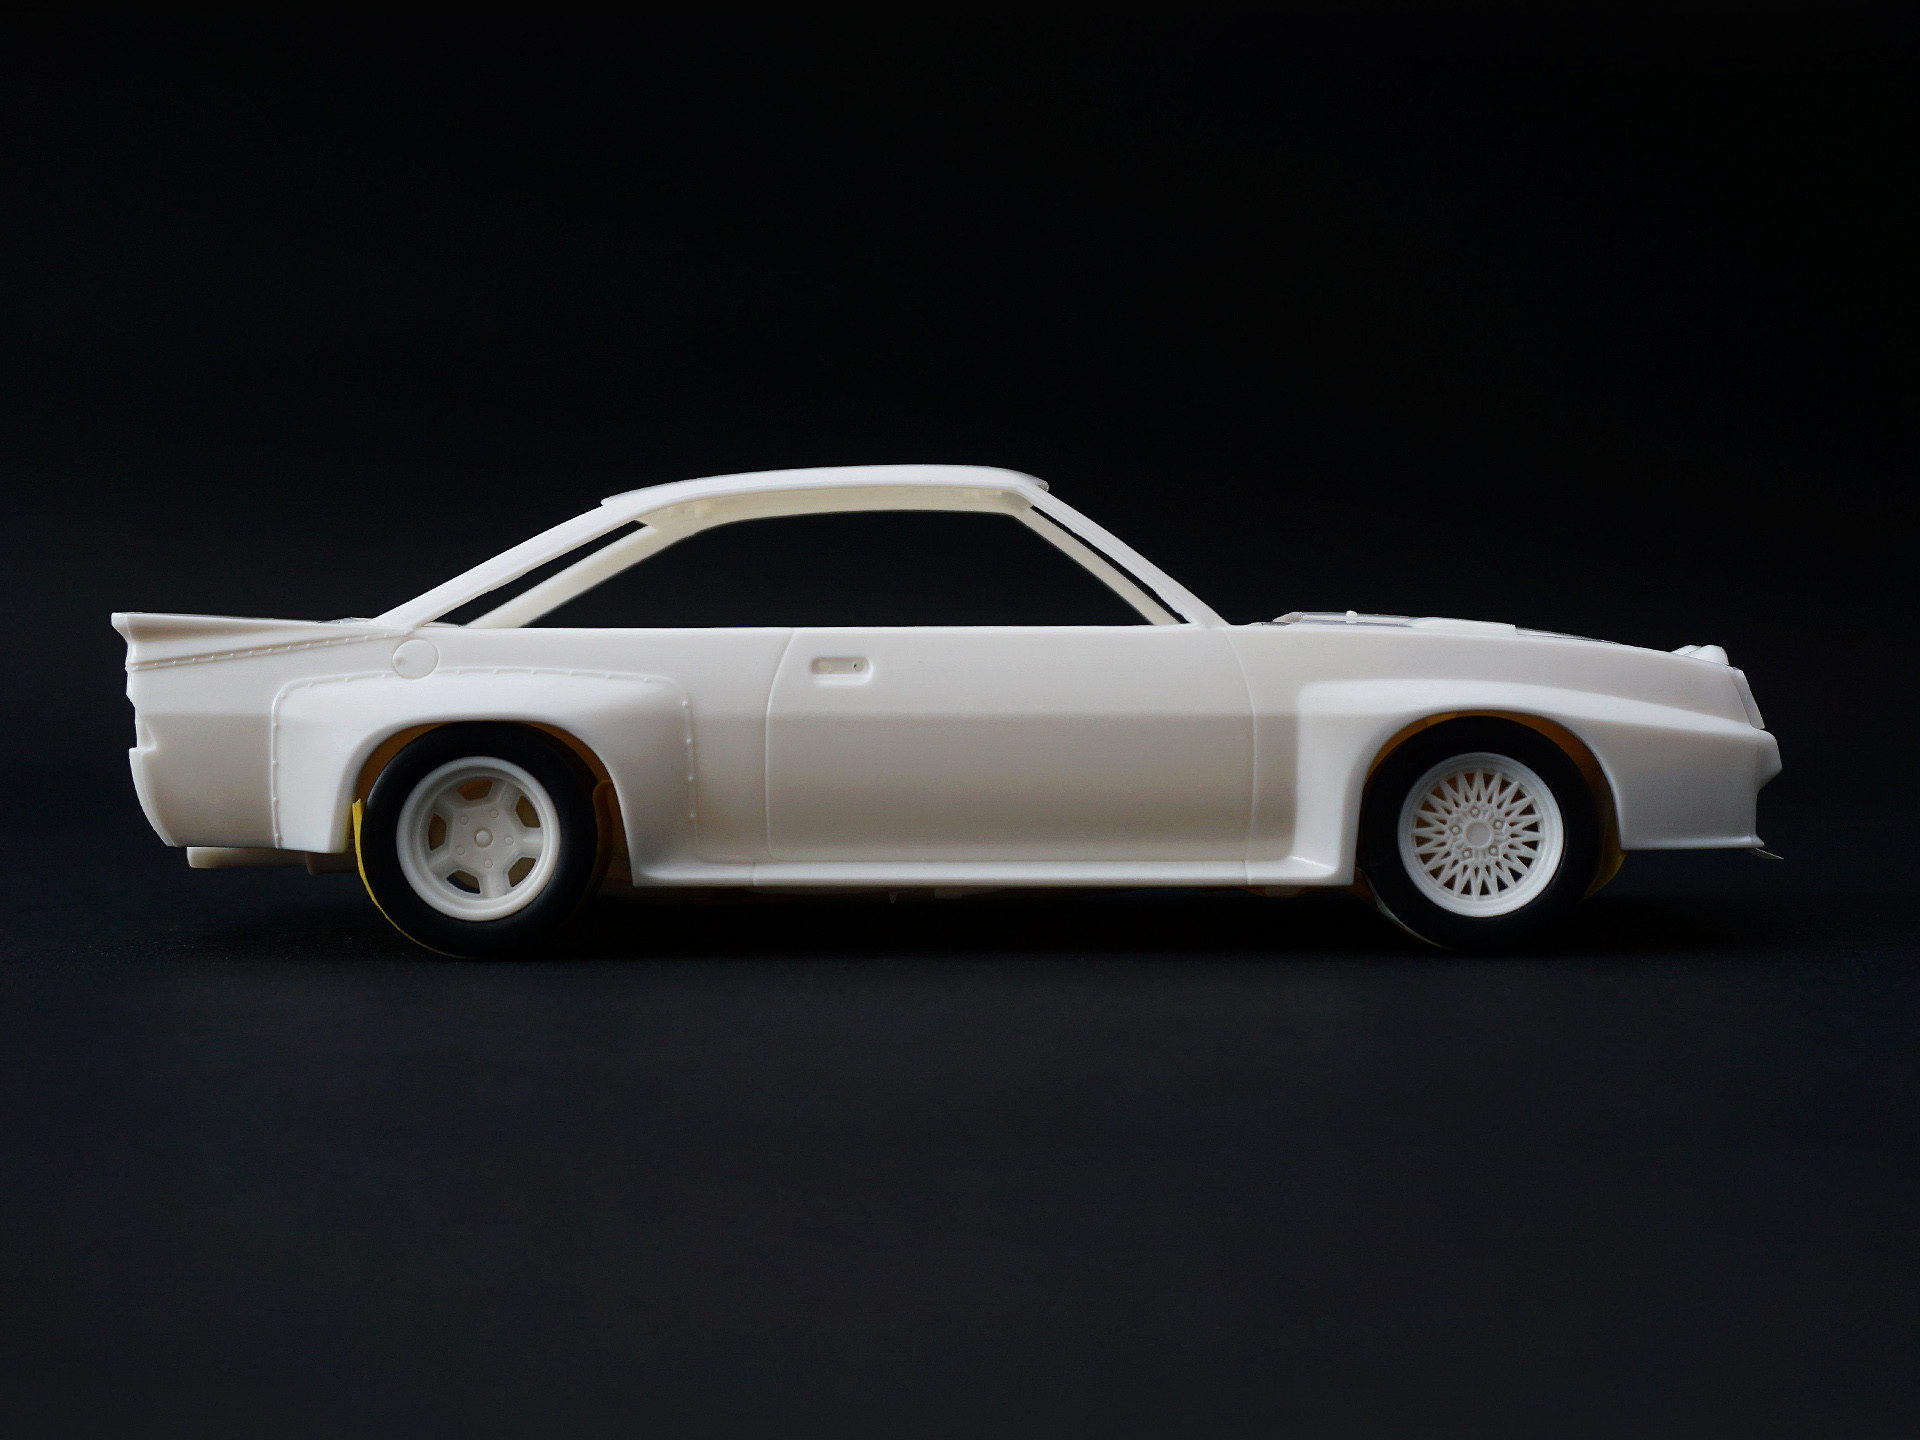
Return to work on the bodywork, from which, after grinding and removing the imperfections, beautiful shapes were achieved. Body's after the first layers of primer.


The body was painted with a primer and got panel lines made with Tamiya Panel Line Accent Color.

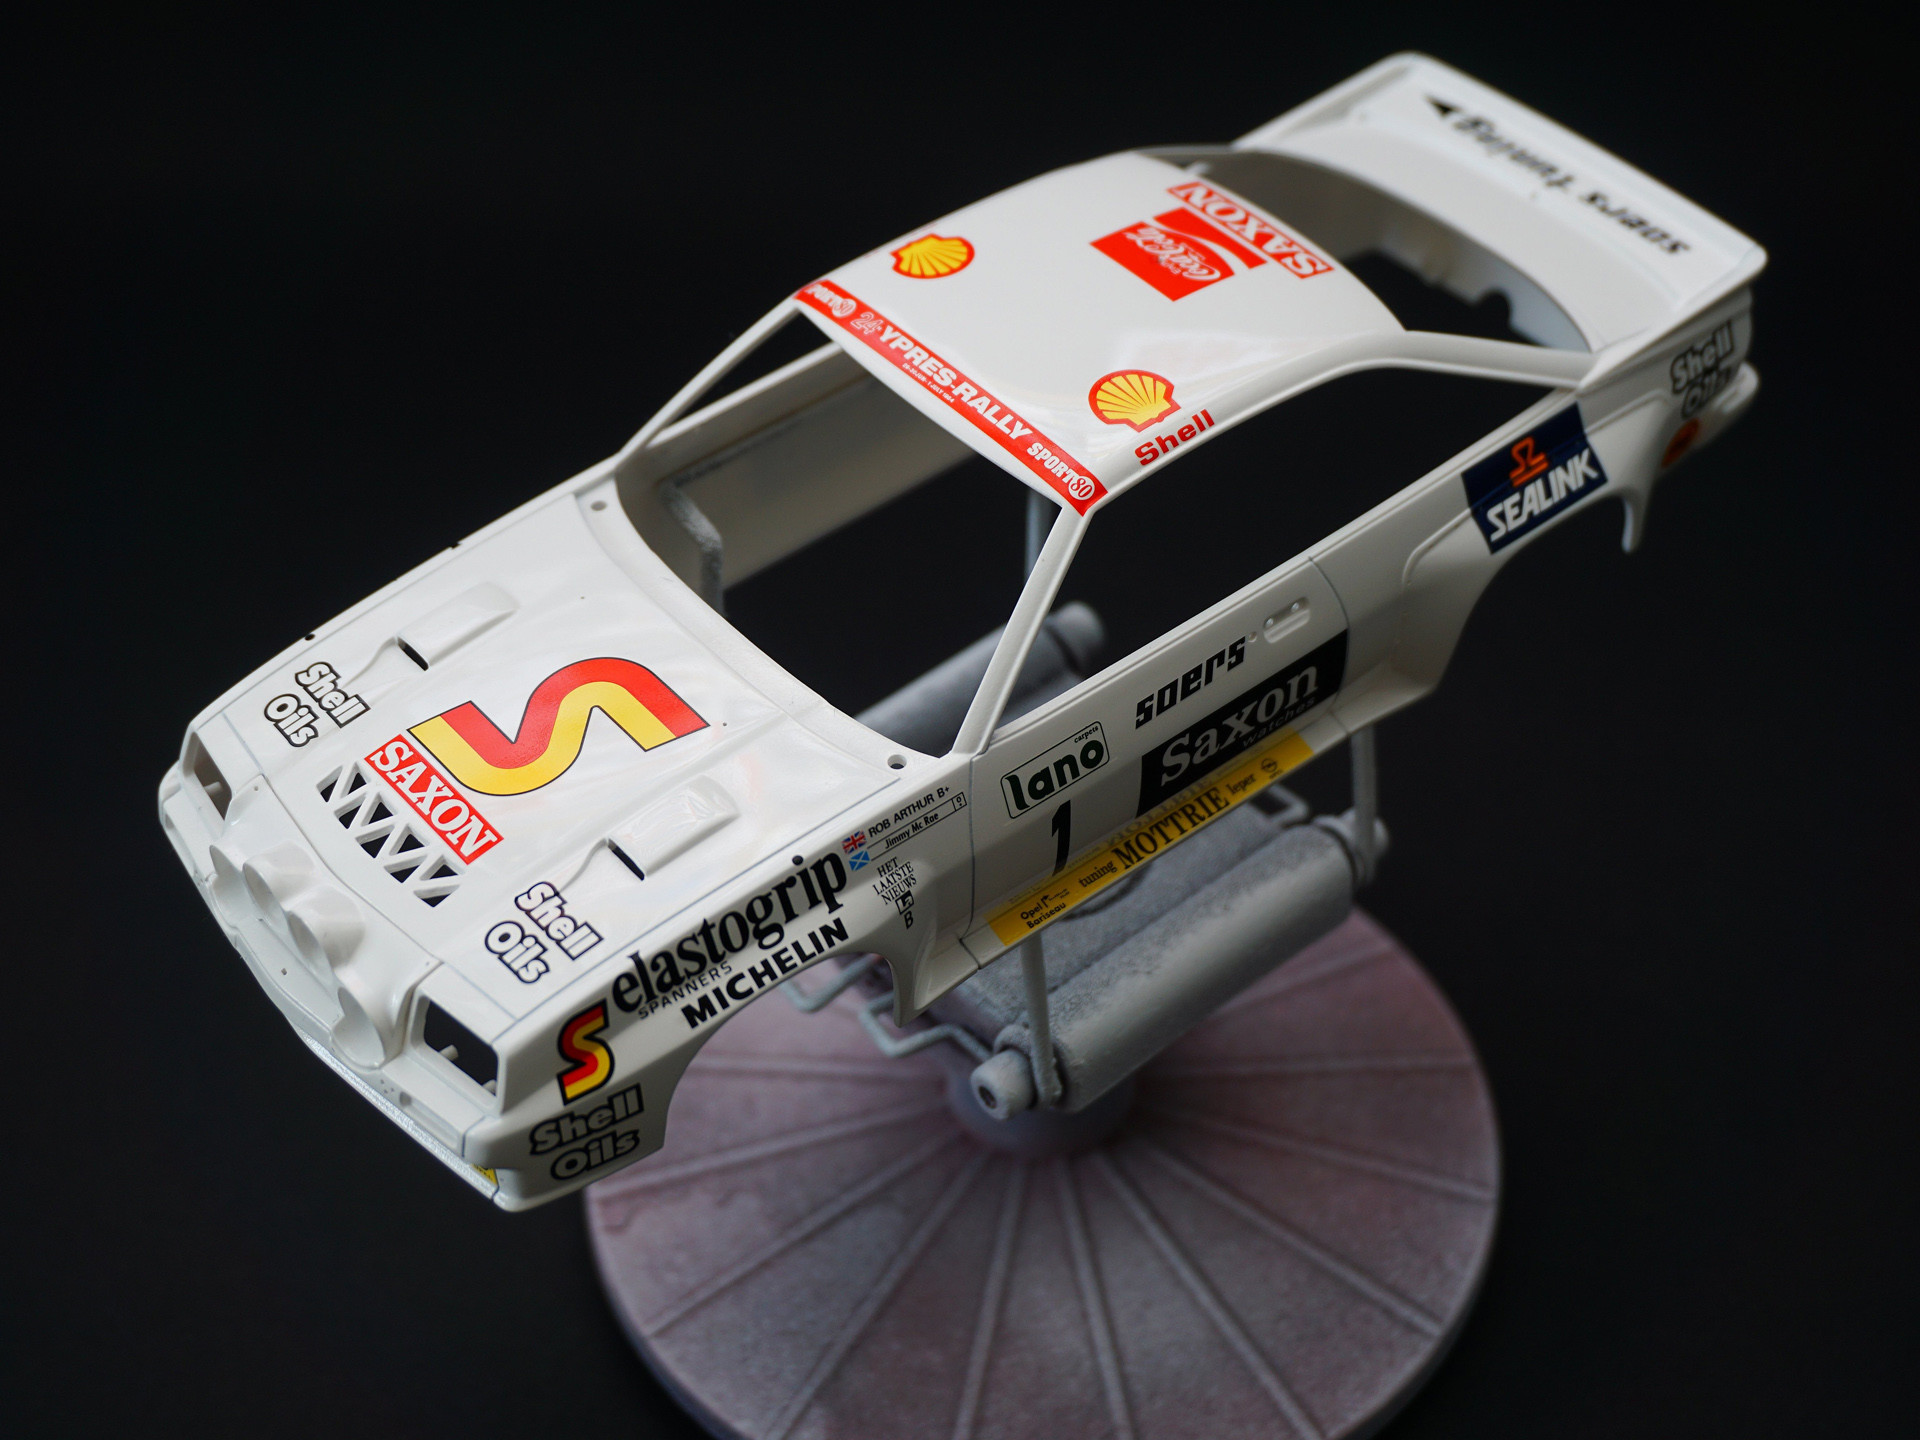
The body was painted with the TS-26. The first polishing is complete. The aim was to smooth the surface of the car body before applying the decal. The longer I deal with this Opel, the more I love its shape.


Manta is ready to apply the decals.

A few things I would like to highlight.
In my opinion, making an exact replica of a real car is almost impossible. The car changed its appearance during the rally. At the start of the rally, the Manta had no "soers tuning" stickers on the windshield and tailgate, the "Saxon" sticker on the roof was black and was later changed to red. In some special stages we see a car with white mud flaps, and in other stages it has one white, one black.
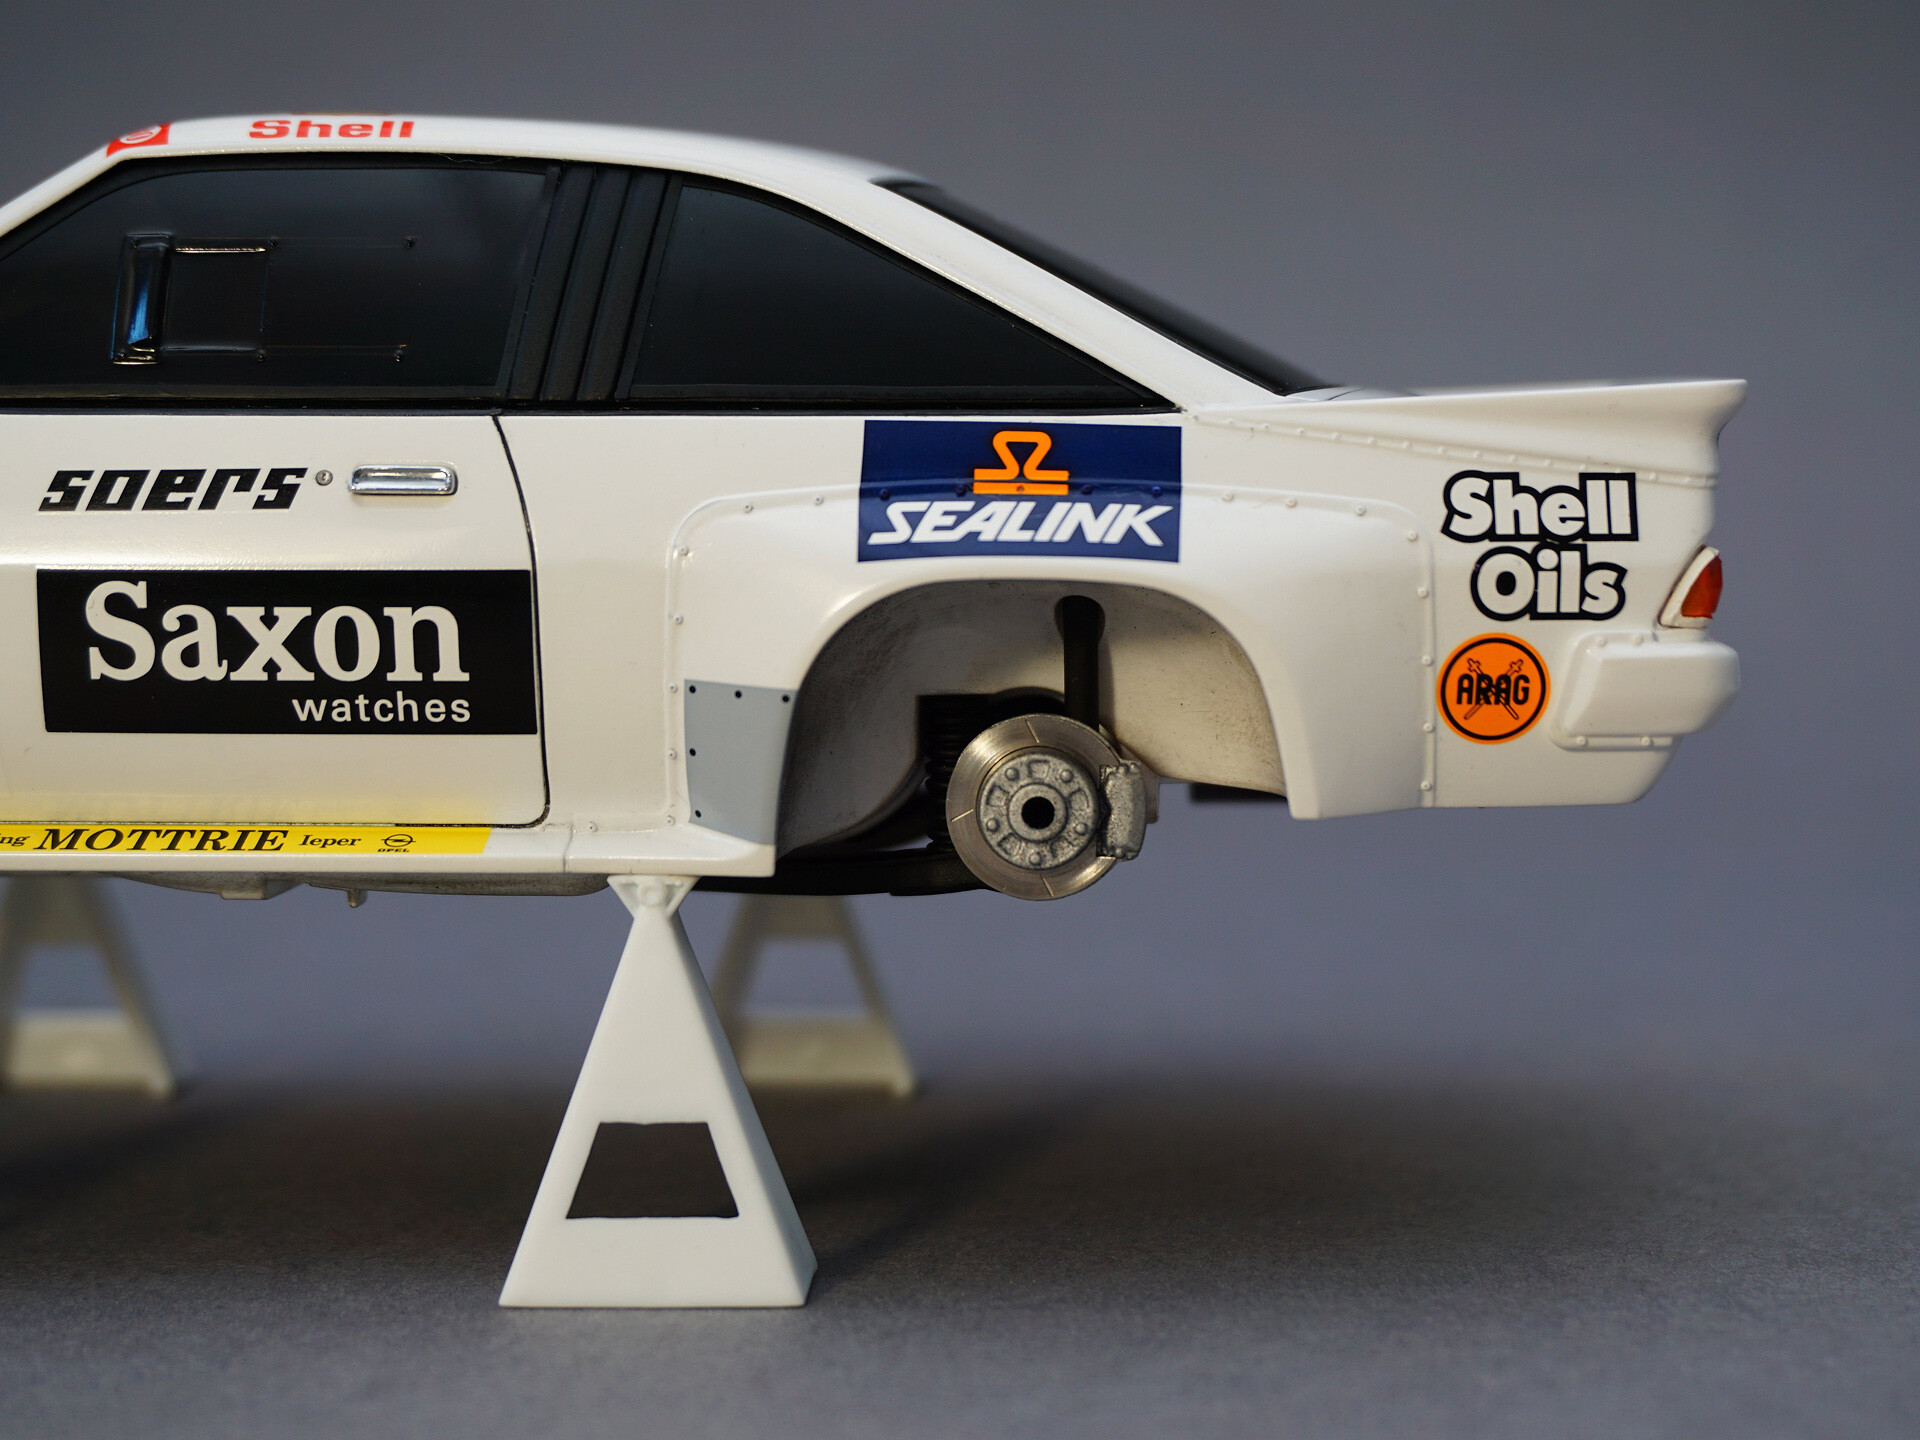
Another problem for modellers is the fact that the real car has been wrapped asymmetrically. On the pilot's side, the starting number was higher than on the driver's side. The "Shell Oils" stickers on the rear of the car are located in completely different places on both sides. Examples can be multiplied. What may not be noticeable on a real car, on a 1:24 scale model will look as if it was made by an amateur. That's why I decided to make the decals symmetrically. I think the effect is much better.


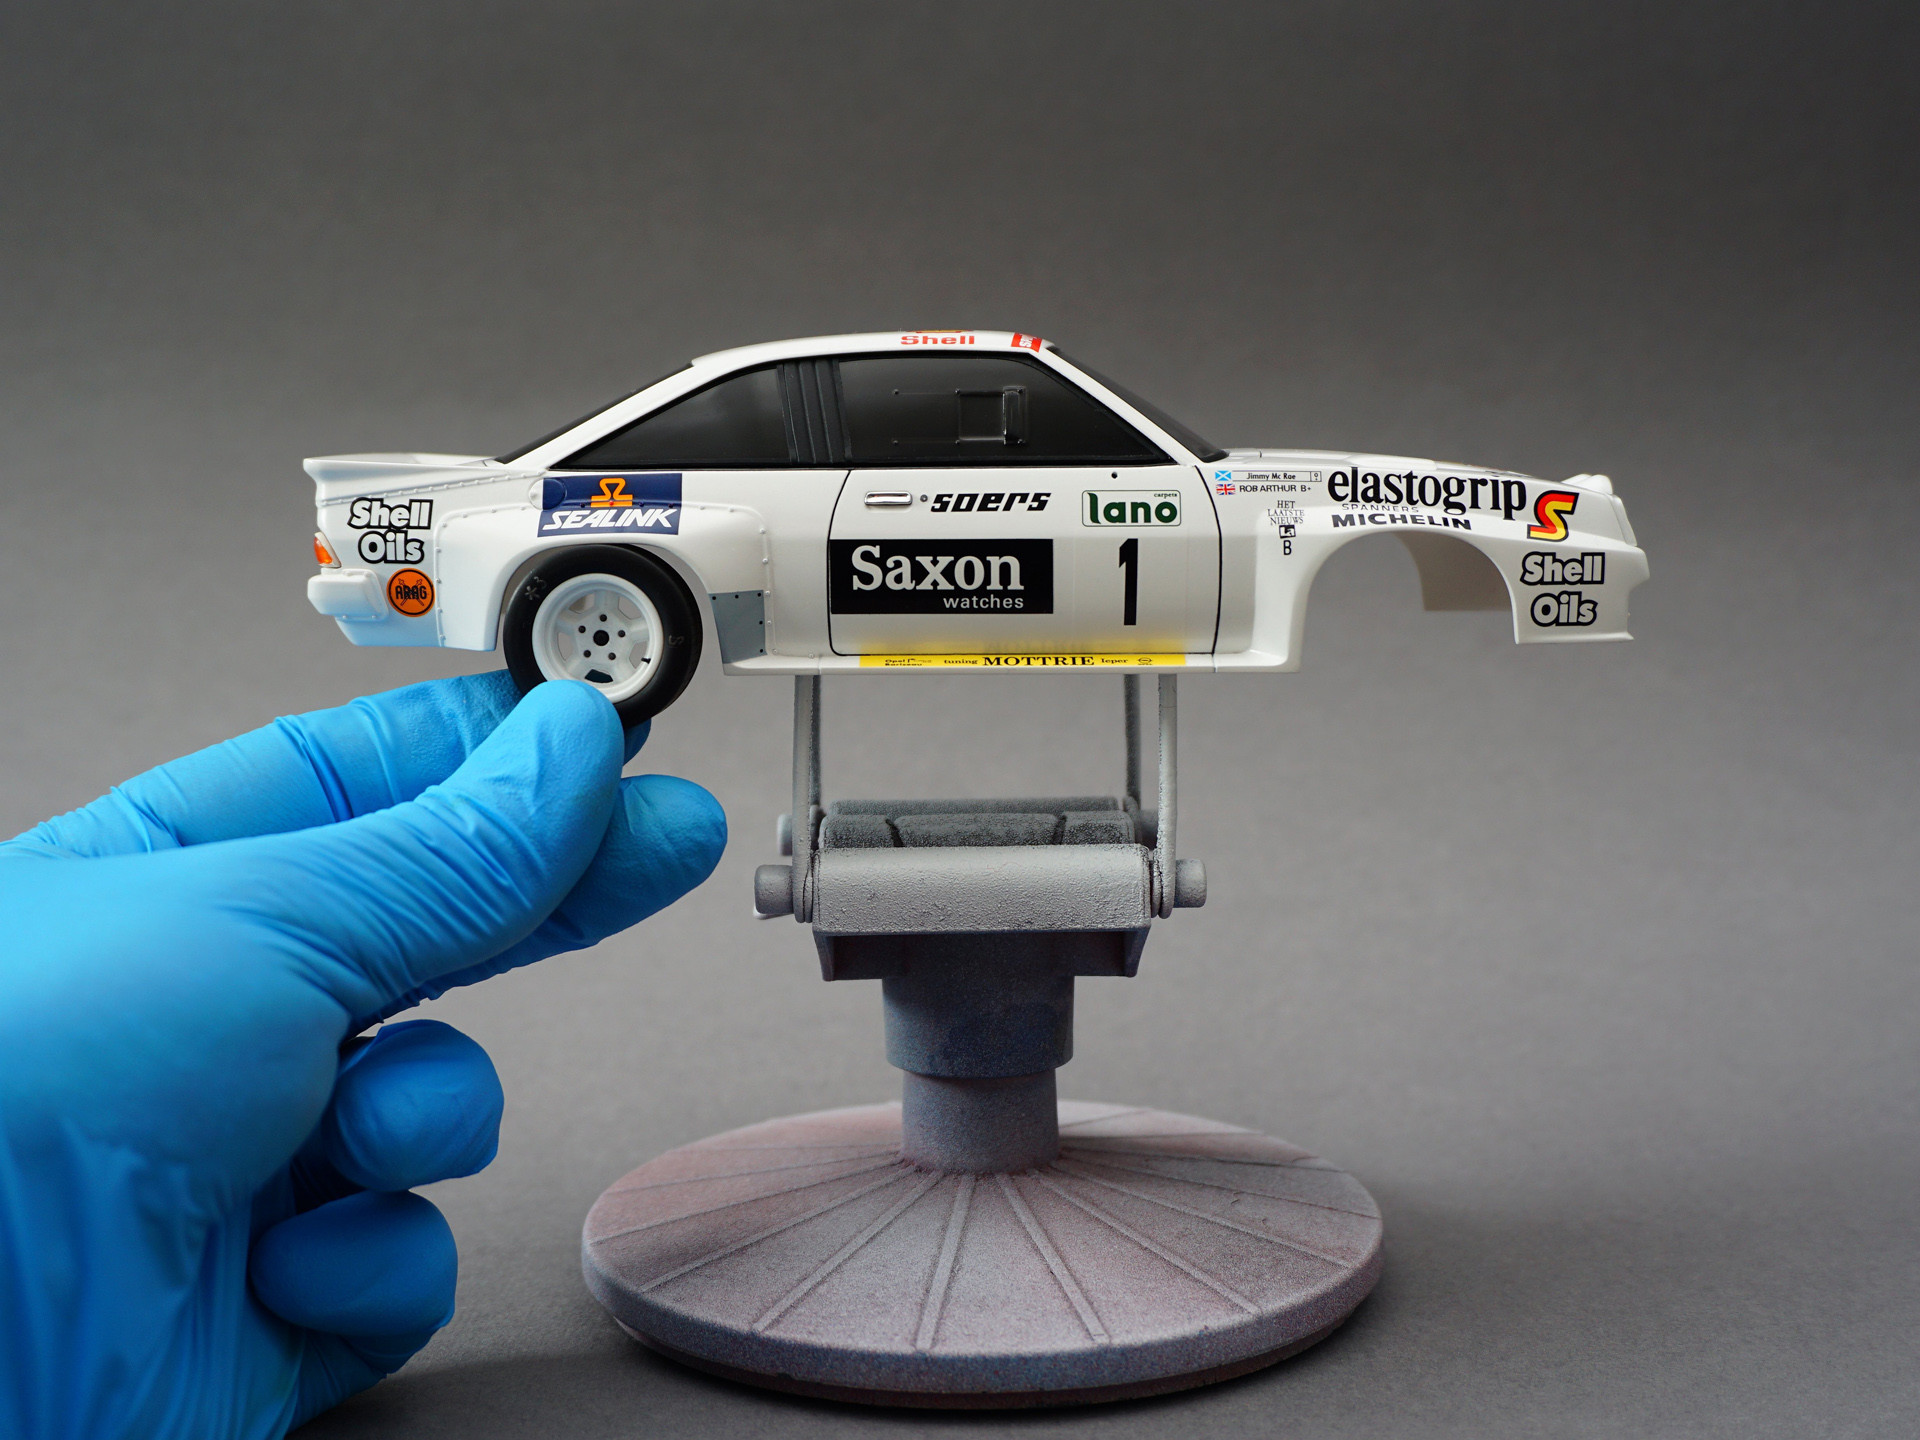
Manta was painted TS-13 and polished a second time. I made the final panel lines. The headlining and the pillars are painted black on the inside. I also painted the side window seals.


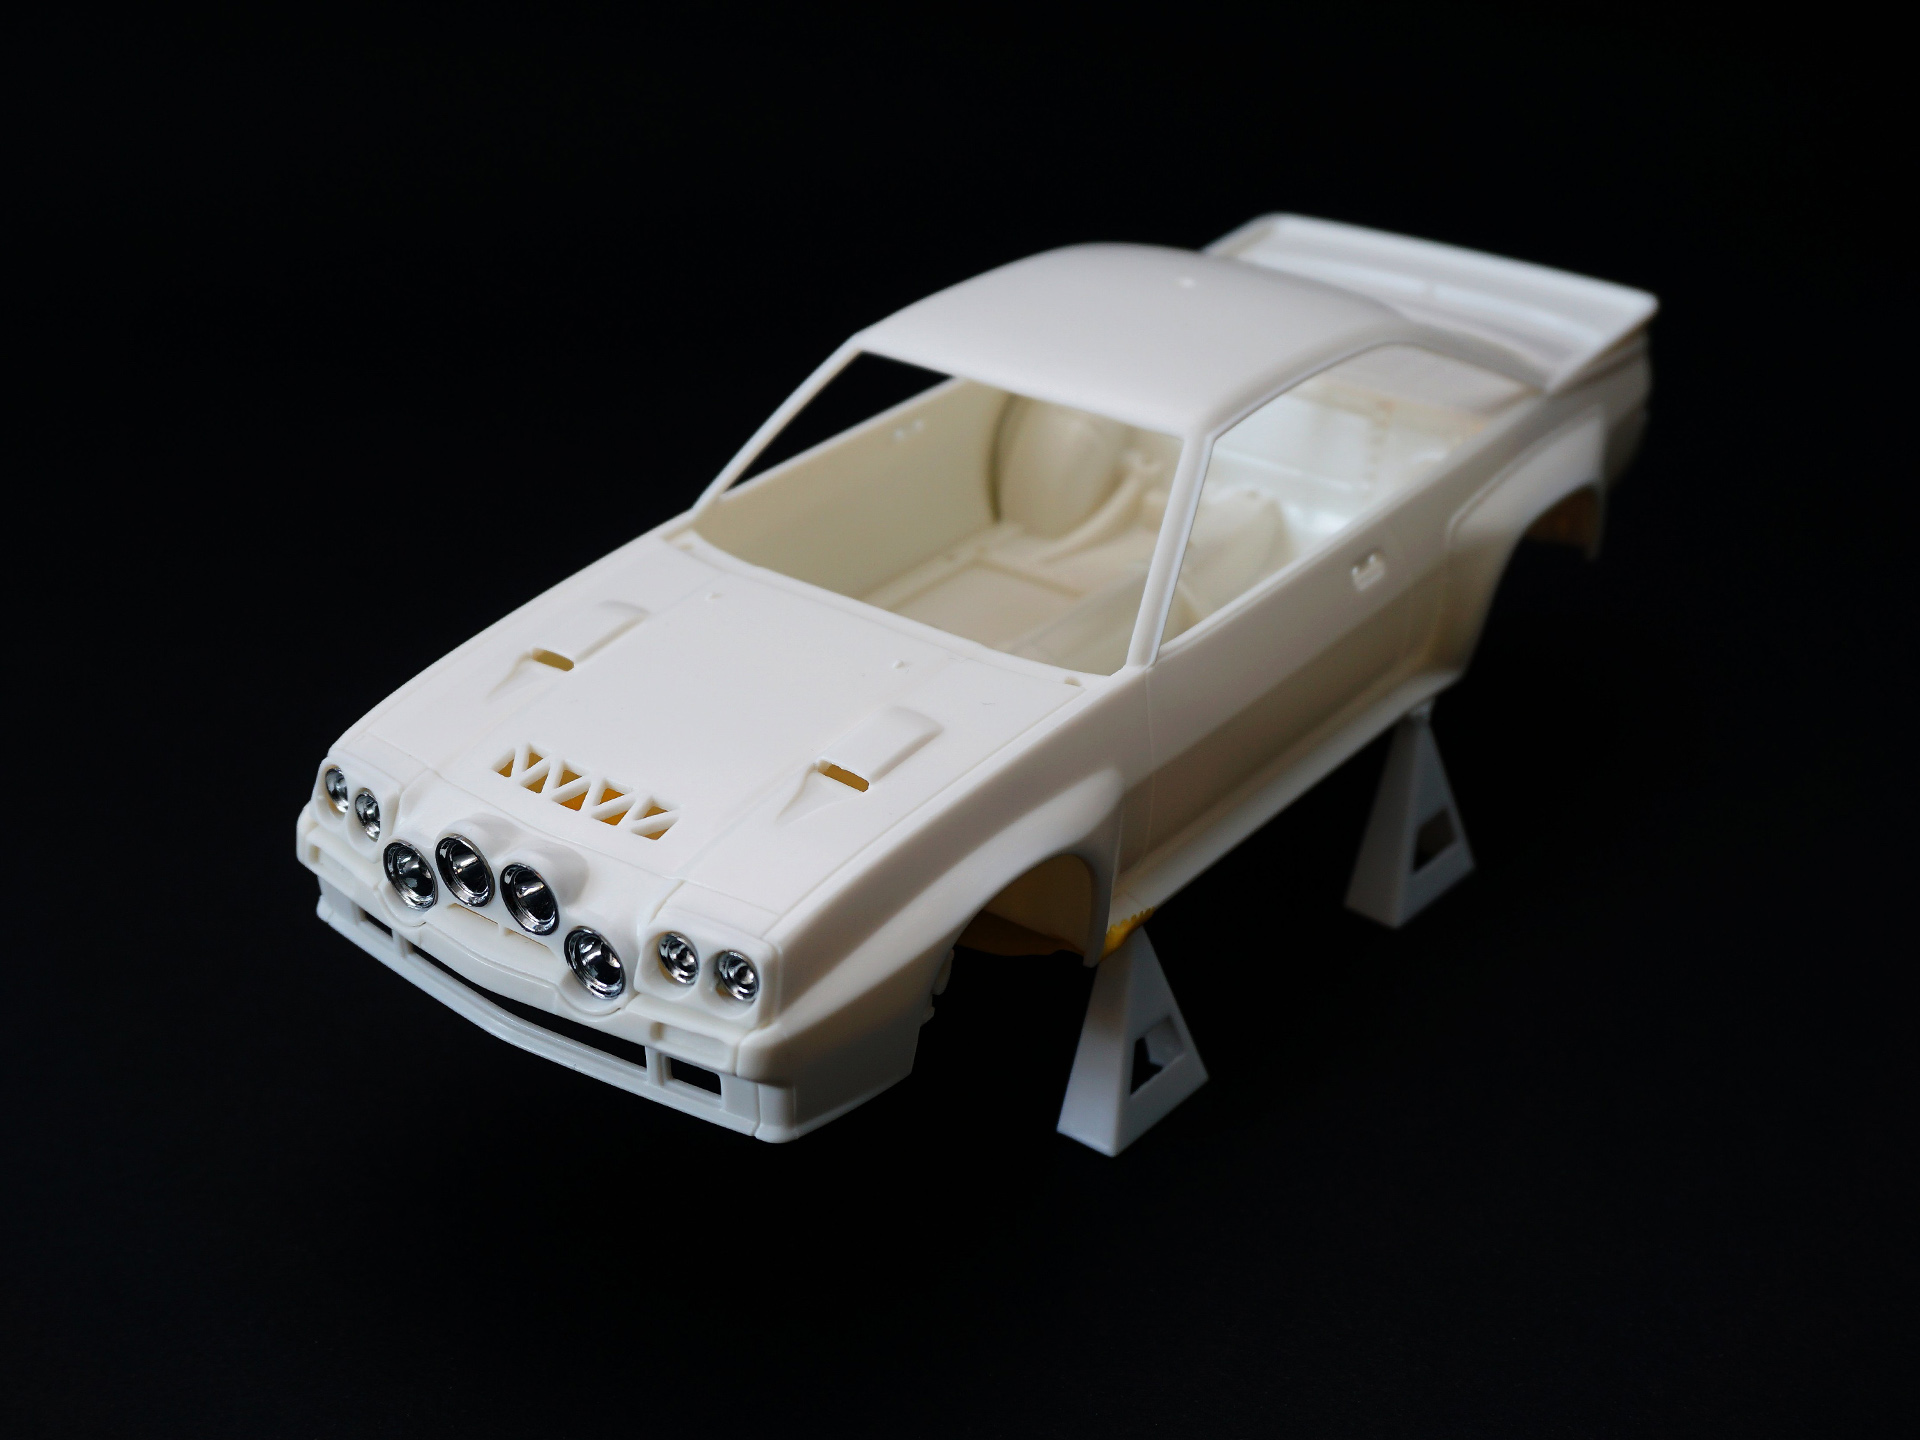
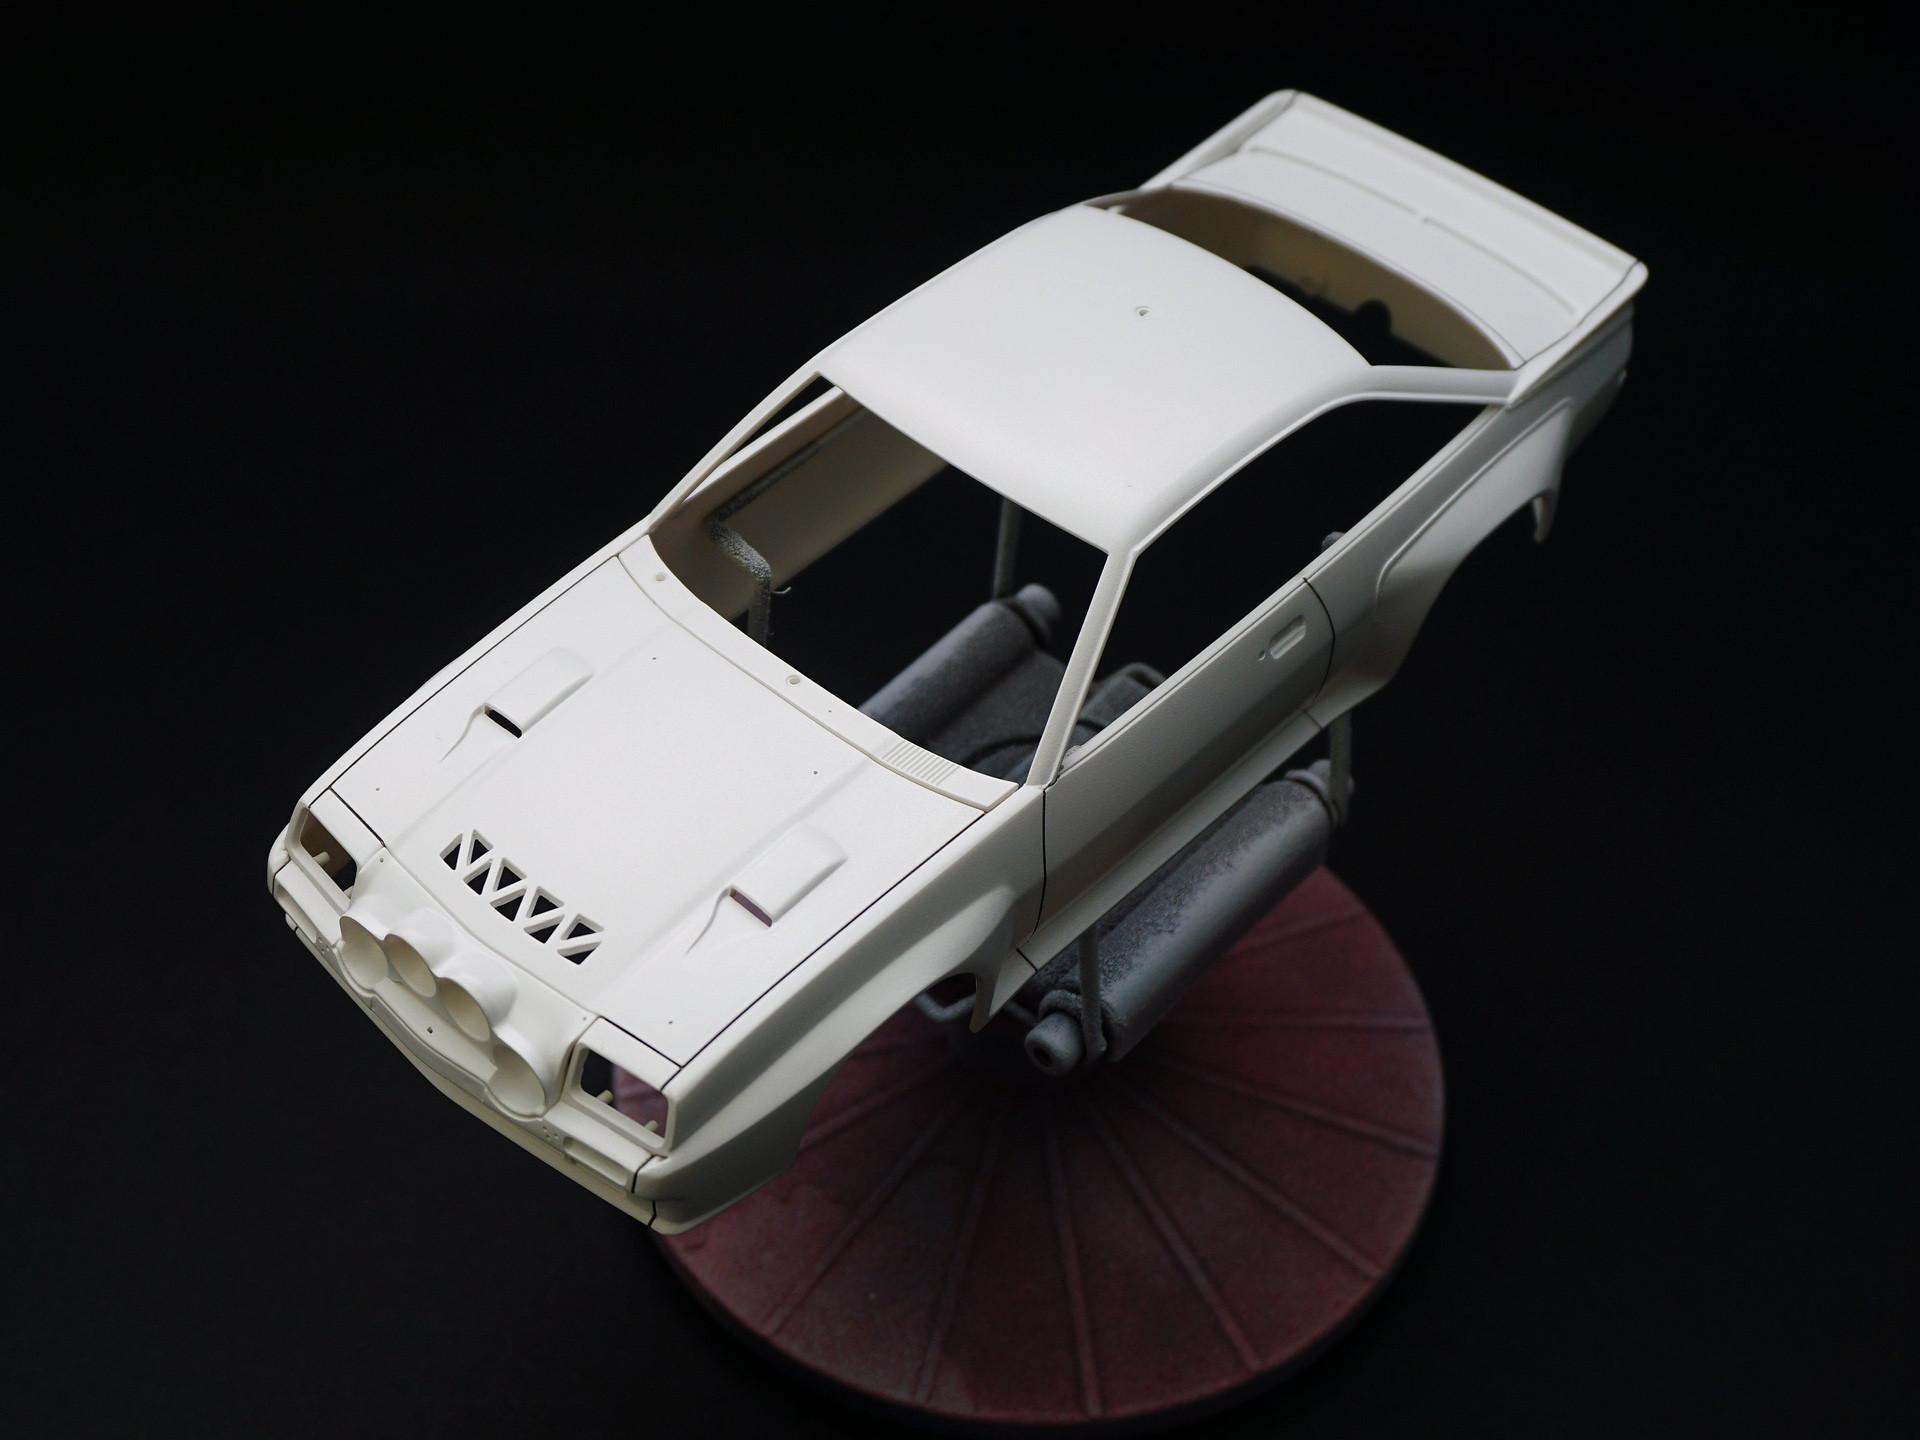
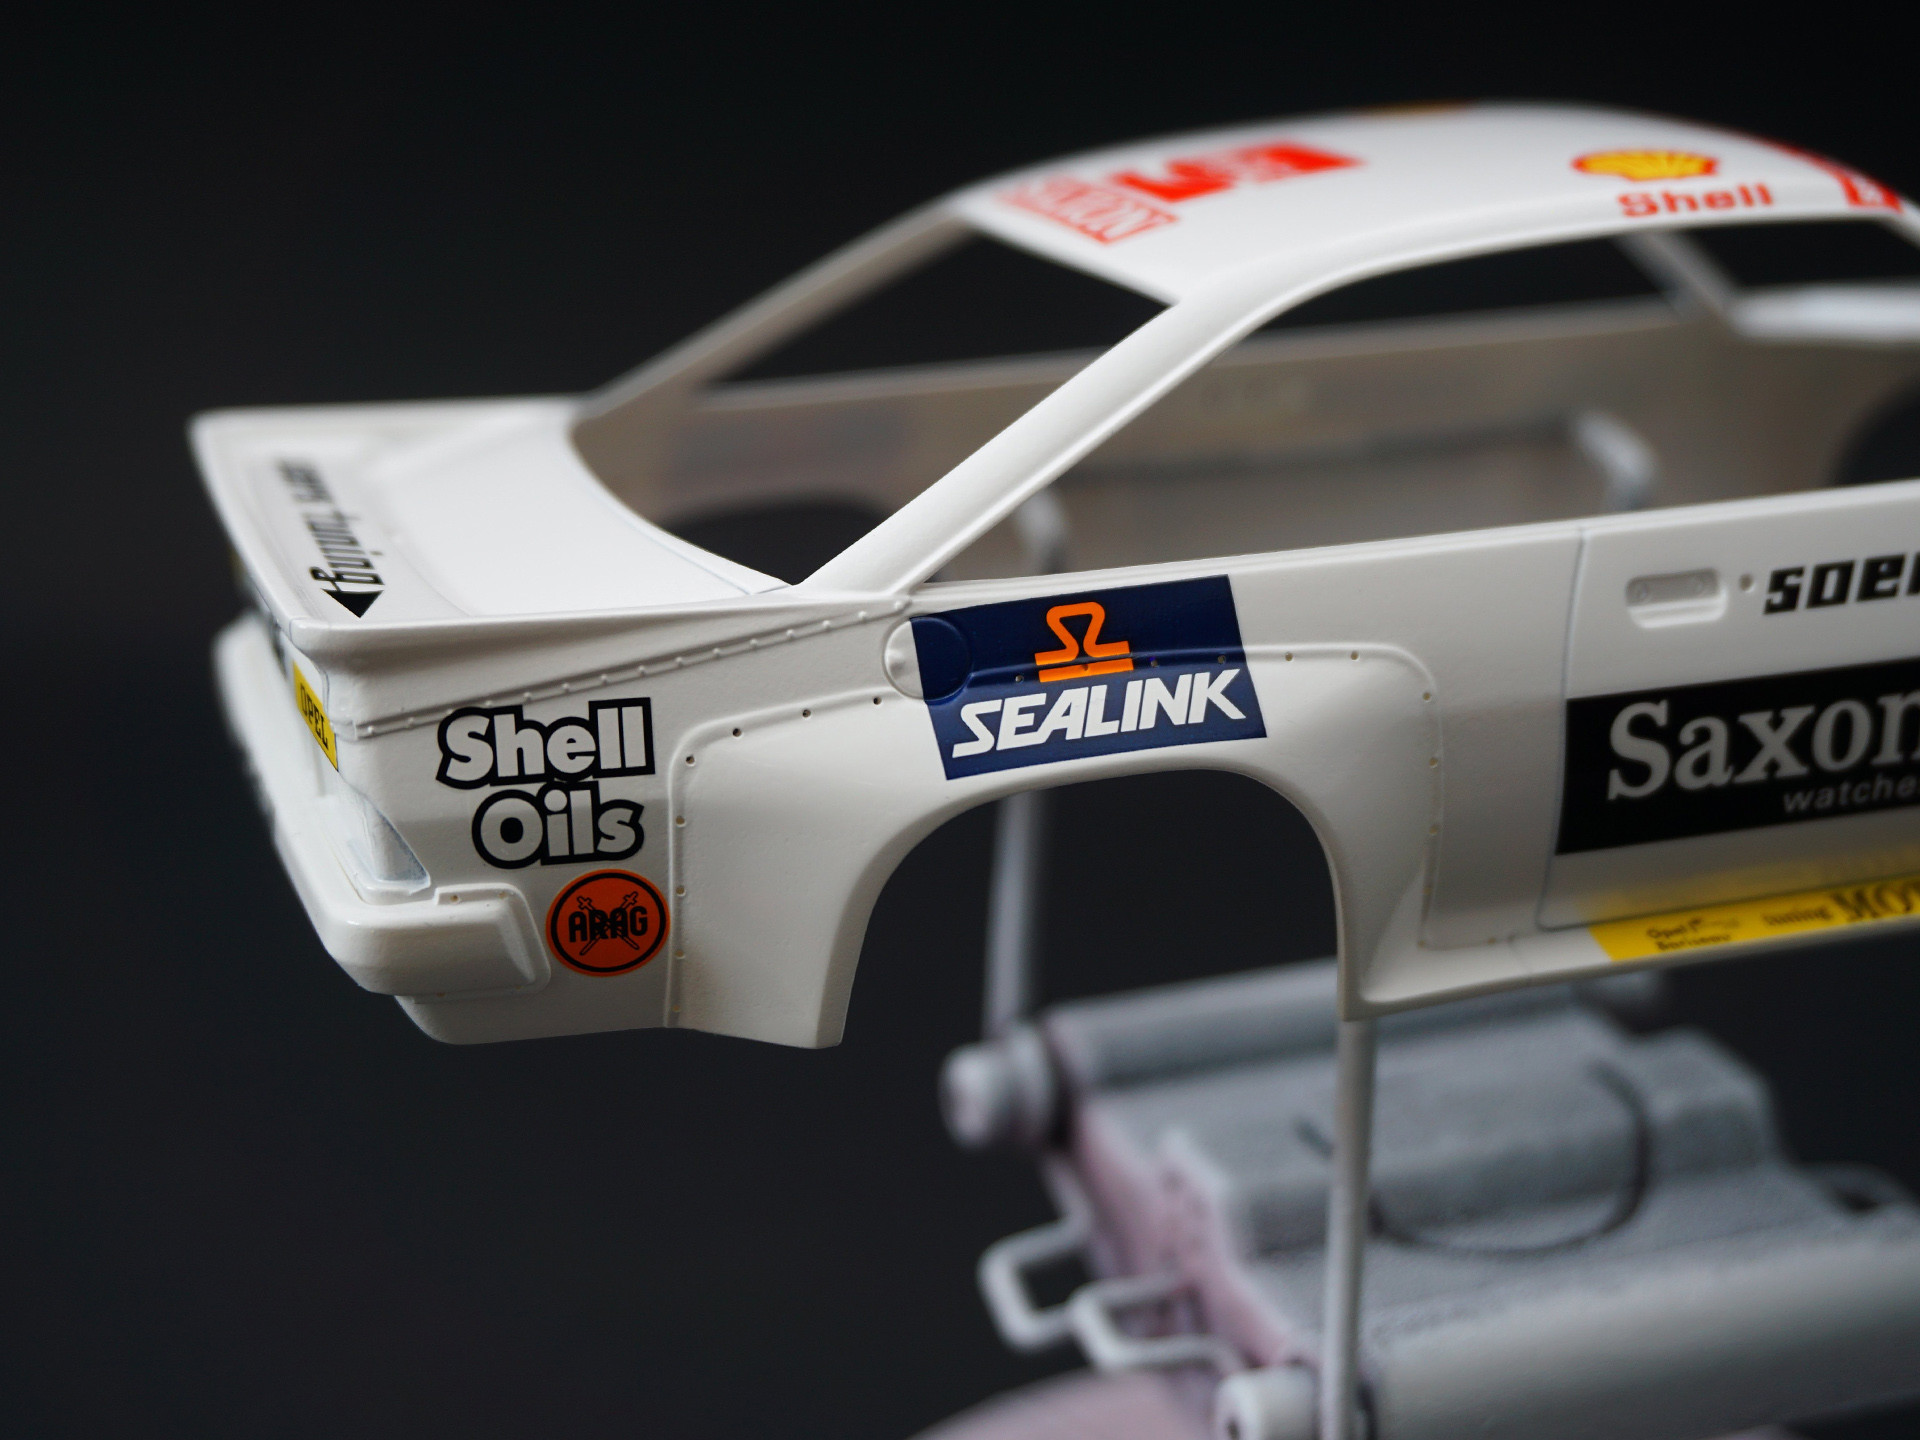
Front is ready. The bumper mounting bolts are 0.6 mm scalecars.online rivets (SCO-R008). Halogen mounting screws are 1.0 mm rivets from Hobby Design. It is worth mentioning that there is a mistake in the model manual regarding the painting of the mesh in the bumper and the hood of the model. All meshes (except for the halogen fixture) should be white, not black.


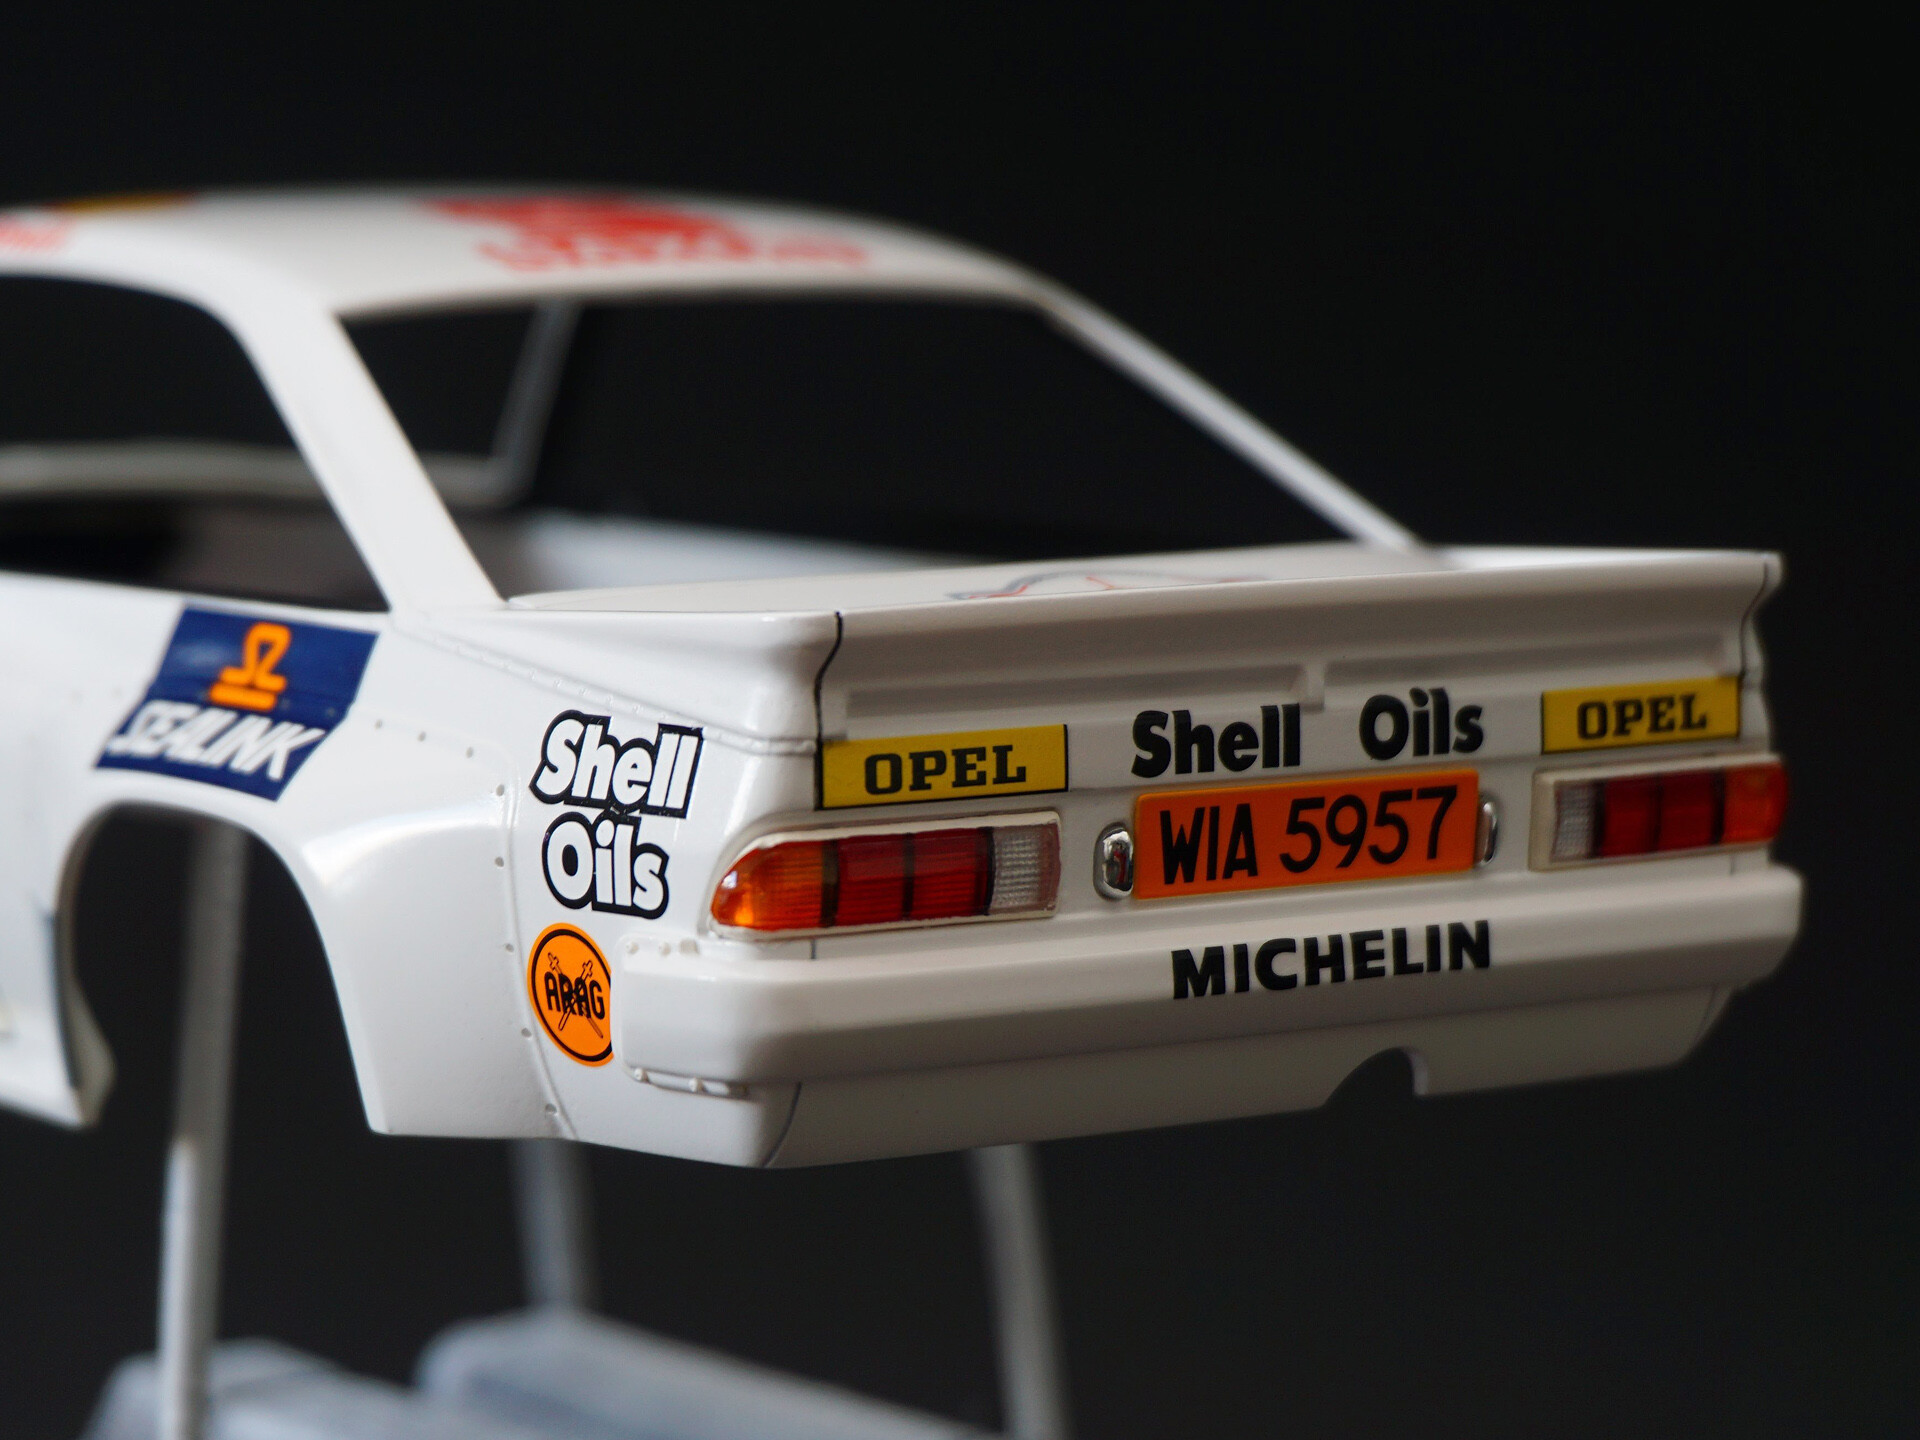
The rear of the model is ready. As always, I used the TS-73 and TS-74 for painting the lampshades. Outer gasket painted in 361 white mat Revell. Internal black seals are made of black masking tape. The spotlights are made of silver paper from a cigarette pack. The bumper mounting bolts are 0.6 mm scalecars.online rivets (SCO-R008). The license plate was painted with the TS-34 Tamiya Camel Yellow before the decal was applied.


Update 5 | 21.08.2022
Windows ready. Side and rear window painted with TS-71 Smoke.
Side window frames made of black masking tape as Belkits made this part of the model wrong and missed it.
Installed the rivets fixing rear wheel arches - 0.6 mm scalecars.online (SCO-R008).
I also put locks on the doors - 0.9 mm scalecars.online (SCO-R007).


Preparation and planning of work on the interior of the model. It is going to be a good challenge!
I will test a new product from scalecars.online - Wires 0.6 mm (SCO-A001).


Dashboard. The first detail of the interior is almost ready. Switches from scalecars.online (SCO-R001).
Warning lights on the dashboard made of 0.6 mm rivets (SCO-R008) also from scalecars.online


The steering wheel is done. The dashboard is assembled.


Drilling the floor plate - 62 holes in total. Black painted interior.


Electric wires done. I have used the new product of scalecars.online (SCO-A001).

Handbrake hoses- Top Studio 0.6 mm
The tunnel cover fixing bolts are 1.0 mm scalecars.online rivets (SCO-R024) with round head.

Handbrake hoses in the right place. Fire extinguisher and extinguishing system ready. Wires - 0.6 mm (SCO-A001).

Fuel lines - 0.8 mm Top Studio
Hose joints - (SCO-R006)

Hand fire extinguisher made. Pilot's footrest painted with TS-17 + wash to make it look more natural.
I changed its mount using hex bolts V.5 (SCO-R017). The jack is done. Instead of painting it in one color as the model manual suggested, I used three and added a fastening strap.


Handbrake and gear stick - check!
The pedals are ready - the clutch and brake have anti-slip mats made of sandpaper. Recaro seats done too.


The buckles and harness fasteners are a product of scalecars.online (SCO-R020) combined with the Belkits buckles.

Dashboard and roll cage in place. I added imitation of sponges and headphones with intercom cables.


Two ignition packs and one rev limiter made and connected using (SCO-A001) wires.

Work on the chassis.

Evolution of work on the chassis: painting, putting on heat shields, applying wash.


Radiator, engine and gearbox done.
I removed the original bolts from the chassis and replaced them with V.3 bolts (SCO-R015).


The front suspension has been lowered. I made the lower control arm thicker by adding 1.0 mm to them and narrowed the upper control arm. I also had to rework the shape of the steering knuckle to make it fit together. Rear suspension remained unchanged.


Now is the time to put the body, interior and chassis together.
Brakes done. Belkits plates have been sanded on a Dremel to give the natural appearance of a worn disc.


Chassis completed.

The gearbox cover was rubbed with sandpaper then painted with TS-17 and weathered for a wear effect. In addition, the cover got mounting hex bolts V.2 (SCO-R003) from scalecars.online


In this way, after 5 months of work, the model has been completed.

More photos of the completed model here | Gallery
Author | Krzysztof Szpakowski
Next workbench | BMW M3 (Tour de Corse '89)

© 2025 | Cookies Policy | Terms & Conditions