
Ford Fiesta S2000 | Belkits 1:24
Author | Mateusz Uścinowicz
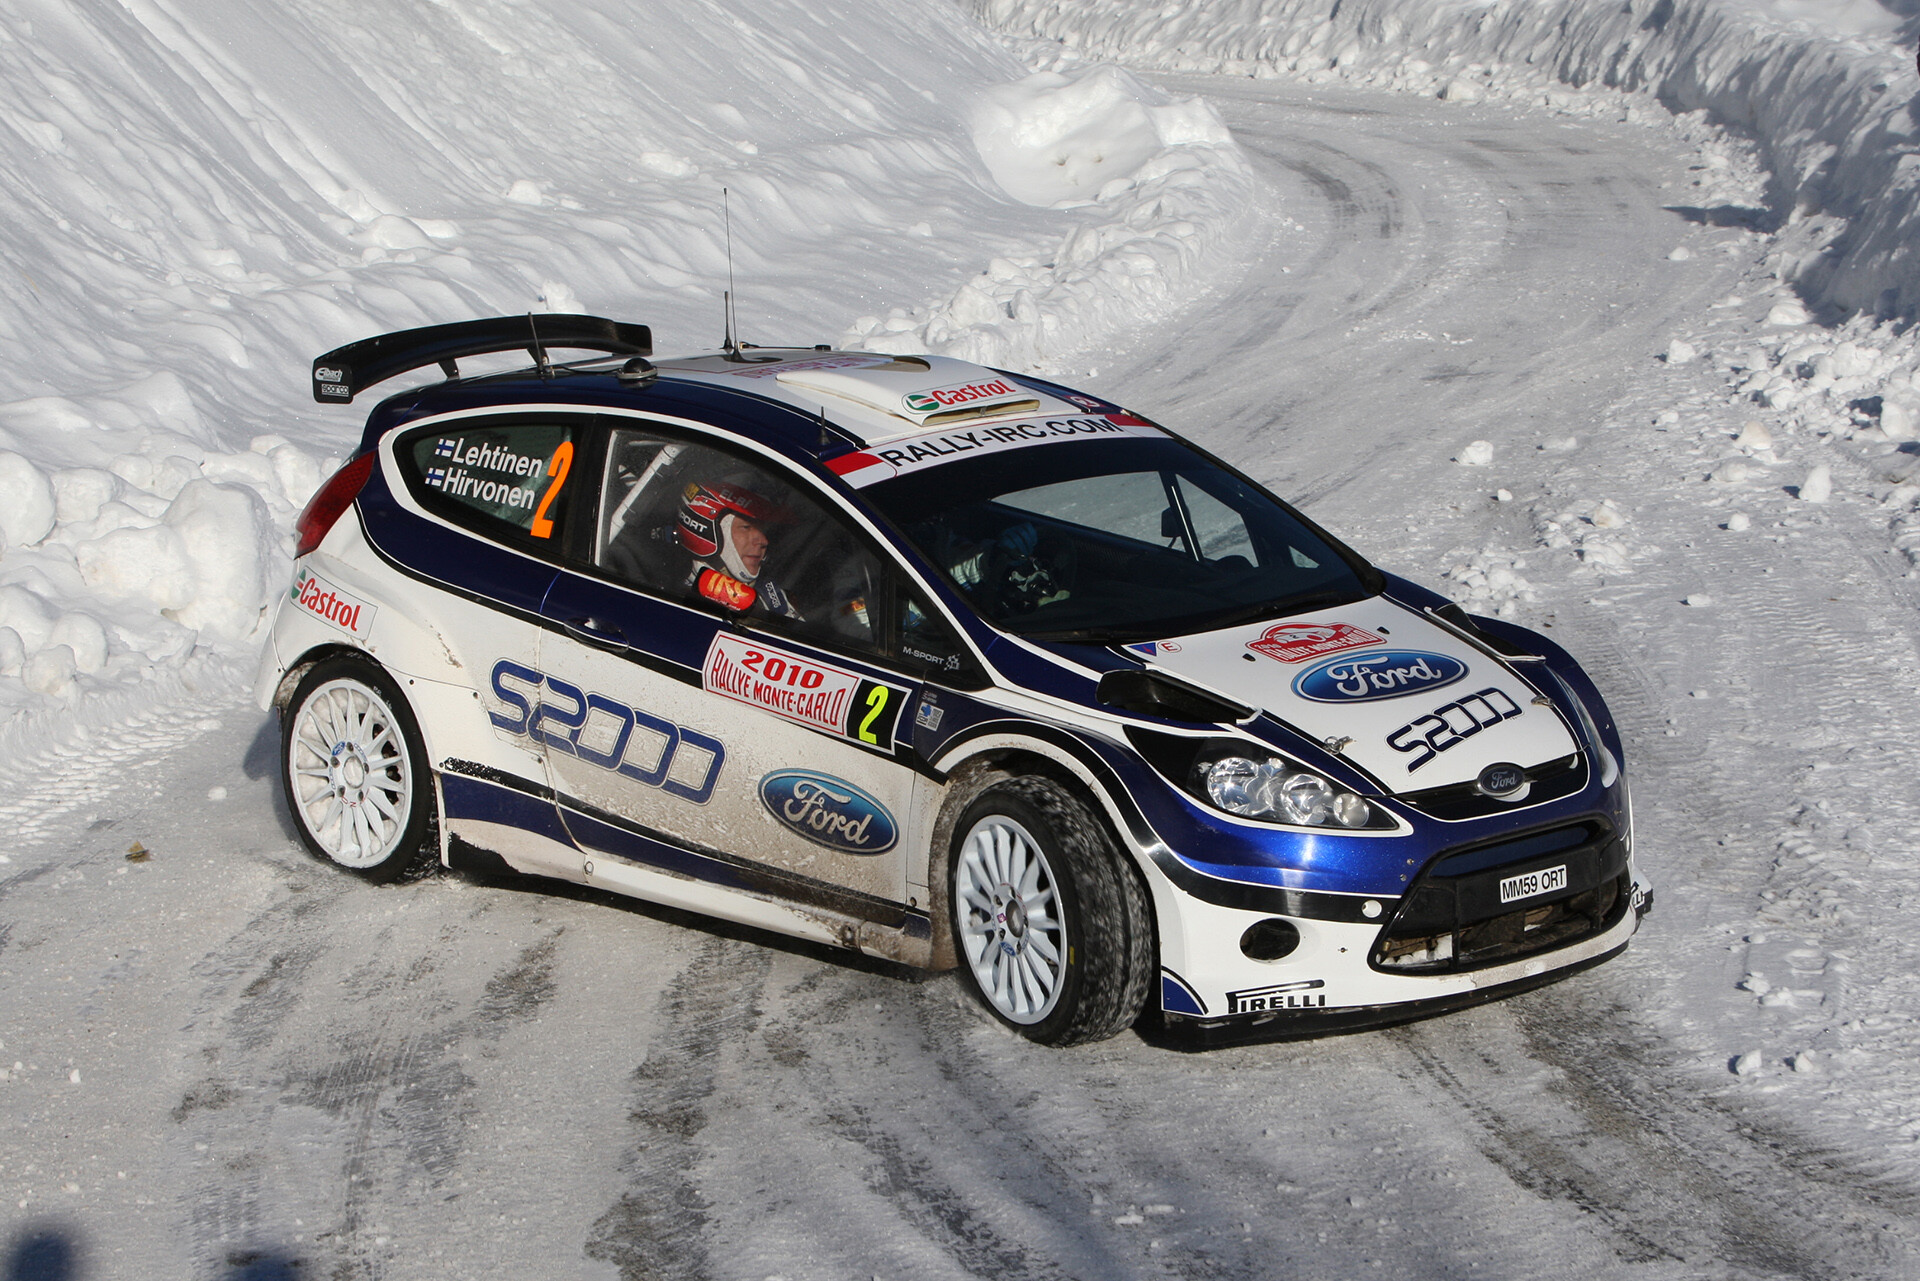
Ferrari Testarossa is close to be finished, so it's time to start another project. This time the choice fell on the rally car - Ford Fiesta S2000. The car debuted at the 78th Monte Carlo Rally in 2010, in which the M-Sport factory team was represented by two drivers - Mikko Hirvonen and Julien Maurii. Mikko Hirvonen and his pilot Jarmo Lehtinen eventually won the rally. The car from excatly this rally, driven by Hirvonen was released Belgian company Belkits.


Source: wikipedia.org
Source: wikipedia.org
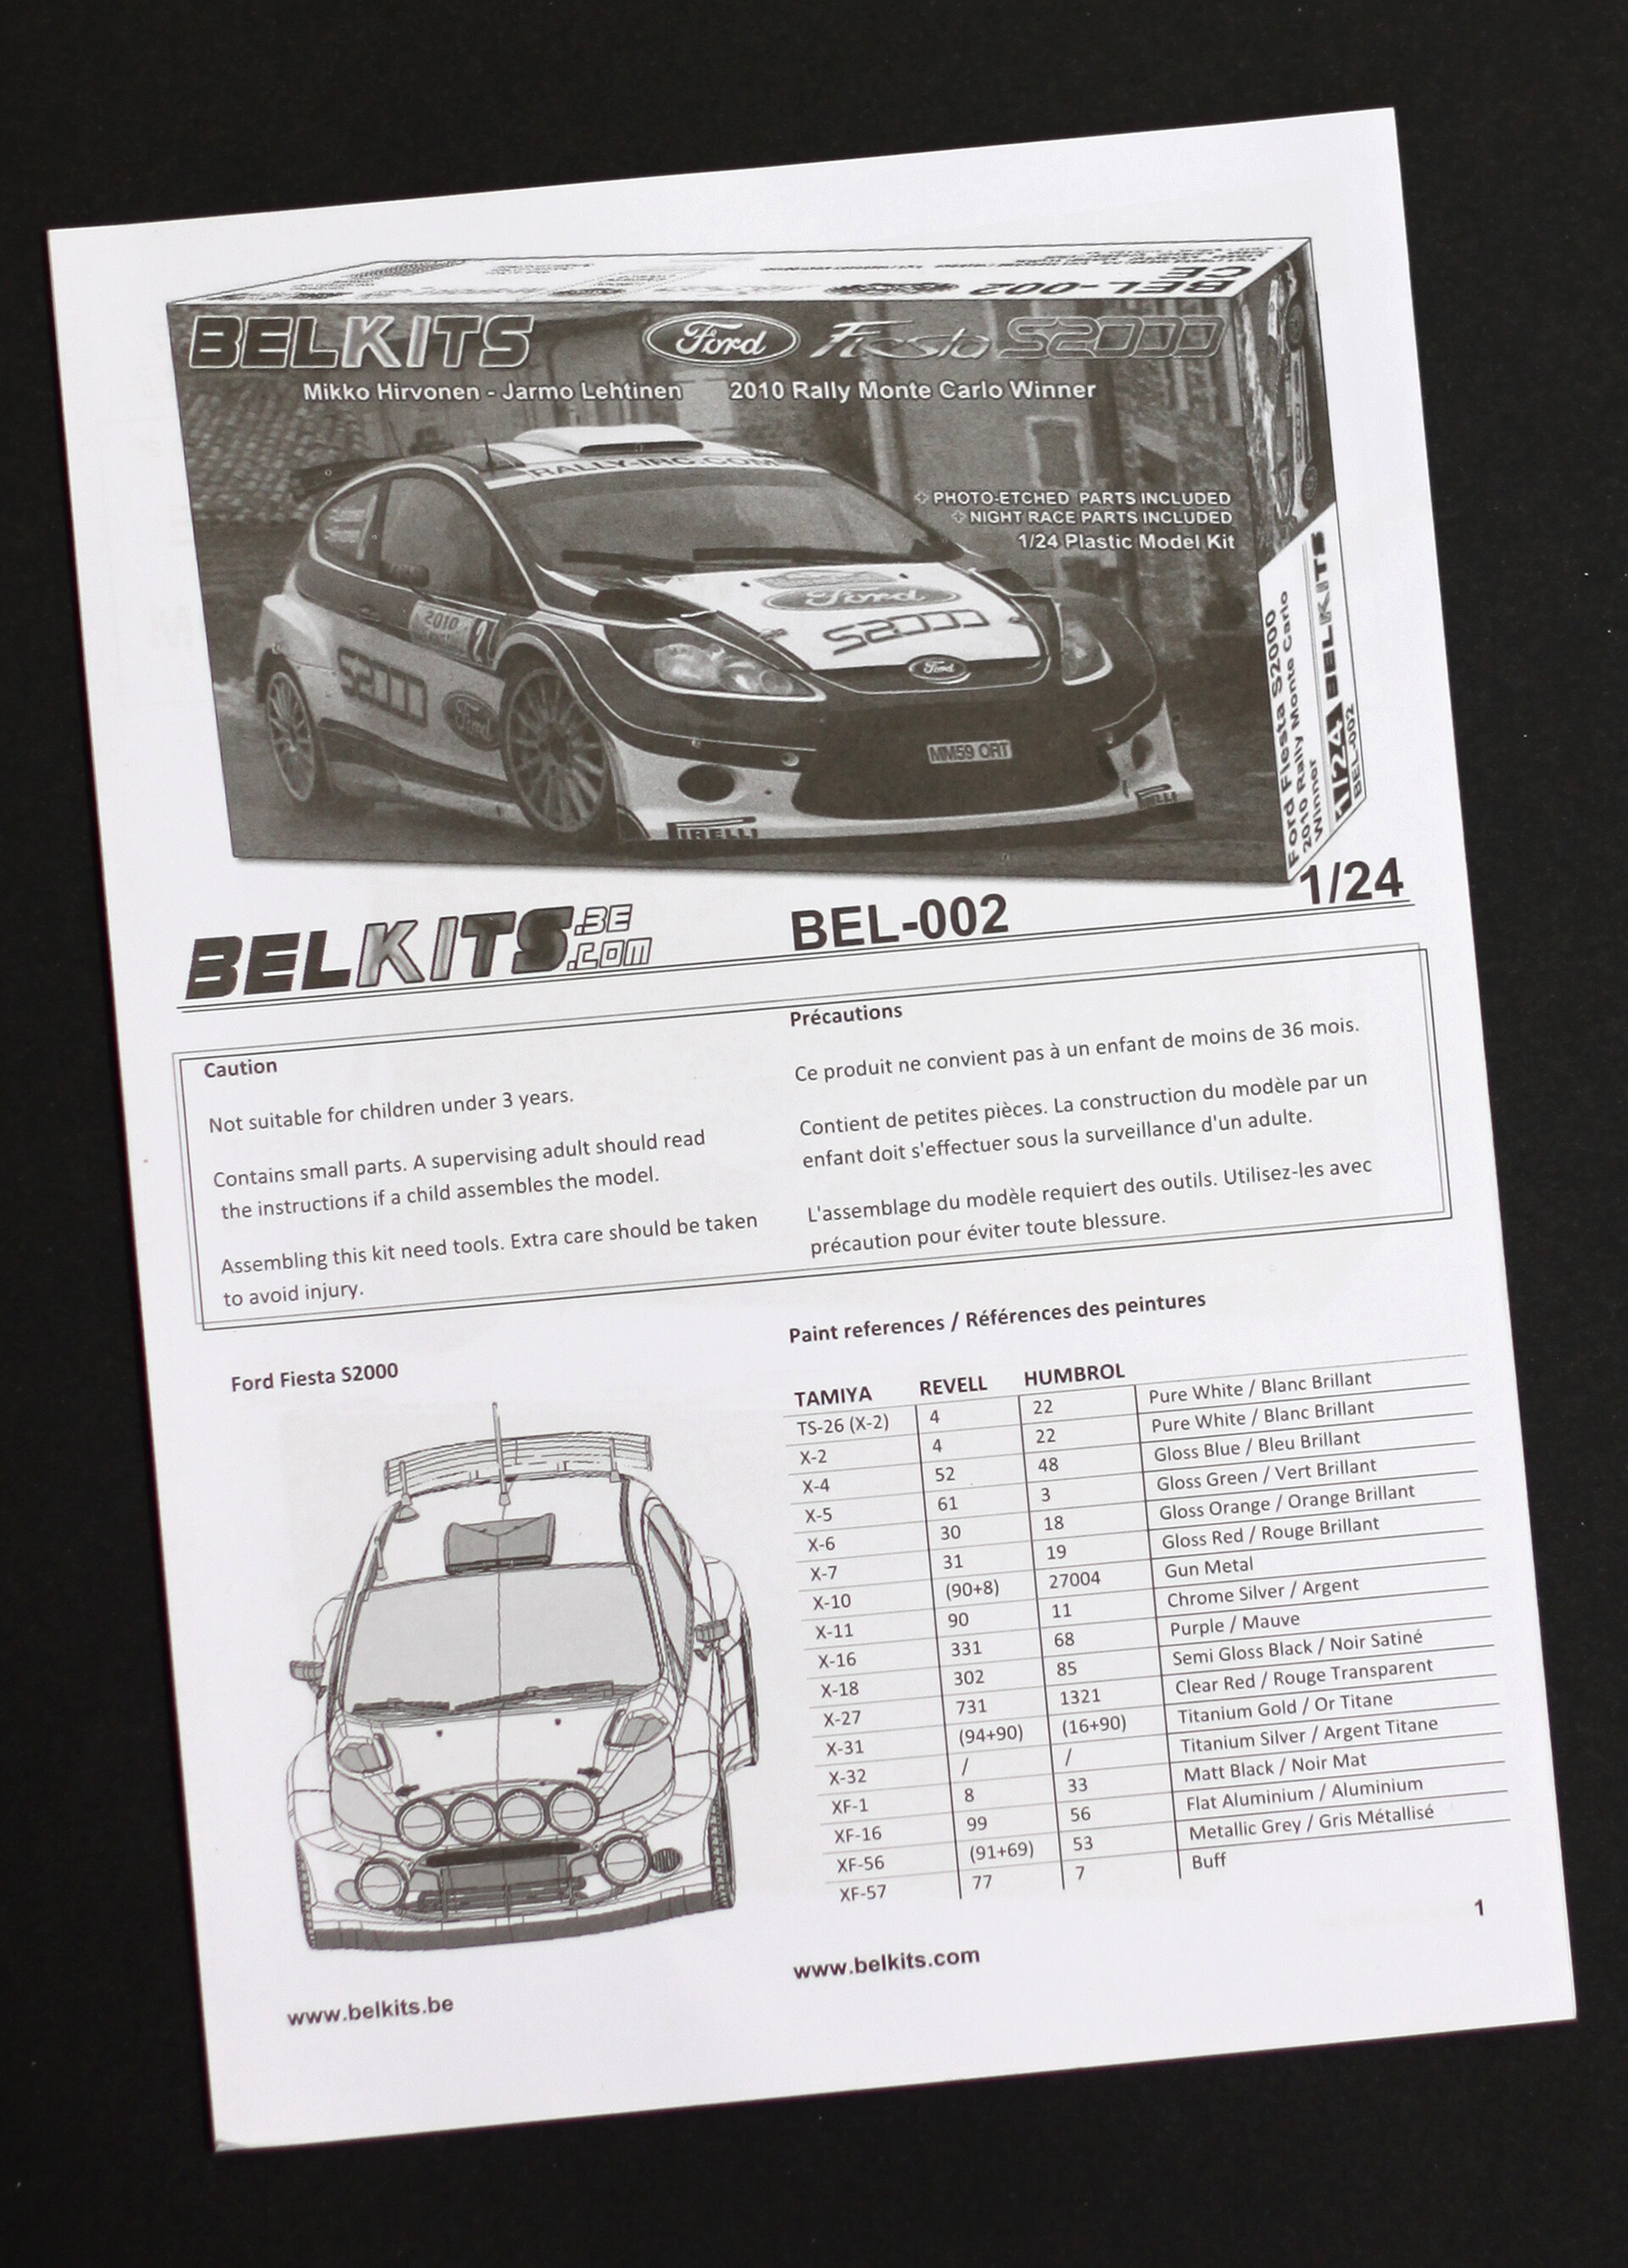
The set comes from 2012 and is the second kit released by Belkits. After a glimpse the model looks really good. The details are reproduced well and the decals look very good too. I will be able to write about fitting as soon as I start the build. In the box, in addition to a large number of sprues and separately packed body, you can find 2 sets of tires (asphalt + gravel), rubber mud flaps, material for belts, photo-etched parts of belts, hood buckles and spare wheel buckles. You can check it in the pictures below.

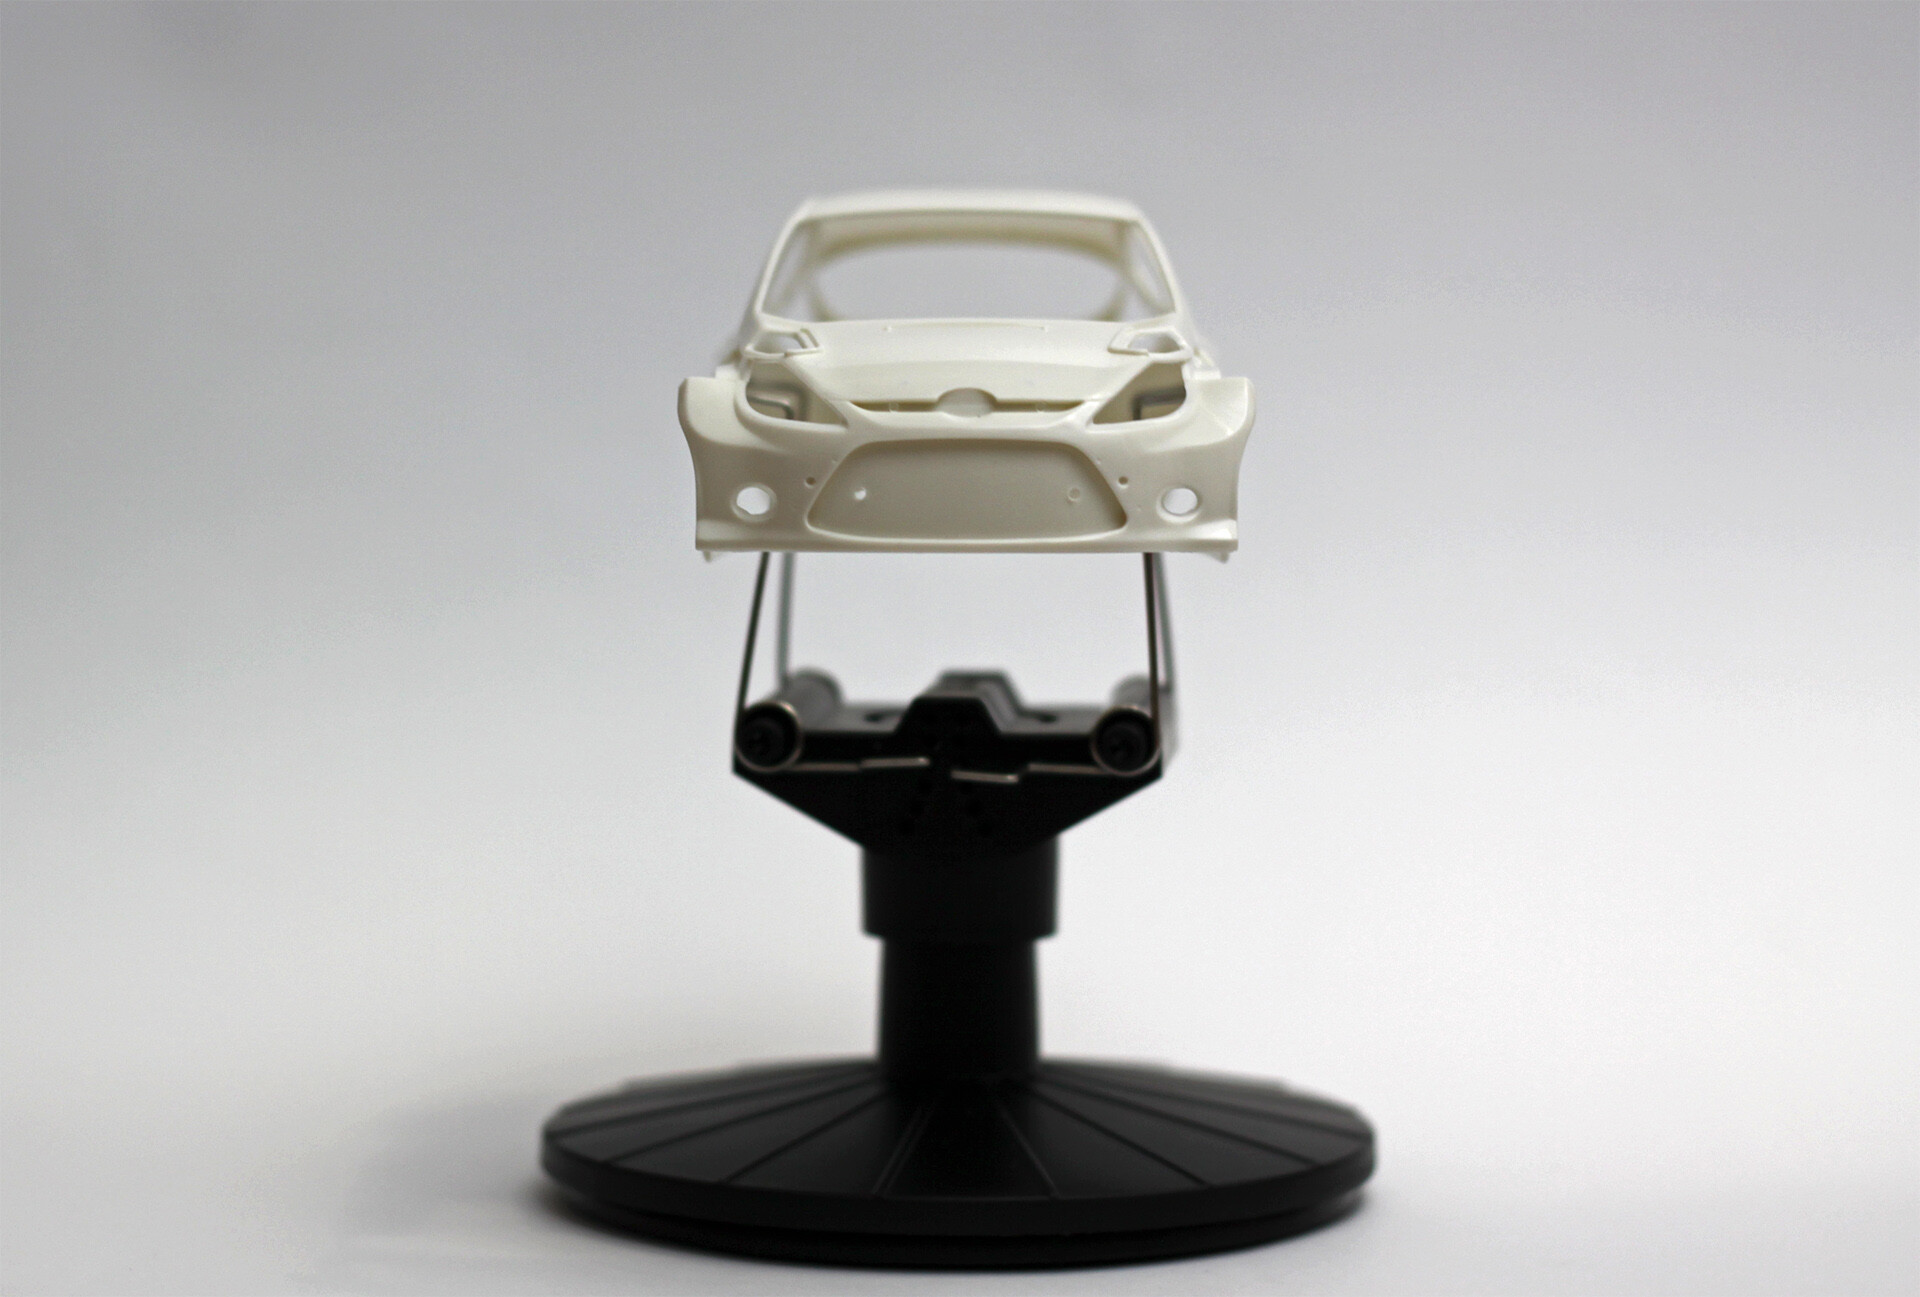


I started working with the body preparation. The panel lines, although very detailed, are quite shallow, so I started to deepen them.

Belkits unfortunately did not make effort enough and the door handles were cast with the whole body as a single solid without a fingers hole. I couldn't resist to correct this imperfection. This kit was their second release, in the next ones it has already been improved and the door handles are cast as the separate parts.


In addition to the panel lines, I also deepened holes for rally jack stands.

Fitting of the front wheel arches wasn't the best. The gaps between the bumper were definitely too large, so I completely filled them with a putty and cut the panel lines again by myself.

Body has been covered with white primer Mr Surfacer 1500 thinned 1:2. The coating came out really smooth.

I decided to experiment and at this stage, before applying the base coat, I put the panel liner from Tamiya into the panel lines. I also added the missing rear bumper rivets.

As a base coat, I used LP-2 laquer paint from Tamiya. This is my first contact with the LP series and I am really happy with it. I thinned 1:2, painting was really great. The paint covered very well, there were no problems with splashing. After 24 hours, the paint was hard enough that I began to sand out the places where the inclusions appeared and started to put the decals on.


The wheel arches gave me a little trouble, where the decals had to be bent in several planes. I also had a bit of fun with the drilled holes in the door handles, because the manufacturer did not foresee such modifications and in those places there was no blue decals supplied. I dealt with the problem by cutting off a half-millimeter strip from the side blue decals.

I applied LP-9 varnish from Tamiya. In total, I put about 8 layers, more than half of which were very dry. While putting wet layers, bubbles I found out under some bubbles under the decals, but surprisingly, they completely disappeared after the varnish dried. I planned to start sanding after a week of curing, but due to lack of time, the body had to wait another week longer. For sanding, I used 5000, 6000, 8000 papers (in more demanding places I started with 3000 paper). I managed to achieve what I planned, which is to completely get rid of the difference in the thickness of the varnish on the edges of the decals. Then I polished the whole with the set three Tamiya compounds.


The next step was to prepare the windows. The set included masks, which made it possible to precisely apply the paint. The windshield, along with the rear and side windows is a one piece that fits perfectly in its place. Installation is 'click', but I secured the connection with the glue just in case.


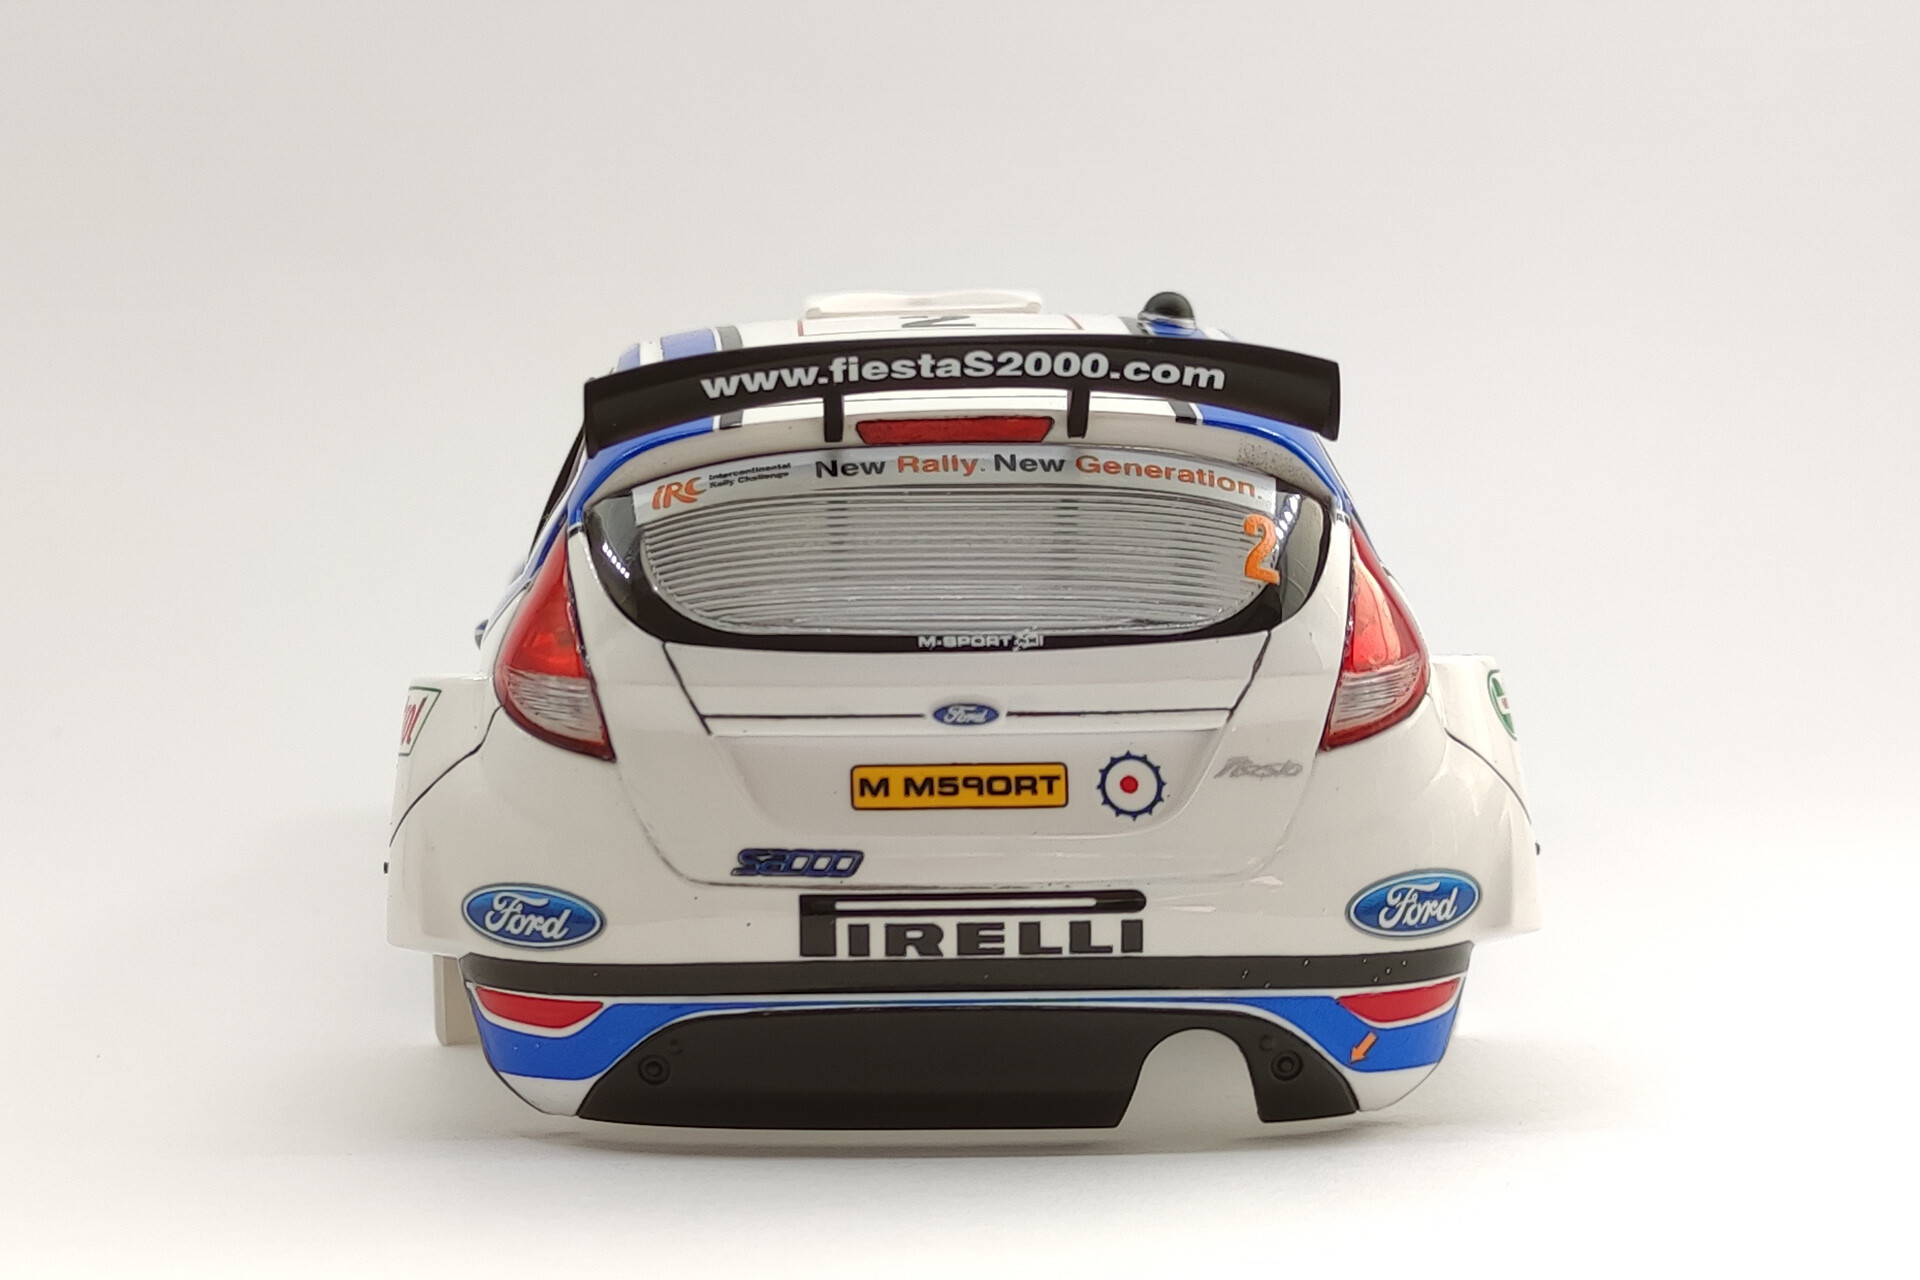
Then I put on all the other decals. I admit that I made a mistake with the rear spoiler - in a real rally car the Eibach and Sparco stickers were switched. I found it after the fact, but decided to leave it as it is.


The additional brake light was only slightly marked on the tailgate by the producer, so I added a glass imitation made from a piece of transparent material. Then the front and rear lights fell into place.

I decided to install the antennas, mirrors, bonnet clips and all other delicate elements after mounting the chassis, so as not to damage them while mounting.

It's time to play with the chassis. I started the work from sticking the central tunnel with thermal insulation imitation. For this purpose, I used a candy wrapper.


I used the same material to cover the exhaust.


The rims included in the set did not match the original and were not of the best quality. I replaced them with one of the prototype scalecars.online products we are working on. More information will be available soon. Additionaly, I have installed resin valves, which will also appear in our portfolio.


Comparison to the wheels from the set.


Although there were only a few elements left to complete the chassis, I started to work on the interior of the car. I painted the strut in orange, different than said in the instruction, but this is how it looked in the original. Interestingly, I only had clear orange paint on hand and I just used it. It turned out quite well ;).

I put carbon decal on the footrest, and on the central tunnel there is an imitation of thermal insulation. I also added a few cables.


I slightly modified the fire extinguisher by sanding down plastic clamps and replacing them with metal ones.

I painted the dashboard with a matte Tamiya XF-1.

I added wiring to the steering wheel. A decal with the Sparco logo should appear on the front, but while sticking, it fell to the ground and that was when I saw it for the last time.


Roll cage elements are waiting to be assembled. I feel it will be a lot of fun...

Working with the seats gave me a lot of fun, but the end result gave me the most satisfaction. Even though it is not perfect, I learned a lot, which I will be able to use in the next opportunity.


The interior is already waiting for assembly.

Finally the time has come to assemble the interior. When assembling, I decided to add the middle panel wiring which I made of copper wire painted with enamel. I made the plugs from two cable insulations of different diameters.


To make the belts, I used material from the Belkits set. I recommend looking for a replacement. The belts from the set are glowing terribly, I solved it by painting them with matt clear paint.

Belkits in the manual suggests that the seats should be glued to the interior first and then put the roll cage. I don't know how they imagined it, but in this order, the attached seats would cause a interference and the installation of the bottom of the cage would be very difficult or even impossible. I glued the bottom of the cage first, then the buckets came in, and then the upper part.


The interior has been completed with the last missing elements, i.e. a jack and side panels, which I have covered with carbon, as it is in the original car.


The interior is completed, so it's time to head back to the chassis. I thought for a long time how to approach the subject of shock absorbers. The ones supplied by Belkits are really weak - the springs are not even a helix, it's just a collection of circles ... I was figuring out to replace them with something, but eventually I stayed with Belkits ones. I did not want to extend the time of building this model, because it has been dragging on for too long anyway. Finally, after painting, they turned out quite well, after assembling the springs look as they should look like. To spice it up I added self-made photo-etched brake discs.


The final stage was the installation of the underbody covers. It was a pity for me to put them on and cover the elements that I spent a lot of work on, but that's how it is in scale modeling;) After assembly, I can say that the covers also have their charm. The front plate has been significantly modified by me to make it as close to the original as possible. The rest of the plates were fine, they have to hold onto the chassis somehow though! For this I used scalecars.online hex bolts, which are already available for purchase (temporarly only in Poland yet, but it's gonna change very soon) and you can find them at this link: Hexagonal bolts V.2


Fiesta just got wipers and mirrors.


The mirrors in the Belkits kit did not have any glasses, and there was a not very aesthetic opening in the place of its installation. That's why I made them from scratch with a piece of transparent plastic taken from some packaging, which I painted from the inside with AK Interactive AK-477 XTREME METAL.


Finally, the moment has come when I can assembly the body, chassis and interior together ;)


All the parts were assembled together. The only thing remained are the wheels.


And this is it. After more than a year of struggling, the model has finally been finished. Photos of the model will go to the final gallery soon.

Author | Mateusz Uścinowicz
Next workbench | Toyota Celica GT-Four '93

© 2025 | Cookies Policy | Terms & Conditions